How I Did Three Versions of One Painting

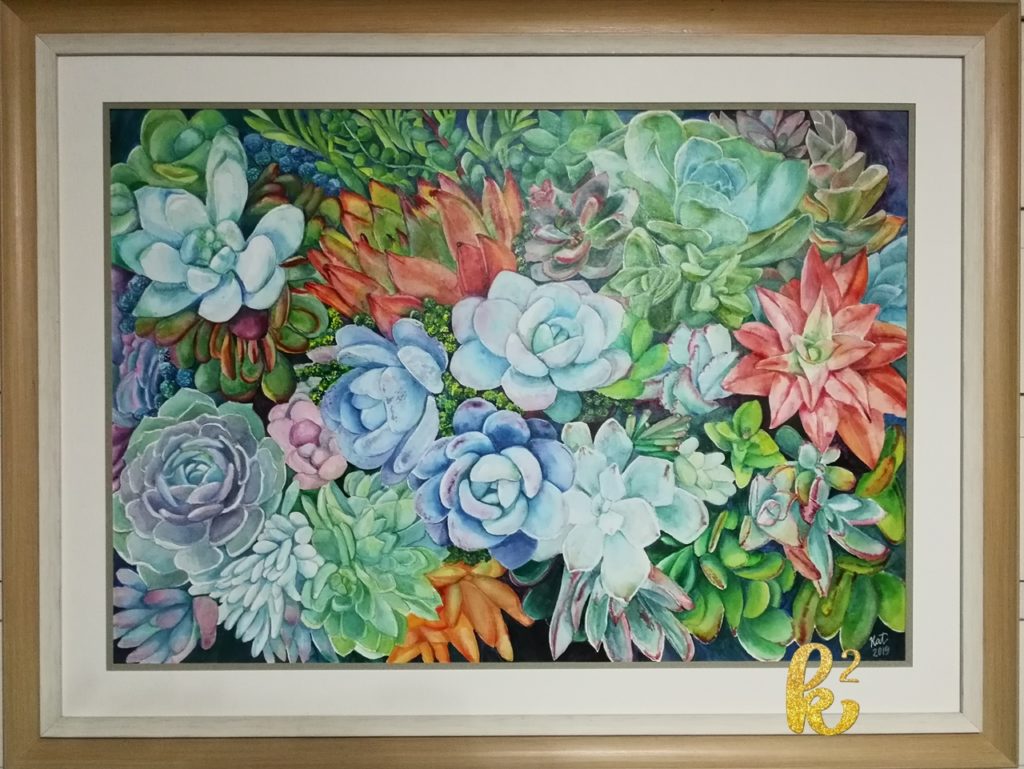
There is always a story behind every artwork I do. Sometimes, the story would be “I just like to paint this” and sometimes the story presents itself like this piece.

My friend wanted something to put on her wall so that she has painting as a background for her Zoom meetings. I think this request came last year and I only fulfilled it this year. I saw how she set this up in her office. I guess it was no longer for Zoom work-from-home background. Oops, I delivered too late.

Her instruction was to paint something nationalistic. She also wanted something she can readily mount on her wall. This means that I have to paint on a canvas using acrylics. Acrylic is not really my first choice of medium. I am primarily a watercolor artist. I had to rely on what I think would work with my acrylic painting skills. I had to plan what would represent a nationalistic painting given the limited subjects I have done before.

Planning this painting required much thought. There is a theme I need to convey: nationalism. This made me think about the history and culture lessons in school. Ha! So this was my thought process:

1. There must be flowers. I like painting flowers. Maybe, I should paint sampaguita.

2. How about the Philippine flag? Why should I paint a Philippine flag when she can actually hang one on her wall? Ha!

3. How about animals? Carabao, tamaraw, tarsiers, Philippine eagle, perhaps?

4. If I put flowers and animals, is that nationalistic enough? I should put a person with hand on the chest to show respect for flag.

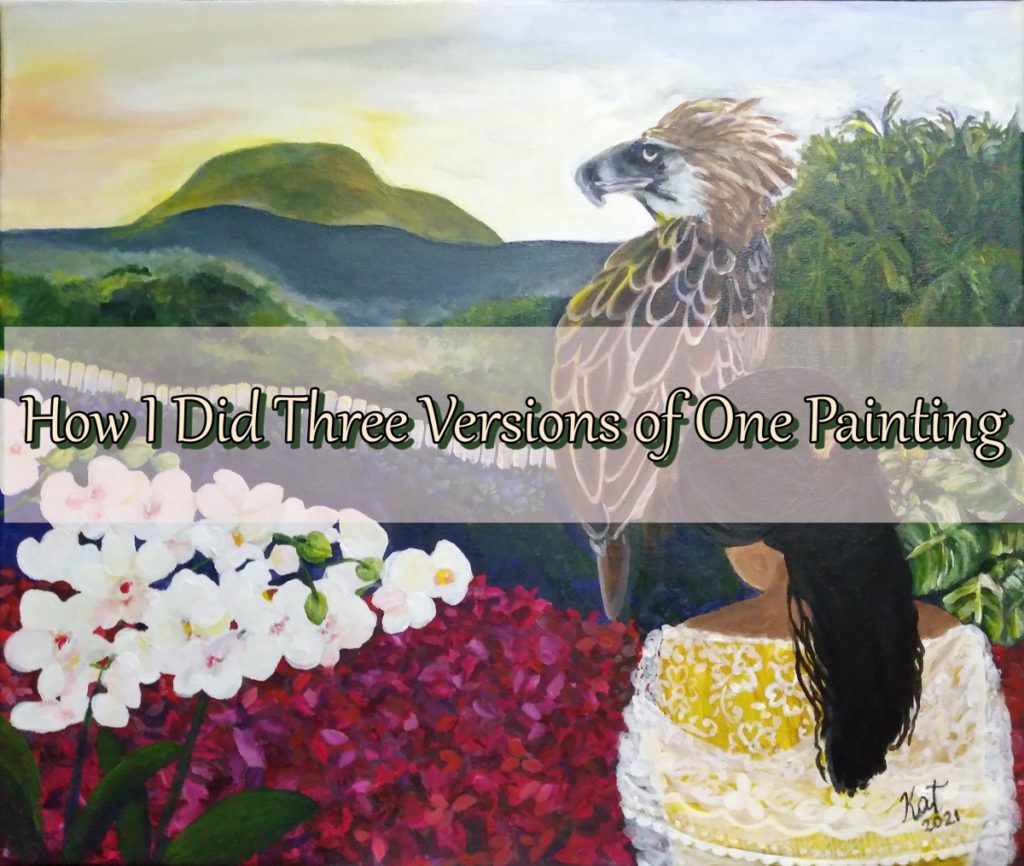
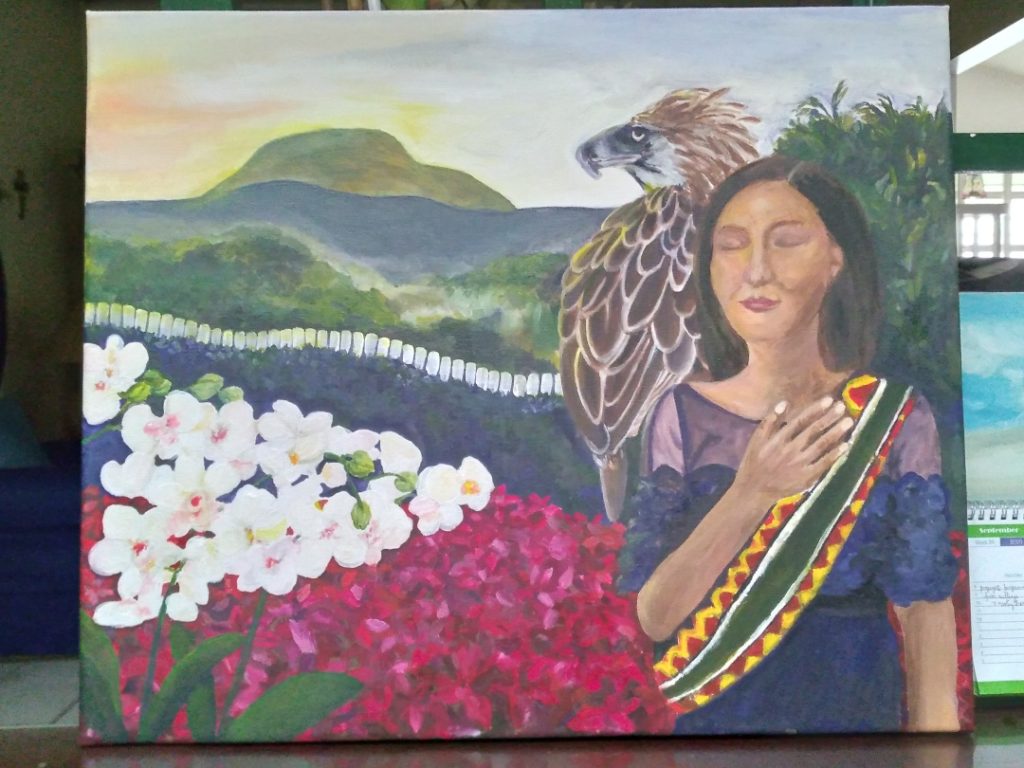
This is what I initially came up with: a field of plants strategically positioned to look like a Philippine flag with Mt. Mayapay in the background. I pushed to paint a person with hand on the chest. I browsed through my friend’s Facebook photos and decided to put a woman with the same dress as her. I added the sash because I saw in one event of her office that they used sash for their honored guests. The woman in the painting does not look like my friend though. I just painted a random face that is formed from my brushstrokes. I figured that she may not want her face in a painting that could be seen in a Zoom call. I added the Philippine eagle because I wanted to fill the space with different subjects.

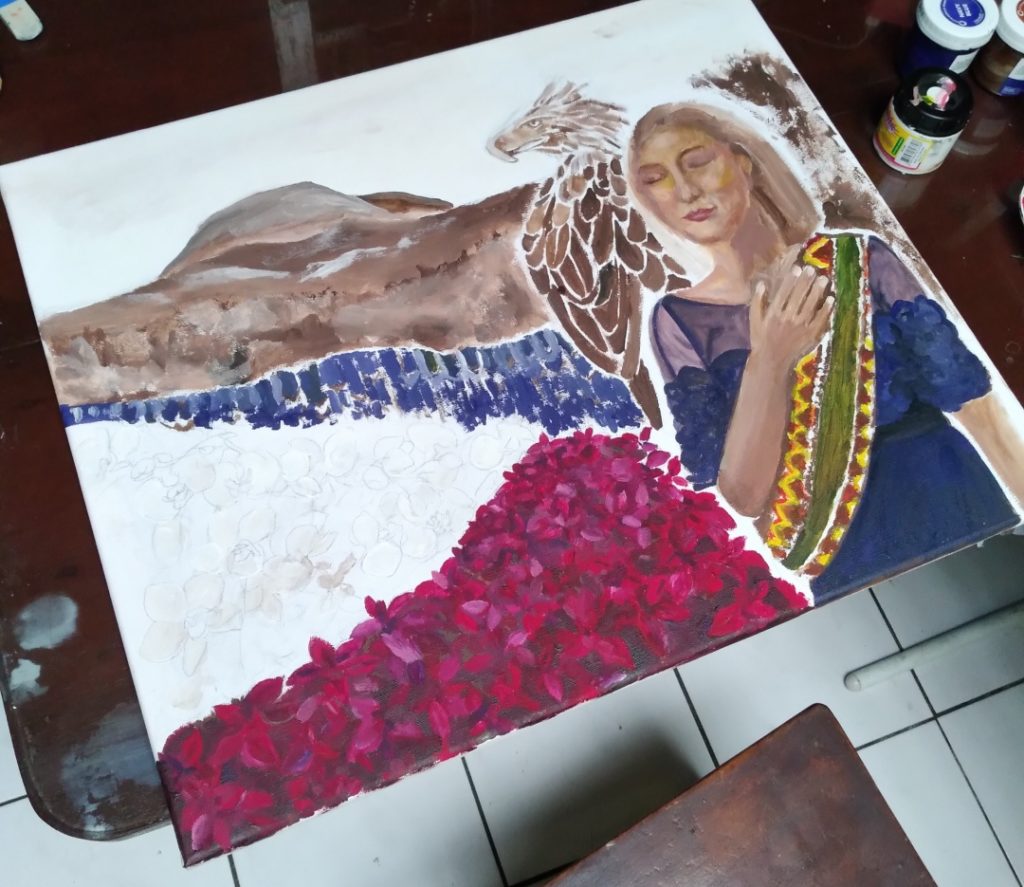
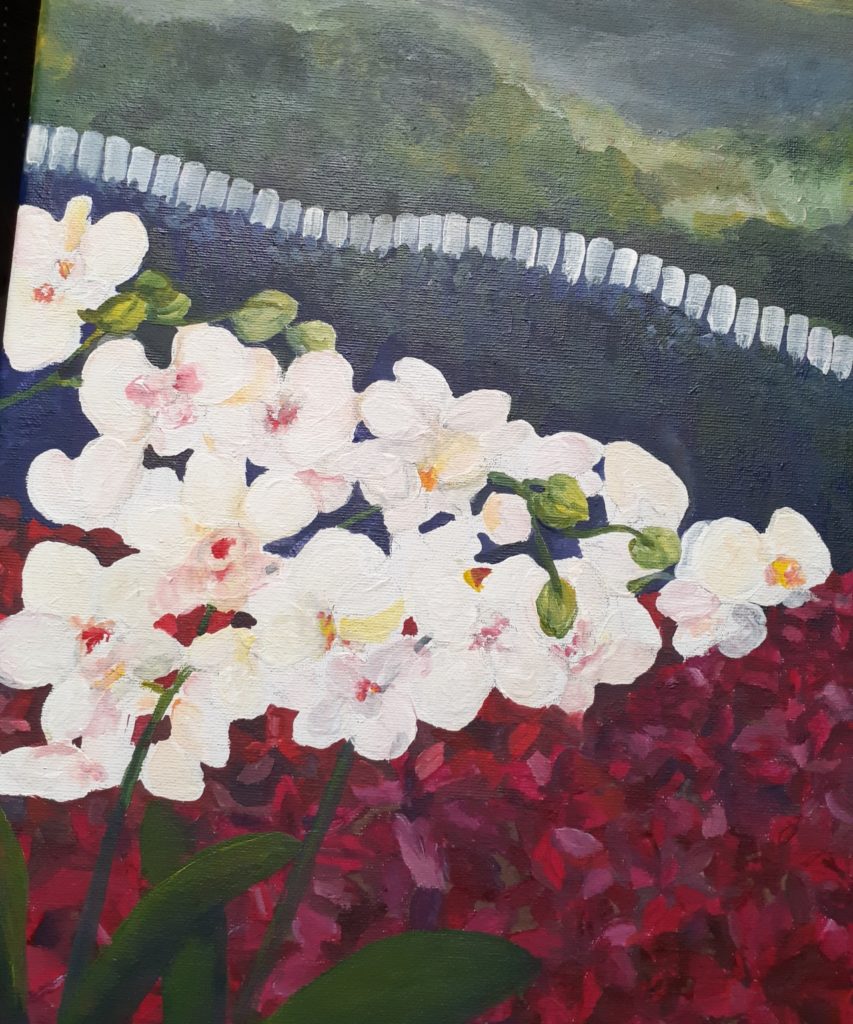
The red plants are mayanas which supposed to be bounded by a fence made of T’nalak weave of the T’boli. I had trouble replicating the pattern using acrylic so I made a decision to change it to green plants, adding dark blue as shadows. I added white fence as border to make the color pop. On the foreground, I painted white orchids.

It was supposed to be a field of sampaguita but I have not seen a field of sampaguita ever. I do not think it will look like an all-white field. I think it would be patches of greens with specks of whites for the flowers.

I showed the progress of the painting to my friend to check if this is what she had in mind.

She was kind of uncomfortable with the woman I painted because she identifies with her even if the painting did not look like her. (“I think that is me.”) I understand how she might feel awkward because it would seem like she displayed a portrait of herself in her office- a government office, that is. She said she does not mind changing the person into a painting of her son.

So I changed it to a boy in a barong.

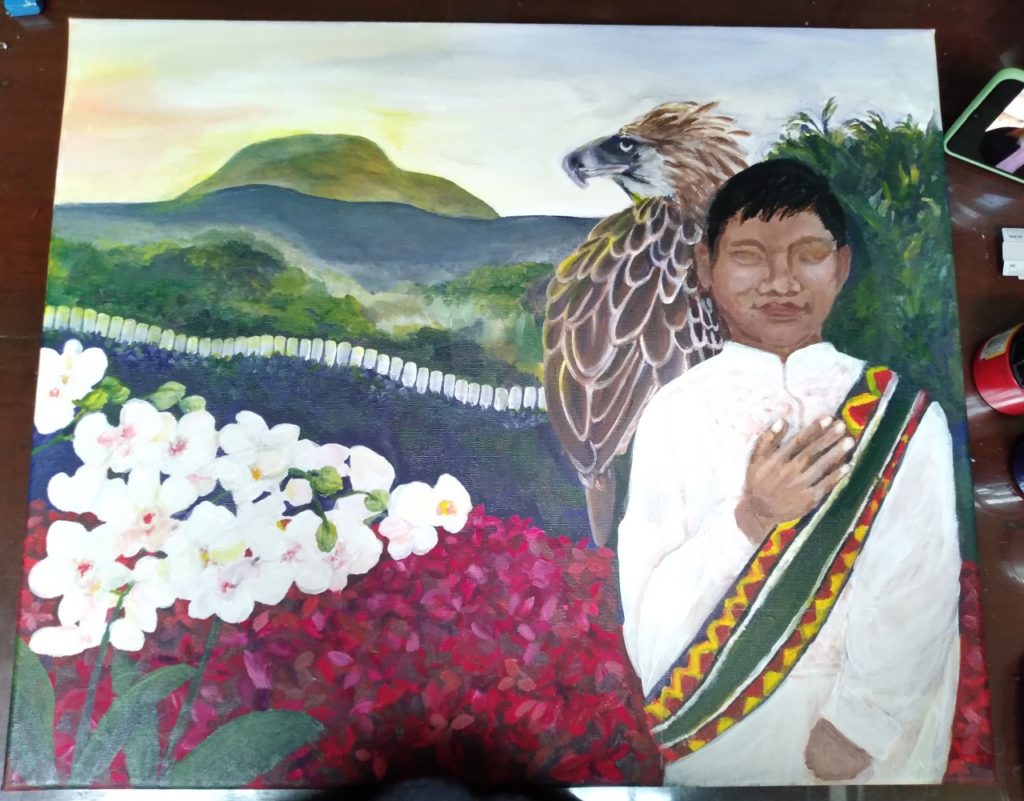
But I am not happy with the way I painted her son. The advantage of using acrylic is that I can change and correct it by adding layers of paint. So I changed it again to a woman with her back turned and facing the views.

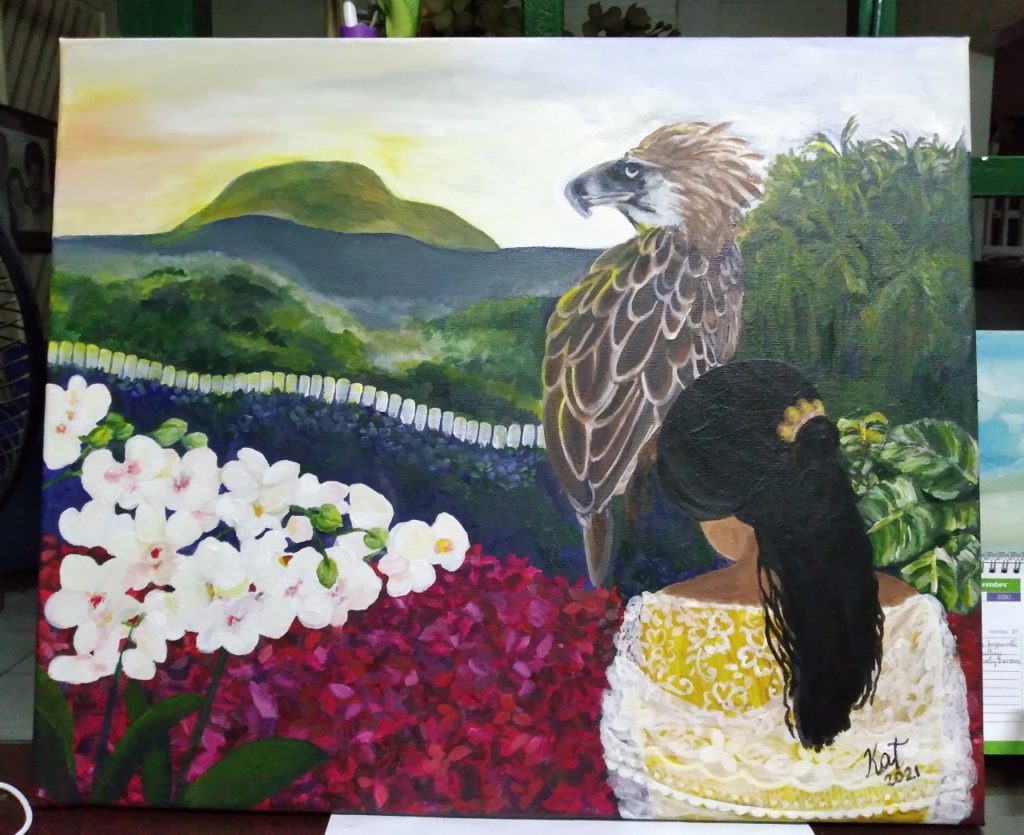
I think it is nationalistic to nurture and be proud of the beauty of our country.

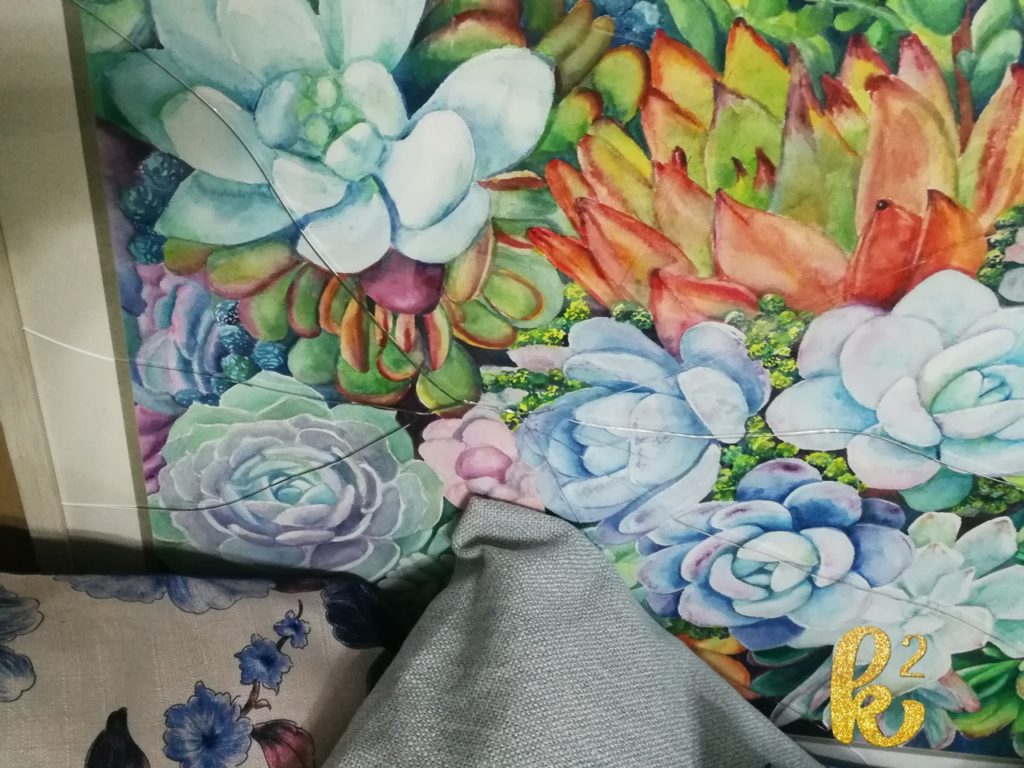
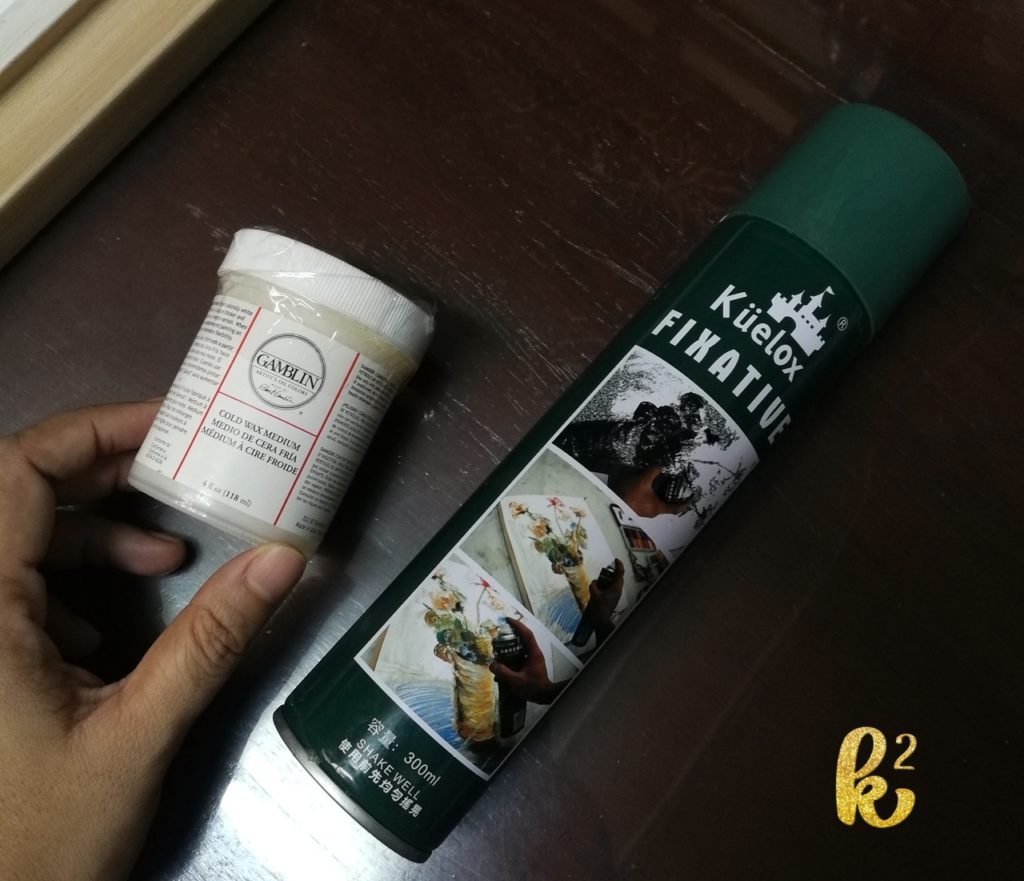
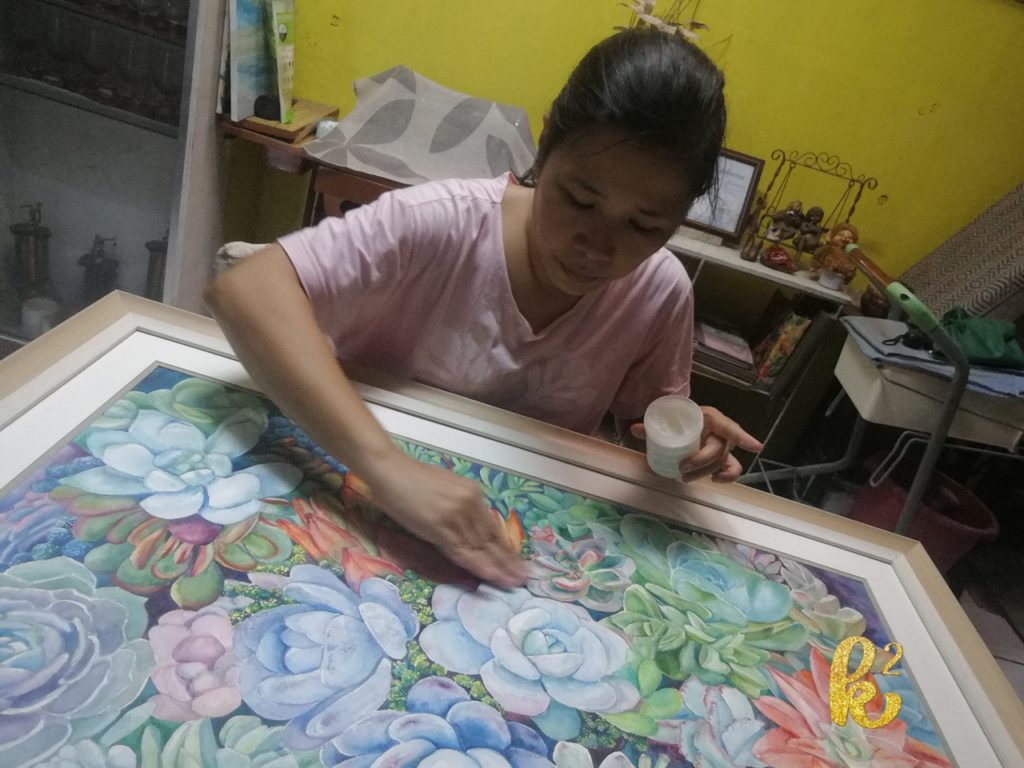
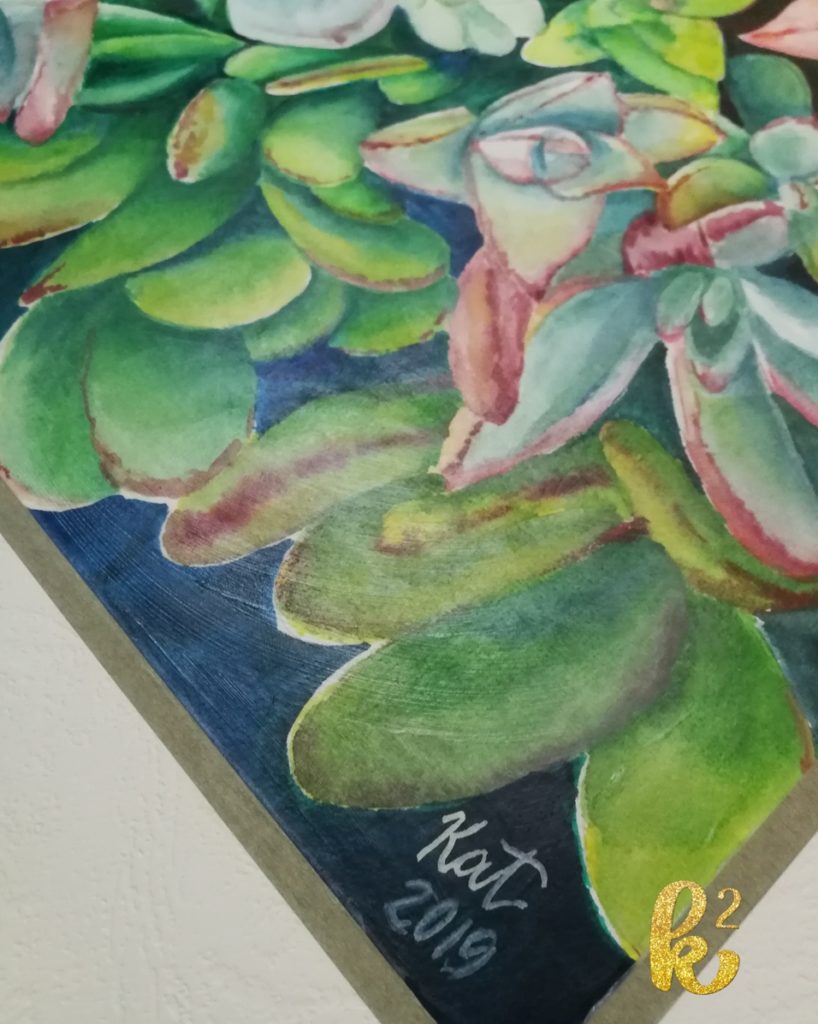
And that is the story of this painting that has layers of paint underneath. The textures produced on the surface became the visible proof of the heart and soul I put into it. Cheesy much? Ha! The painting was already sealed with a fixative. This is the final piece.

That ends my short art talk. Hehehe! Till next time!

succulent

How I Painted My Biggest Piece to Date and Why it Took Me Almost Three Months to Display it

Or maybe we should call this the post with the longest title!  Ha!

My art journey is slow and steady. I do not get to do art as much as I like this year but whenever I find pockets of time, I try to do one piece.  To keep the inspiration burning, I try to immerse myself in the creative world by visiting museums and exhibits in between leisure and work trips.  I also try to observe my surroundings, be in the moment and find inspiration around me.

I found that pocket of time in August, right after my trip to Baler.  This idea has been brewing in my head for some time. I wanted a piece of my own art in my own wall. I already bought my A1 size watercolor paper in June. My plan was already in motion. To visualize an A1 paper, it is 8 times the size of an A4 paper. Arrange two rows of four A4 paper in portrait orientation to get an A1 size paper.

So for a size that big, what should I paint? No question, it has to be something botanical.  I have files of plants and flowers I wanted to paint. I always check those files for inspiration. I decided on succulents because it is an ode to my inability to grow them.  I have tried growing them several times before. They always die. Painting them is the best alternative.

Painting a large piece requires me to allot space in my dining/office table.

Painting is really therapeutic. It feeds my soul so I always take my time. I do not hurry.  It is a pleasurable experience for me so I savor the moment.  (Ang drama ko! Haha)

What I enjoy most about painting succulents is that there are different varieties. It was an exciting process to paint the details of the different varieties.

Painting can be a cerebral process when you try to decide how you are going to add depths to the piece and where to add those specks to show texture and dimension.

Painting is an exercise of planning skills.  Since I taped the edges of the paper unto my table, I covered the piece with sheets of bond paper every time I was not working on it. I always emptied my water cup and placed my palette away from the table to avoid mishaps.  (Imagine this scenario: a lizard walking on my palette and over my painting. I do not want that to happen.)

I also used these pieces of paper to cover painted areas to prevent myself from touching those areas.

Painting tested my EQ, which I know I barely have. My initial plan was just to finish this with a white background.  This is supposedly the finished painting.

But no matter how I want to avoid mishaps, this happened. No use crying over spilled paint, right?  

So I added other details little by little.

I added more succulents until I was finally done with this finished piece.

I sent this to the framer and I finally have my own painting in my living room.

Well, not quite.

Since this is a watercolor painting on paper, this was framed behind a glass to protect it from the elements.   Large painting + glass= heavy painting.  So I kept the painting on my sofa reinforcing it with pillows. I was still trying to figure out how to hang this heavy painting.  I thought of buying brackets and additional screws but I was not able to find time to go to a hardware store.

Let me say that painting can be a test for AQ- Adversity Quotient. I recently learned about AQ from my smart friends. An adversity quotient is a score that measures the ability of a person to deal with adversities in his or her life.  I must admit that I have a really low EQ but I think I have a reasonable AQ score.

So here is the story. The painting had been sitting on my couch for weeks. My aunt kept asking me when am I going hang my painting but I was busy so I never had time.  One fine Sunday, my friends came for a visit. We were waiting for another friend.  (I feel like I am writing a blind item of some chismis column! Ha.) When the friend came he/she went to sit on the couch.  Our dog, Christian, was barking hard because he saw a new face. I directed him to smell the new visitor so he would feel at ease but instead of smelling, he jumped at the visitor prompting the visitor to lean back. Then I heard the cracking sound of my breaking heart chos of the glass.

I looked at my friend’s back and I saw no blood.  I was relieved.  My friend was apologetic. I told my friend not to worry about it too much as I do not have attachment to things.  Attachment to people, yes.  Chos! (Notice my effort of not identifying my friend.)

This is where my high adversity quotient comes in. (Buhat sariling bangko moment?)  It was easy to just have it re-framed but I would still have the same predicament as before. How do I hang the heavy frame?  Many watercolor artists have the same dilemma as me. How does one frame the painting without the glass? Glass is heavy and it adds glare when you tried to view the painting. A quick Google search led me to a painting technique-  apply cold wax. Cold wax is a substance often used to oil paintings as a medium and sealant.  Apparently, you can use it for watercolor paintings.

So when I went to Japan, I looked for cold wax from an art store there and they did not have it.  When I went back to Manila, I also went to Fullybooked and Art Bar but they did not have it.

I finally found an online store that carries it. Yay! I also bought a fixative as a backup.  I had work for the month of November so the wax application was put on hold.

Finally I found some free time in the first week of December so I worked on applying the wax. At first, I used a cleaning cloth to apply the wax but it seemed like the product was absorbed by the cloth .

So I used the best tool in the world- my hands. It really was easier to use my fingers because I could feel which part of the surface still needed to be waxed.

Waxing made the colors pop and it protects the surface from the elements. Plus, I did not have to buy brackets. The painting was light and easy to hang.


 Look at that!

I have finally decorated my living room for Christmas and hanged my painting!

All’s well that ends well.

watercolors, watercolour, watercolor, katrinakarenart, watercolor tutorial, how to paint watercolors, easy watercolors, watercolors for beginners, katrinakarenart,painting step by step, watercolor tulips, how to paint tulips, how to paint flowers, flowers in watercolors, watercolor flowers, flower painting, tulip painting, tulips in watercolors, how to paint flower petals, flower petals in watercolors, how to paint wet on wet,

How to Paint Tulips in Watercolor

watercolors, watercolour, watercolor, katrinakarenart, watercolor tutorial, how to paint watercolors, easy watercolors, watercolors for beginners, katrinakarenart,painting step by step, watercolor tulips, how to paint tulips, how to paint flowers, flowers in watercolors, watercolor flowers, flower painting, tulip painting, tulips in watercolors, how to paint flower petals, flower petals in watercolors, how to paint wet on wet,

It has been months since I last painted. I plan to paint more this month so I got my art groove going by painting on the first day of the month. This is a loose watercolor painting. I was just enjoying the process and did not go into detailed work.

You may follow the process through this graphics.

watercolors, watercolour, watercolor, watercolor tutorial, how to paint watercolors, easy watercolors, watercolors for beginners, katrinakarenart,painting step by step, watercolor tulips, how to paint tulips, how to paint flowers, flowers in watercolors, watercolor flowers, flower painting, tulip painting, tulips in watercolors, how to paint flower petals, flower petals in watercolors, how to paint wet on wet,

This is the video of the painting process.

Let me know of any painting tutorial you want me to try to do next.