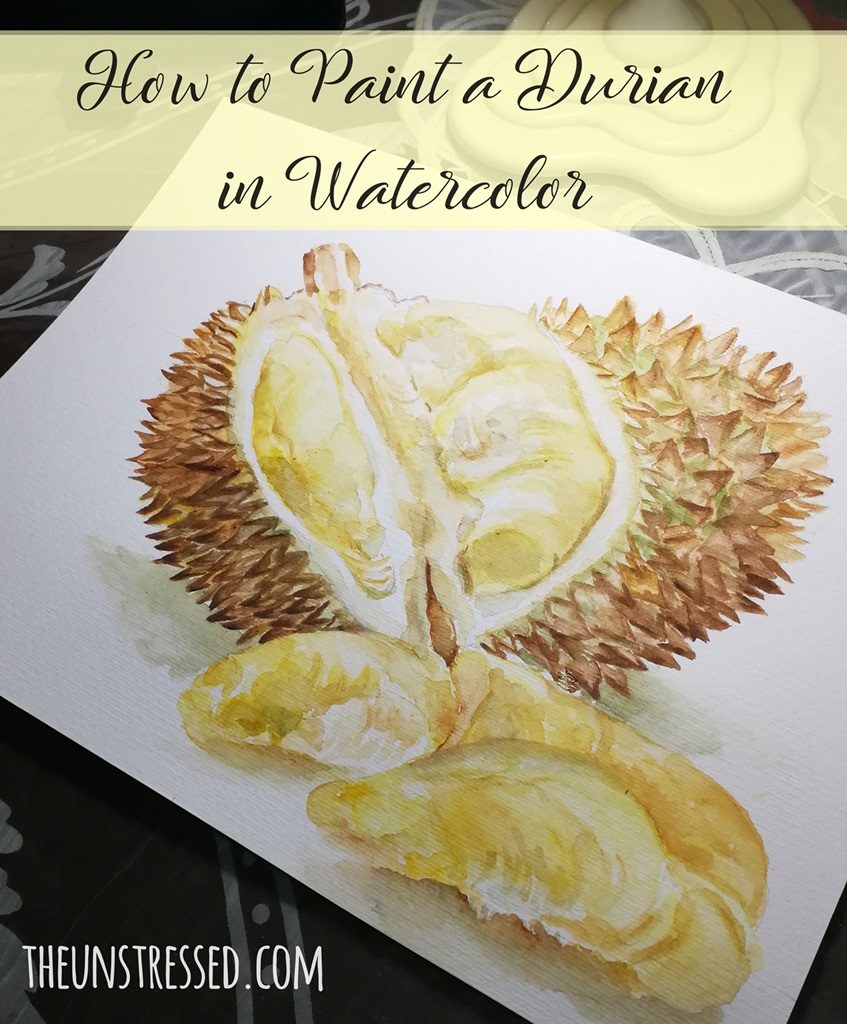
I have a Youtube video on how to paint durian but I feel that the process deserves a separate blog post because, in the beginning, I was not confident on how this would turn out. Giving something a try ( as long it is legal) is worth your while when you learn something along the way. I feel like I have better control of the pigments and water because of this painting that I wanted to share the process. I hope somebody who wants to learn painting using watercolor will learn from my videos because I relied so much on Youtube videos when I rekindled my love for art. I am paying it forward.
So here is how I did it:
I started with a sketch. I made my sketch as detailed as possible.
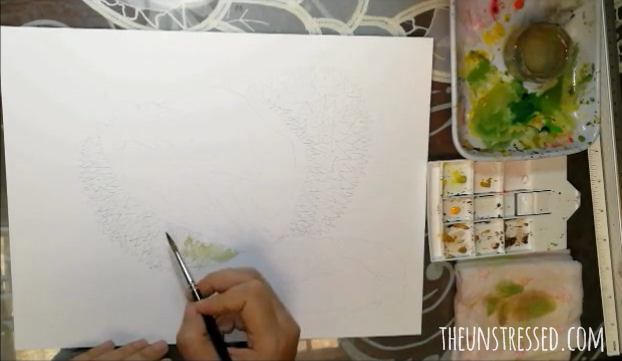
I start painting it with green. Unripe durian is green and it slowly turns to brown when it ripens. Even with ripe durian, you can see the green part on the base of the spikes. The color I used was close to sage green. To get the green pigment, I mixed prussian blue and permanent deep yellow. I got this tip from a watercolor group to mix my own green color instead of the green watercolor tubes available. Most of the available green tubes can be too bright or too dark so I often get the right green if I mix my own yellows and blues.
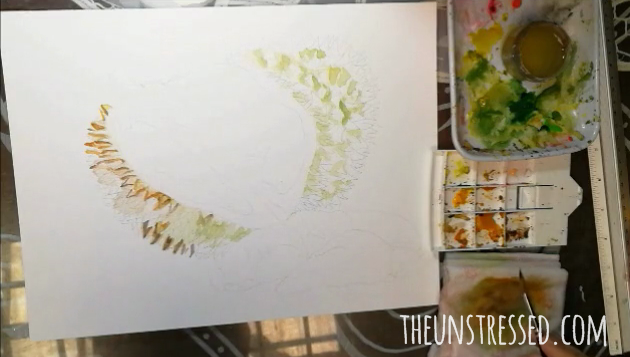
Then, I started painting the spikes. You need to paint each spike so that you can clearly see them individually. The spikes are just a series of “V’s”. I used yellow ochre, burnt sienna and burnt umber. Yellow ochre is lighter so I used that for the lighter parts. Burnt sienna and burnt umber are for the shadows and darker areas. I generally used burnt umber on the tips of the spikes and the edges. Just blend the colors well so that it will look like spikes.
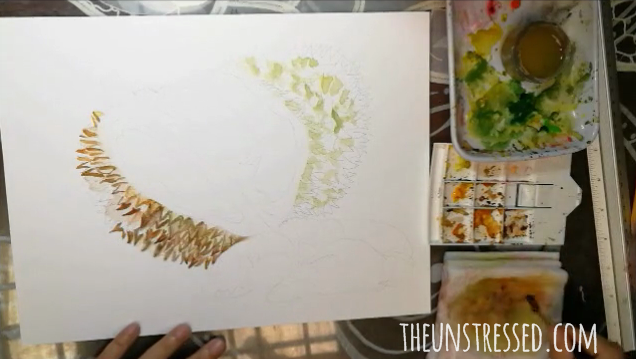
Not all spikes are the same. Some spikes are larger and the gaps between the spikes are wider. These spikes look like pyramids.
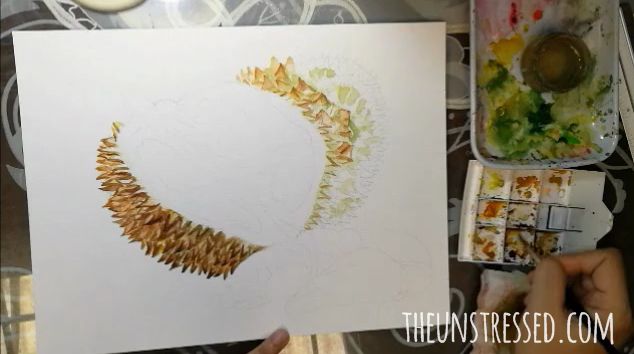 You just have to keep repeating the process. Start with yellow ochre. Spread lightly. Add burnt sienna on the sides. Add details using burnt umber. Add water to blend in colors. Dab the brush on the tissue to blot off excess water. The cycle goes on.
 To paint the custard flesh, use yellow ochre and permanent deep yellow. Use the yellow ochre on the sides where the shadows are and use the permanent deep yellow on some of the fleshy part. Use ample water to create a light yellow wash. You just want a hint of yellow. Leave some white on the middle part of the seed to make it look fluffy. Mix prussian blue and some of the excess burnt umber we used earlier. Add some water to make it look greyish and use that to create shadows on the fleshy seed. You want a subtle shading so keep the color light by blotting the brush on the tissue. I always keep a tissue on the side because that is where I blot the brush if it has too much water.
 You may use the same technique for that seed on the foreground. Just take note that the shadow is on the lower part of the seed so use darker tones on that part. Paint the permanent deep yellow liberally on the lower part of the seed and if you need to lighten them, just dab a clean tissue. Sometimes I go through the dab-paint-dab process several times until I get the kind of shade and texture I want. It is easy to do that with light colors. Just be careful in using this technique with darker colors as it may be difficult to correct the mistake. It is always safe to paint from light to dark. Just keep adding pigments until you get it right.
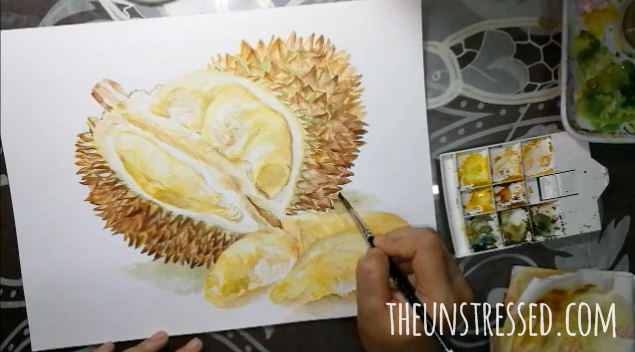
Since the durian is on a surface and not hanging on a tree, you need pain the shadows. Use the prussian blue-burnt umber mix for the shadows.
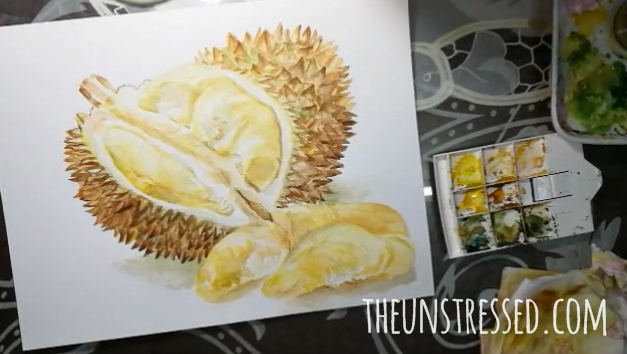
Voila!
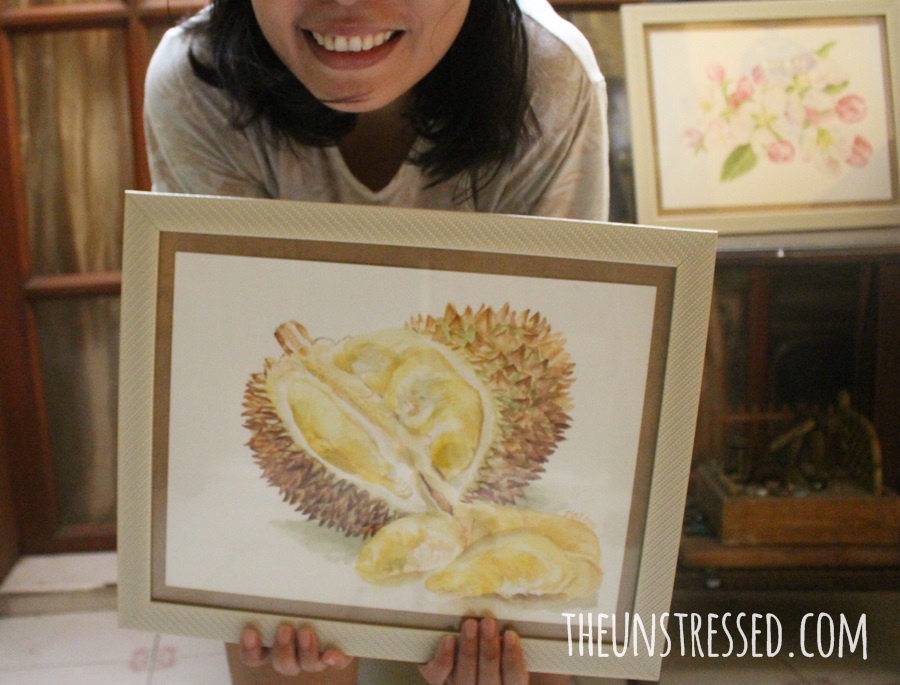
My aunt got a store-bought frame and just like that her gift was ready.
For commission work, send me a message through my Facebook page: https://www.facebook.com/katrinakarenart
Here’s the Youtube video of the entire process:
I love watching painting videos, you have an amazing style!
Wow, this is beautiful! I haven’t tried durian yet, but I plan to soon! 🙂
So gorgeous!! I have always loved the painting process. It amazes me how much talent is involved in transferring what the eye sees onto paper! My daughter loves painting and sketching on her free time. I on the other hand, trace 😂💕
Wow! The end result is beautiful. I love the look of watercolor and your painting captures the texture so well! Such a lovely gift too.
Cheers, Sarah Camille // SCsScoop.com
Wow! That’s so awesome! How i wish i am good too in arts.
What a beautiful gift! Durian is such a unique and interesting fruit! I guess you either love it or hate it! 🙂
This is beautiful work! Thanks for sharing it. I loved the yellow.
how cool! i havent painted in years but this is awesome
Wow, this is an incredible painting! Thanks so much for sharing the process!
Wow! That’s amazing! You are an incredible artist! 😃