Do you have a favorite shirt? I do and I tend to wear them over and over after every wash. At some point, the shirt would look like rag and I would still wear it. HA! Sometimes, my laundry skills fail me. I had two white shirts that had faint yellow stains that even though I often prefer comfort over fashion and cleanliness over beauty, I feel that I should do something about the stains. I already tried removing the stains using bleach. 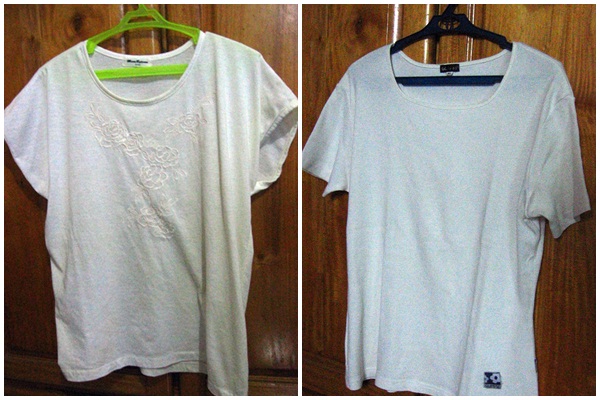 I found inspiration from Pinterest on what do with these shirts.
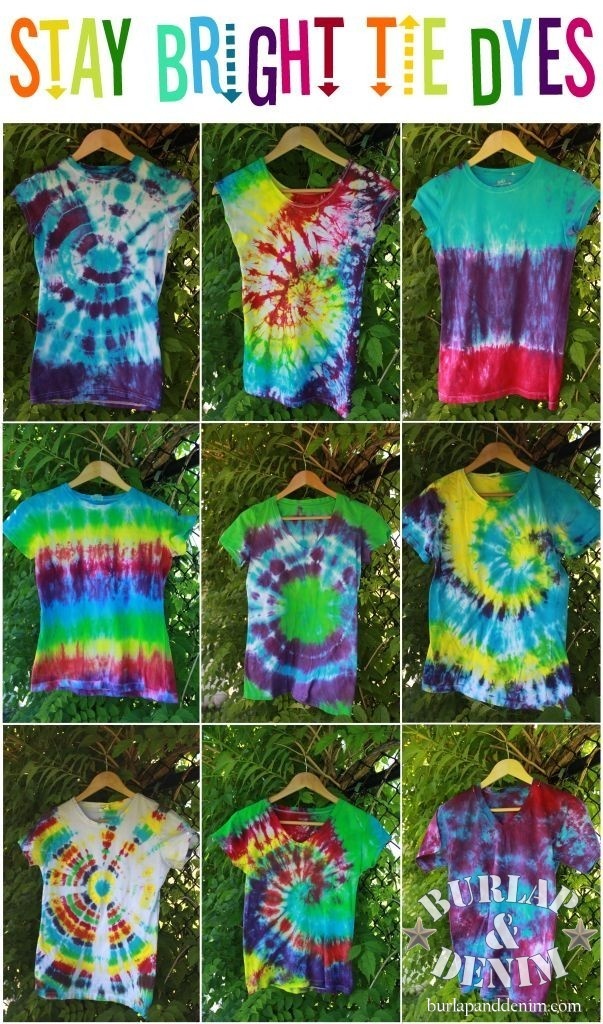
Source: burlapanddenim.com via kat on Pinterest
So I bought some packs of dye from an office supplies store. 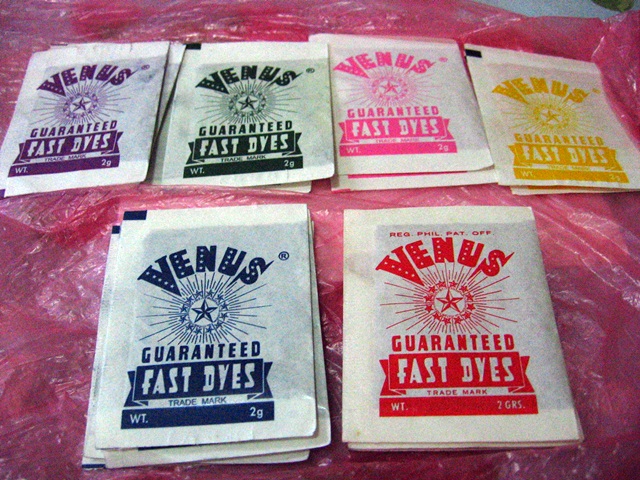
There are instructions at the back of the packet on how to use them. I was eyeing on the stripes and swirls design. I strategically tied the area to get my desired design. 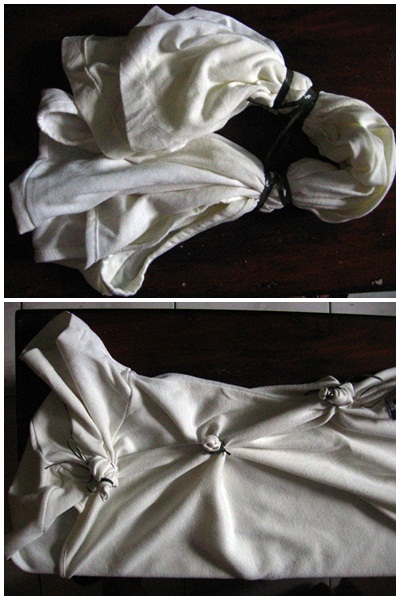 I started to soak the shirt on the dye mixture one color at a time.
 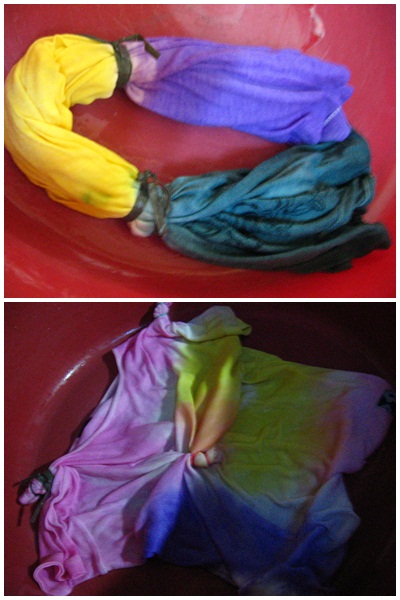 Here are my tie-dyed shirts after I hung them to dry.
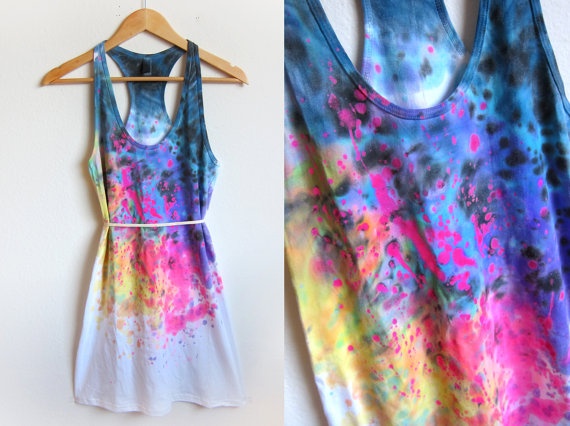
I now have two new shirts. My next project would be this design.


A new shirt evolves after tie die-ing. Fun way to convert old shirts into something colorful, youthful and playful 🙂
Yes I have my favorites and sometimes I panic when they’re looking old na. I live those tie-dyed shirts. Hard to find these days.
thanks for sharing this idea, its cool. By doing this we can also save and re use our old and shirt to something new..I shall try this..
No, I haven’t tried DIY tie dye. But I can that you did a good job on your shirt 🙂
I very well remember that we used to do this in Highschool as one of our THE projects.
Visiting from CE Aug28.
My husband just asked me a question, “Why does it feel so good wearing your favorite shirt even if it is already torn out?”
I also remember doing this as a school project in HELE
I used to do this when I was in high school. It’s quite addicting too. 🙂 I might do this one of these days…. I got a few shirts in mind already. Yay!!!!
I love love tutorials like this. It’s been more than a decade since I dyed something, and your project turned to be so cool. Good job! That racerback should kick ass if you wear it in the public.
I remember doing this stuff when I was in grade school 🙂
Nice DIYs, you just need to have a great imagination for the color combination and designs. this will be a great outfit for summer. hehehe (visit from BC blogger)
we used to this “art” and i could say it never ran out of style thanks for the tut 🙂
I did tie dye a couple of times when I had to teach it to my students in class. It is really fun.
Yup I’ve tried Tie-Dye when I was in HS pa. Bumabalik na naman ang mga uso before. This is a great idea lalo na sa old shirts di ba. Would try that soon! Super mura pa to do it. 🙂
Super nice. Sobrang gusto ko talaga mag-dye, kaso I don’t know where to buy them. I know it’s impossible to not find them here in Divisoria, kaso un nga, I don’t know where exactly I could buy them.
i bought mine at an office supply store in the province. Ask national bookstore. They might be selling these dyes.
Great style and great idea. I love DIY posts!
I haven’t tried making one myself but I do remember tie-dyed shirts being in vogue back in college. 😀 Care to share with us how you made the patterns?
the tie-dyed shirts on the3rd photo are not mine. The stripe pattern can be achieved by tying the shirt horizontally and dipping each part one color at a time between the ties. The other pattern is done by just bunching up the shirt at different areas and dip them on the dye randomly. 😀
Oh! This reminds me of my old shirt with this style. Just thankful that I am not the one who do the washing here at home. My partner is very clever then so he knows what to do if my clothes has stains or need some repair. How lucky I am right? But thanks for your tip this is very useful too.
lucky you!
Wow, this is a nice idea to bring a new look to those old shirts. 🙂 Thanks for sharing, I should try it with my kids. 🙂
wow kat chada ang end product! 🙂 i like the one on the left – the one with three layers of colors 🙂 amazing 🙂
gail! i miss you! I will experiment more. I am looking for a cheap sando for that last photo. hehe
Tried this before and it was a success! 🙂 i want your next project.. will wait for it..
It so nice. I have tried making one of those when I was little but too bad the output was not as nice as that. I only use one color. Maybe next time I will try many colors.
This post makes me nostalgic! I remember making a demo about “batik” back when I was still a highschool student. Slightly different process but same idea of dyeing. I love how your shirt on the left turned out!
Wow, batik! I should look for instructions on the internet. What I know is that it involves the use of wax.
oh I like what you did with the first one. You can also probably do an ombré from tie dye. It’s a popular trend lately.
I will try that!
Nice. 🙂 That’s why I love Pinterest too. It gives a lot of DIY ideas.
The dyes bring back memories of art classes during elementary days! That reminds me, I forgot to get some for a project I am doing.. But not tie dyes, though! Hahaha! I like the outcome of your little crafty experiment.. I would like to see your next project, the splattered shirt! Can’t wait!
nice work i really love them, thanks for sharing i will surely apply it with my old shirts
i want to try this too…i’ll check my old clothes if i could do this little project.
you have nice new shirts na haha! ganda…cool idea
i haven’t done tie dying
Nice naman. I will try this one if time permits. 🙂 Thanks for sharing!
Wow! great idea you have there.. Want to try it too! Thanks for sharing…
I have tried this one before pero 1 color lang hehe..:)
i like the design of your next project…. if you’re able to copy it please share with us!!! 🙂 thanks!!!