I learned about Kulay Sa Tubig when I started following watercolor artists on Instagram. Once you follow one, the algorithm suggests another one. I learned that most of the Filipino watercolorists I admire have joined or won in Kulay Sa Tubig. At the back of mind then, I was wondering how I can be part of it.
So what is Kulay Sa Tubig?
Kulay Sa Tubig is the Philippines’ longest running and most prestigious invitational watercolor competition. This year is their 35th year of the competition which was started by Gallery Genesis’ founder, Araceli “Chichi” Salas. Dexter Matilla wrote that for almost four decades, the Kulay Sa Tubig Invitational Watercolor Competition by Gallery Genesis has remained as the highest standard by which Filipino aquarelle artists are measured- techniques, composition, precision, balance and the choice of subject are scrutinized by the most discerning eyes.
Every year, Gallery Genesis screens first-time artists to join the competition.
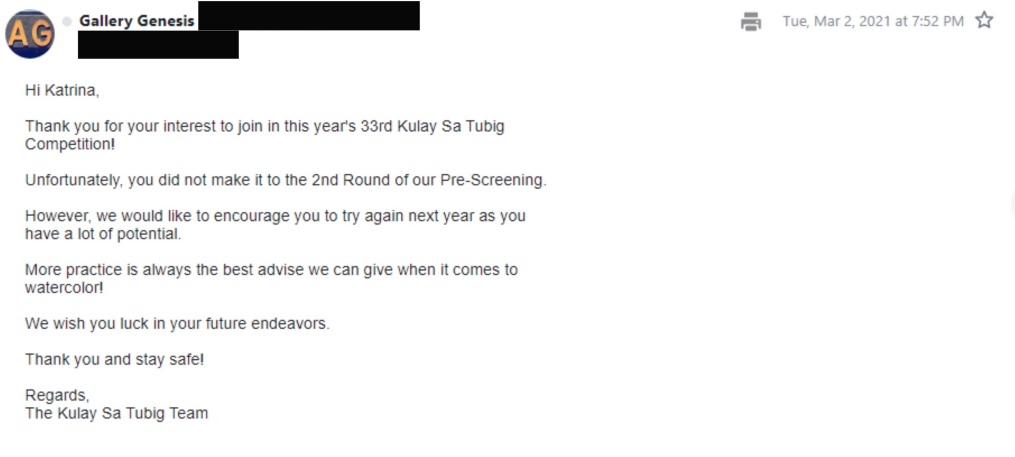
Two years ago, I saw a call for entries for Kulay sa Tubig. I sent my portfolio then and got a rejection letter a few days after.
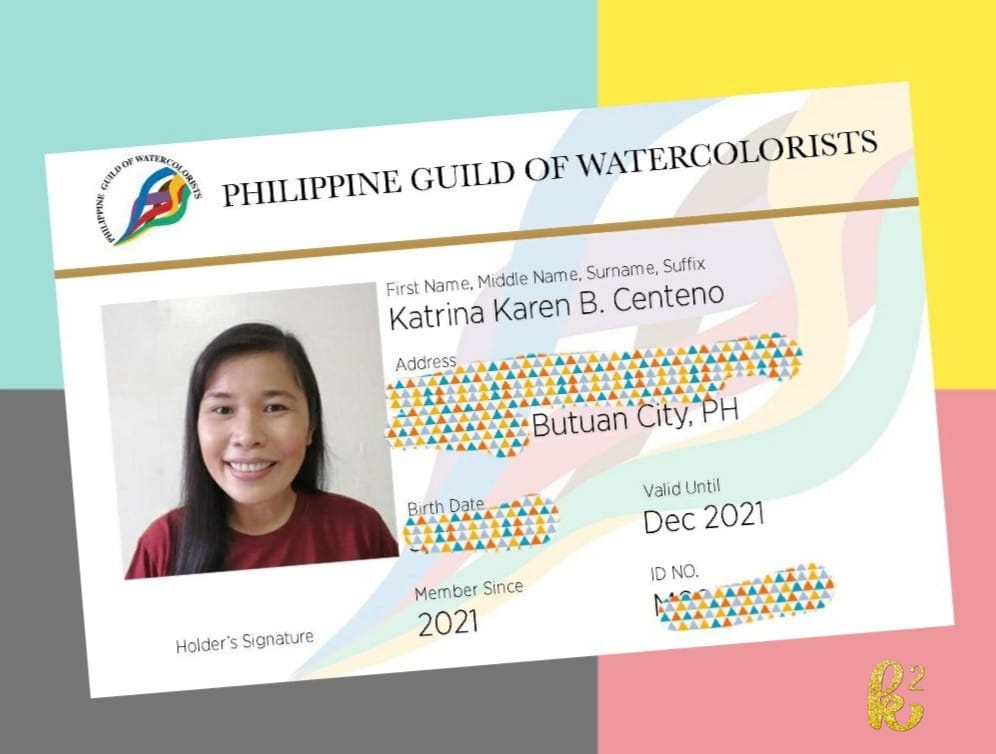
The rejection email was my motivation. I also understand why I got rejected. In the early 2021, the art activities I have done then were the online auctions in support for COVID-19 frontliners. I have just joined the Philippines Guild of Watercolorists (PGW). I have not participated in any PGW activity yet. I have not really shown my art with fellow watercolorists. I have not gauged my skill level. I was an overzealous kid who thought she was ready to compete with the best artists. The universe has a way to put me in my place.
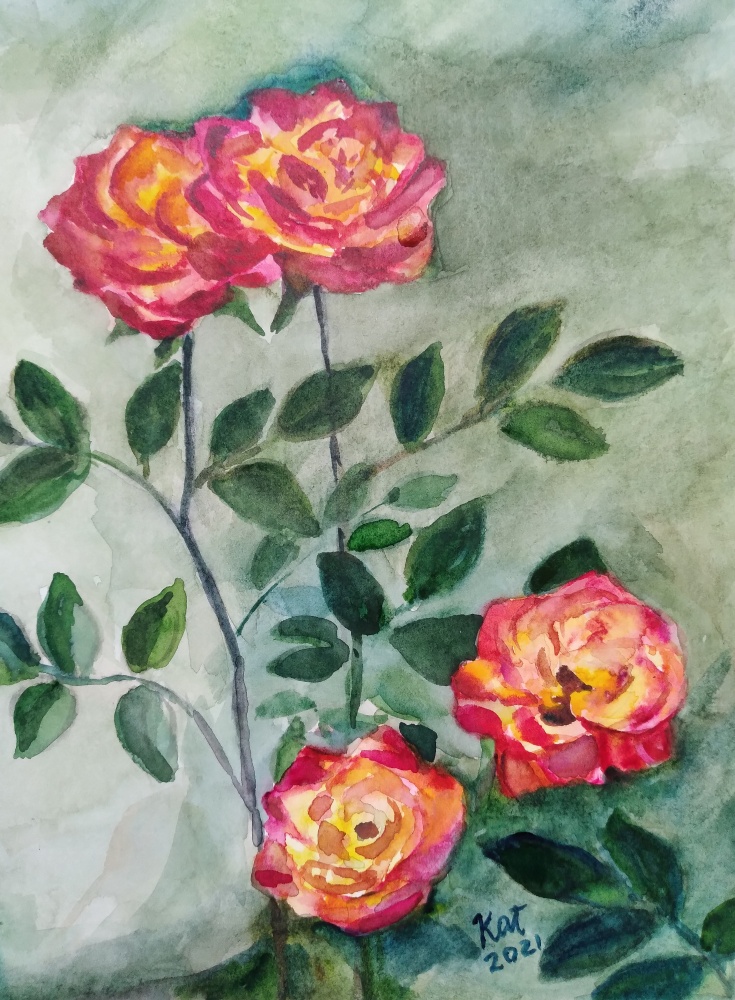
So for the past two years, I focused on improving my art. This is something I love doing so I might as well push myself to be better at doing it.
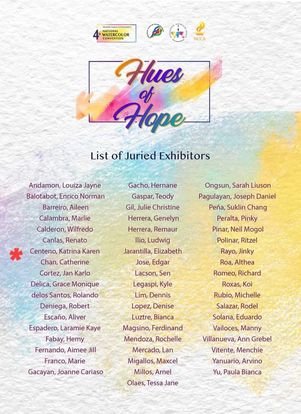
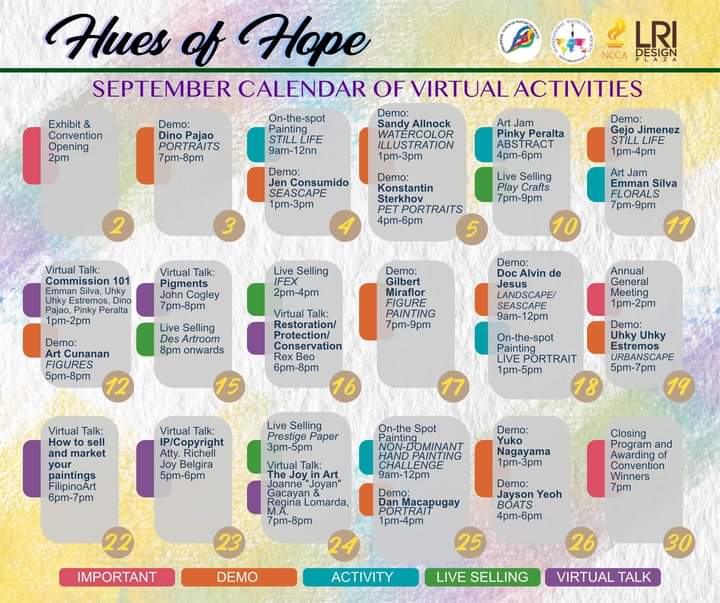
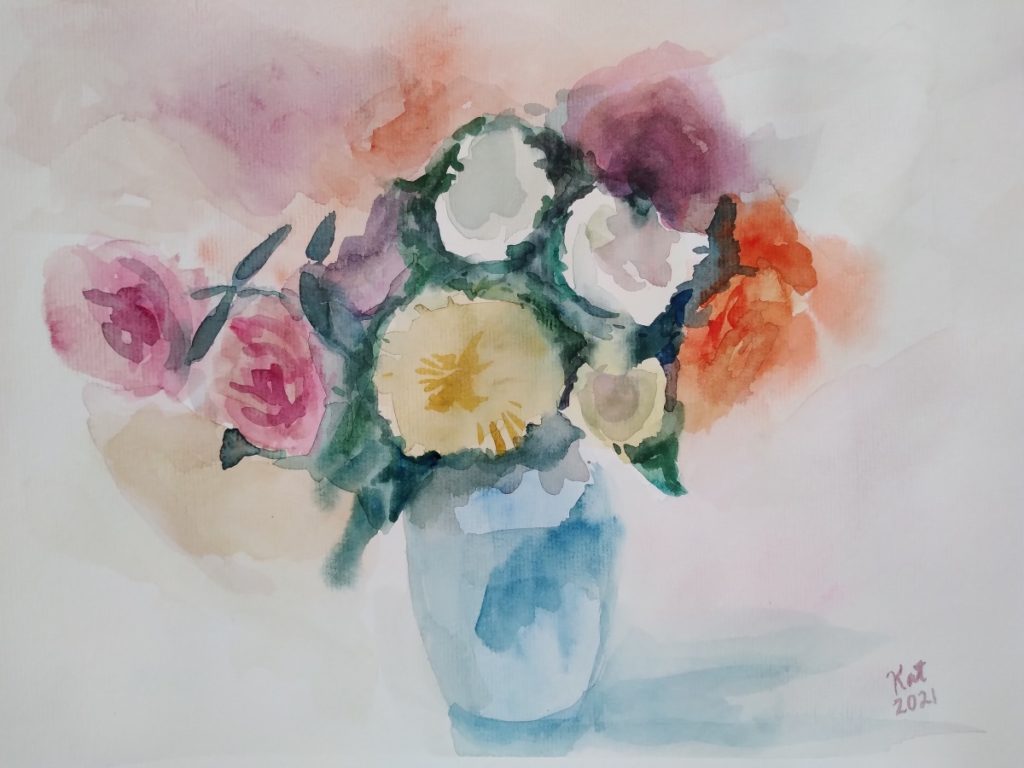
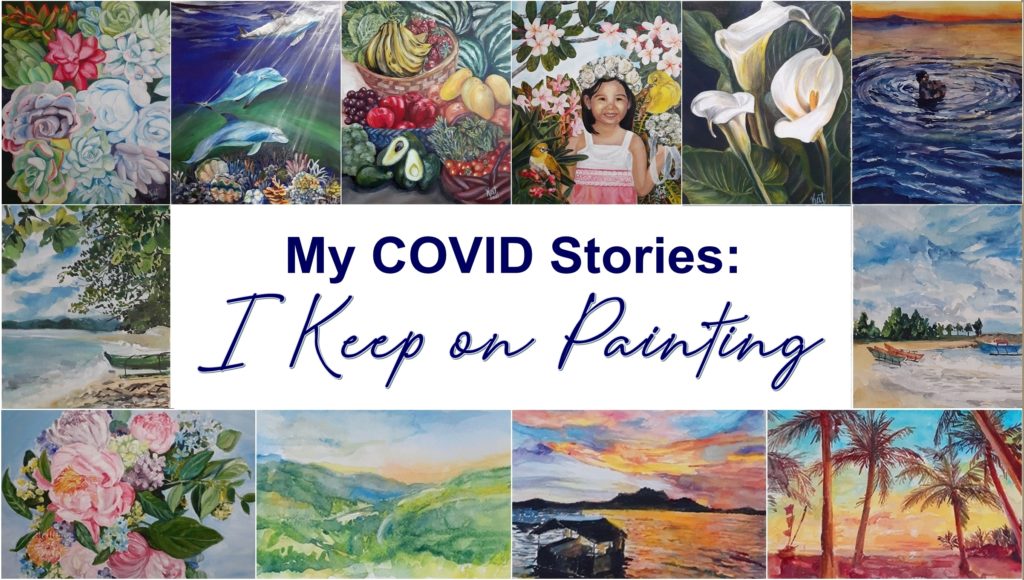
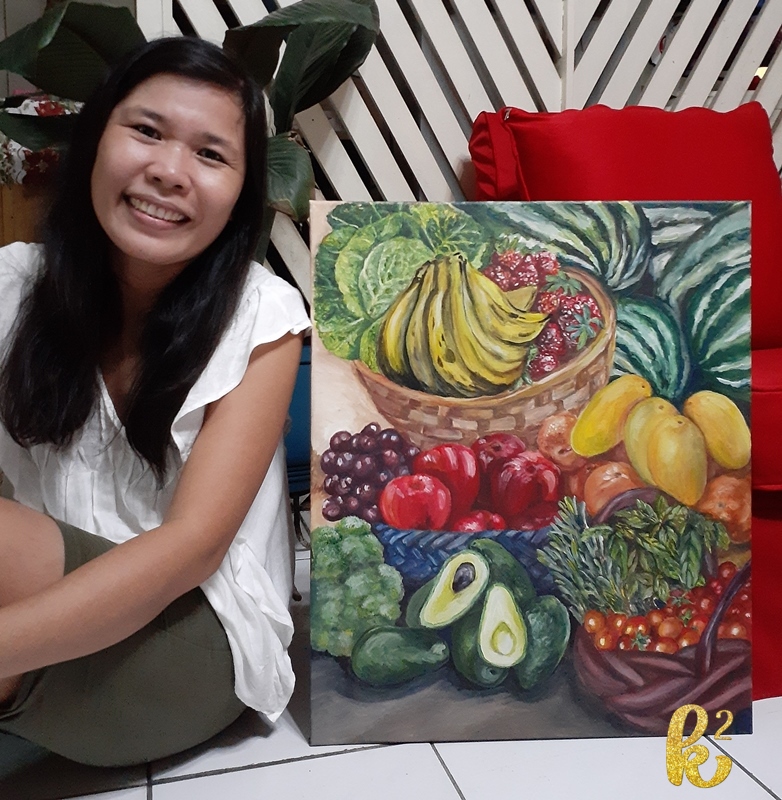
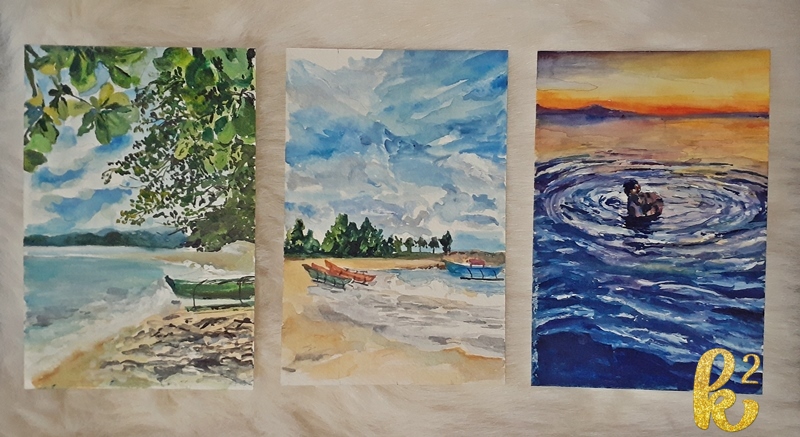
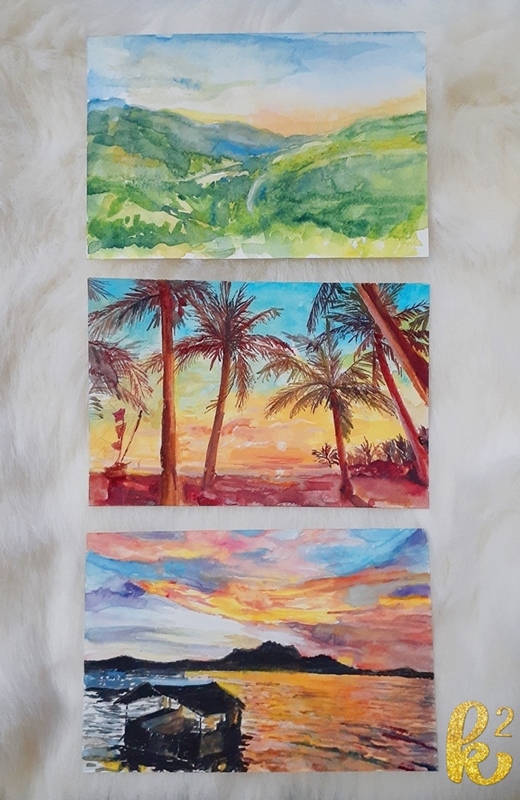
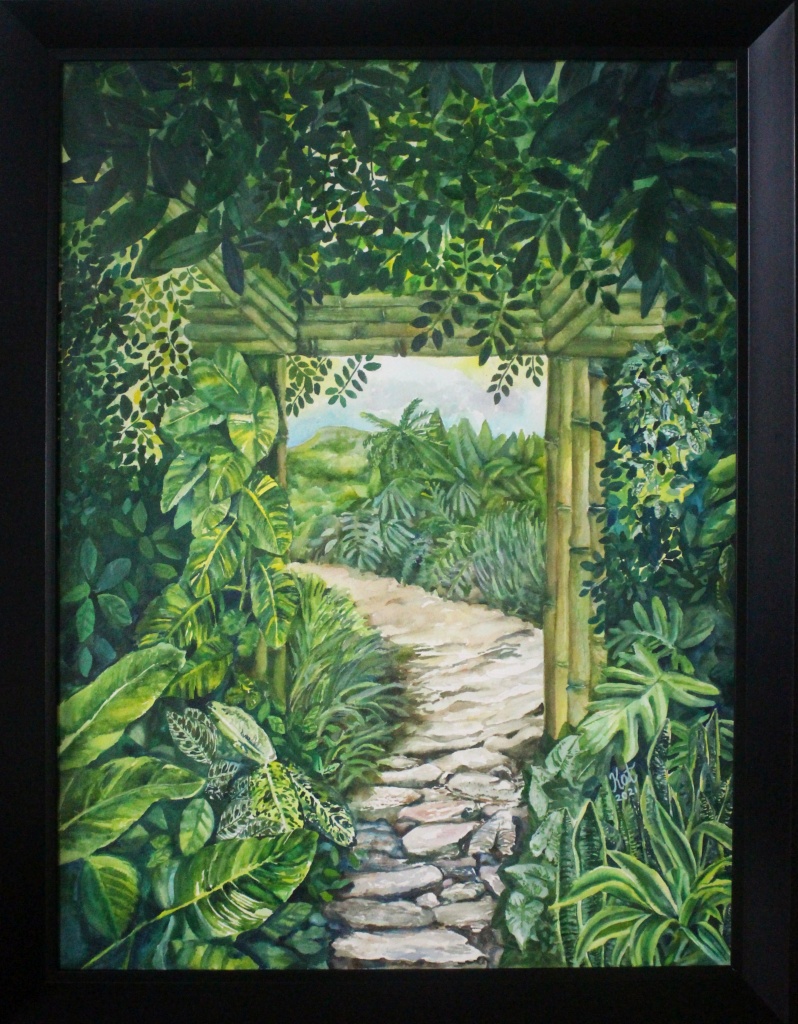
I joined Hues of Hope in 2021. It was juried exhibit and I was fortunate to be included to participate in the physical exhibit.
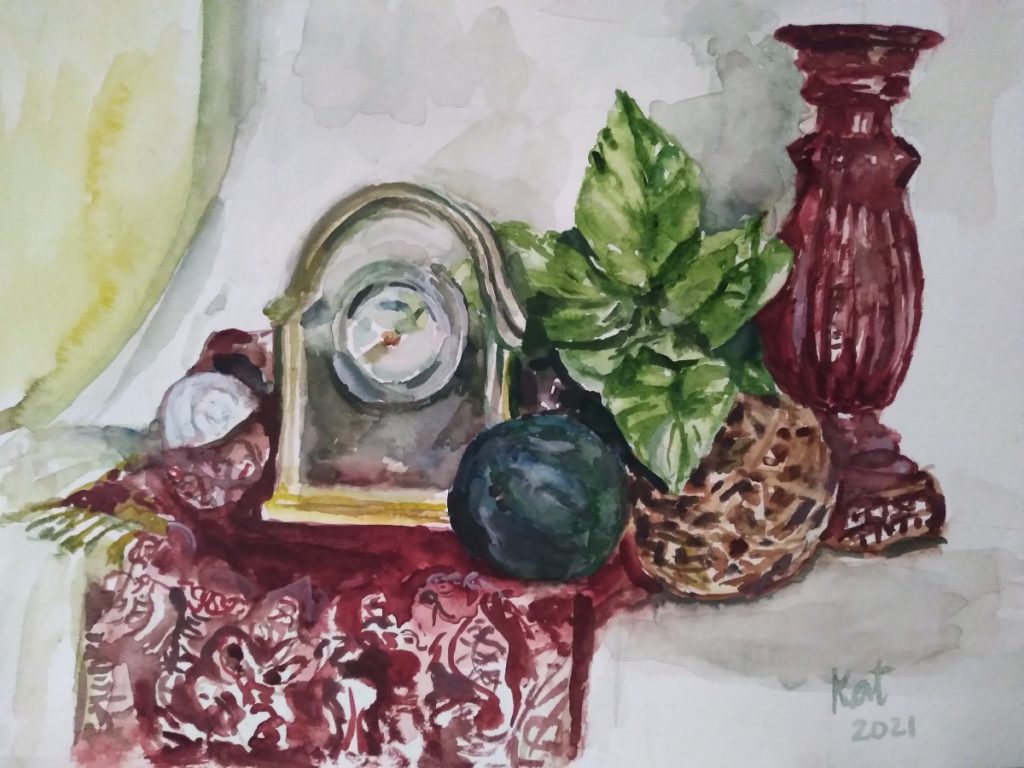
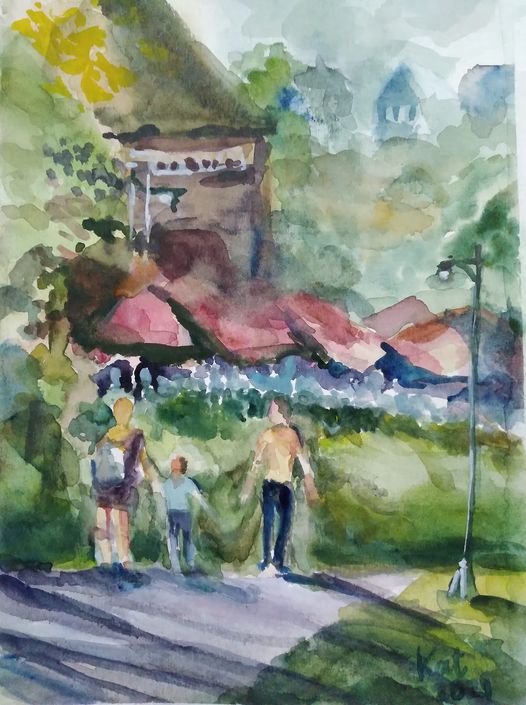
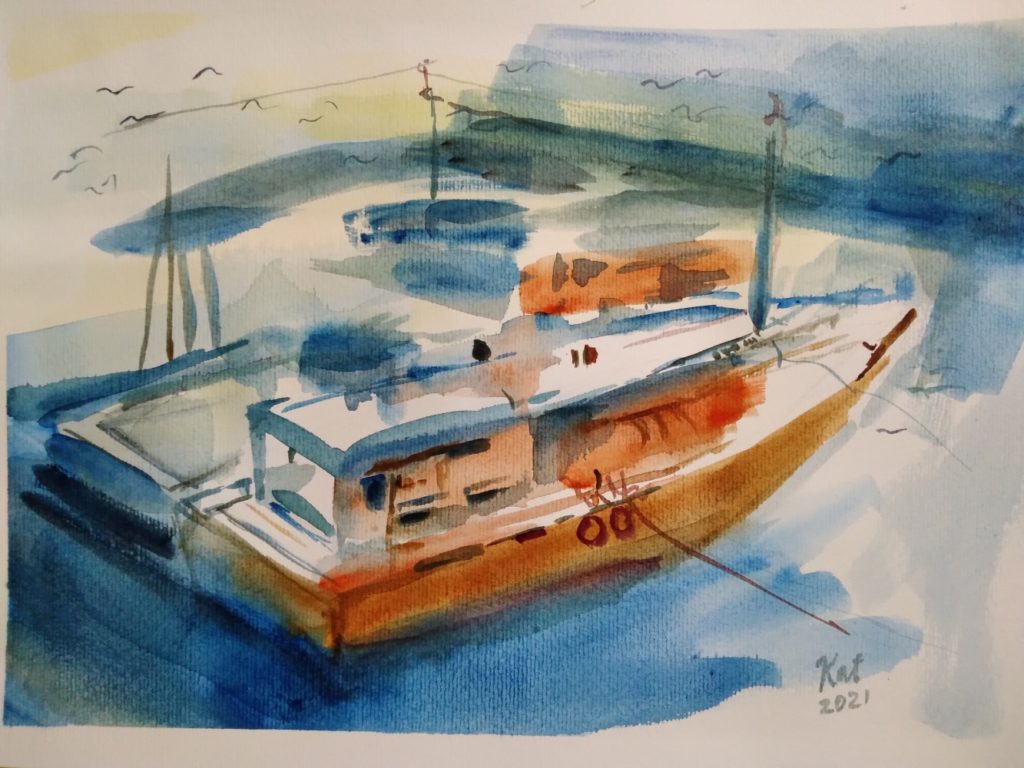
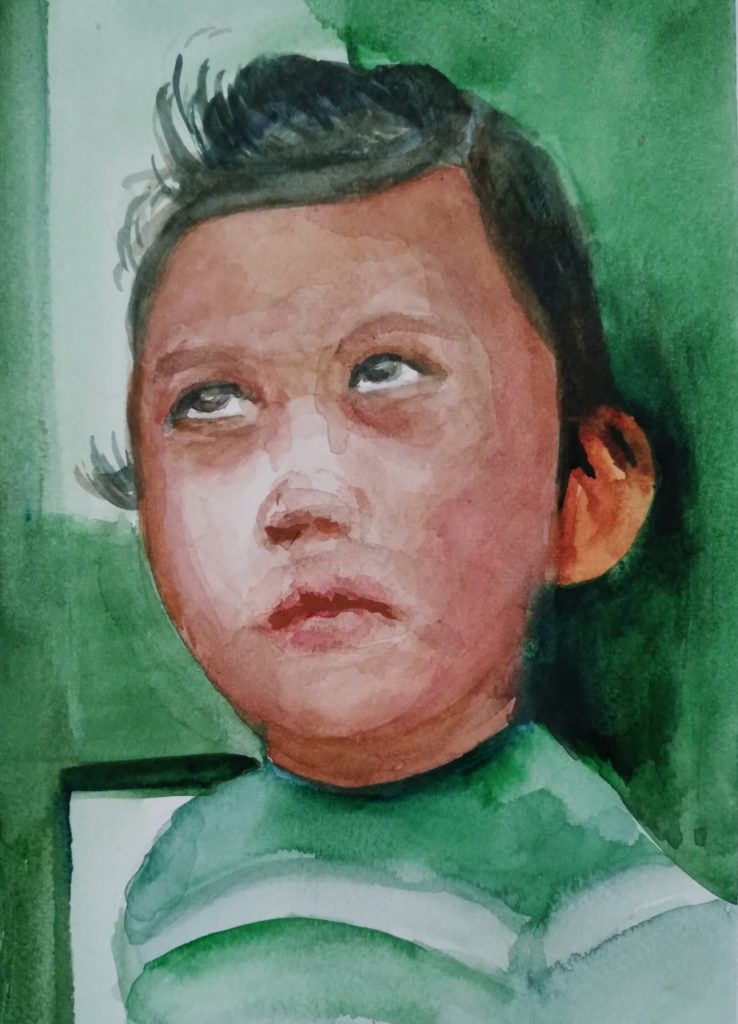
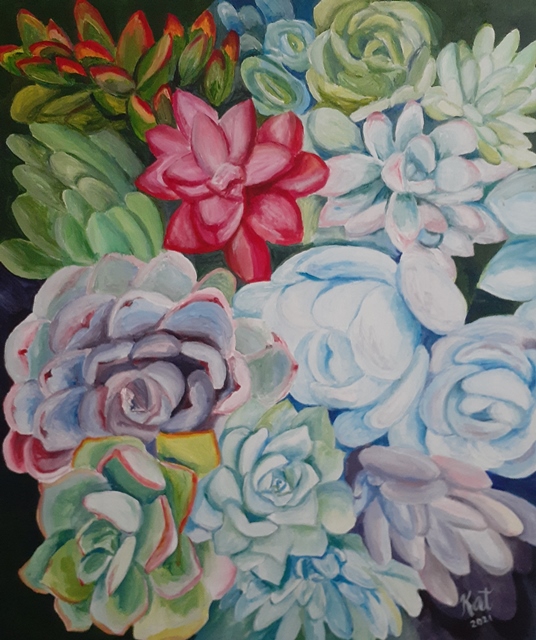
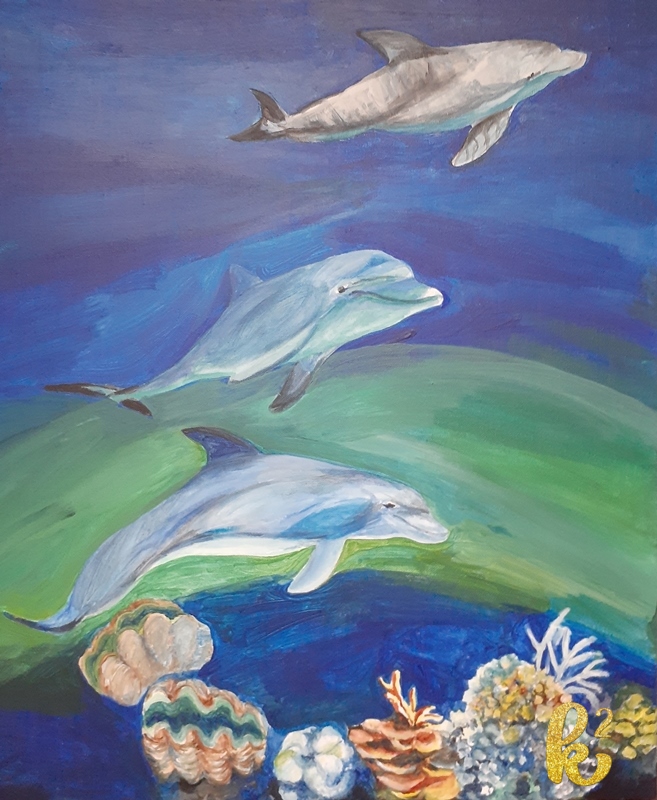
I joined Mindanao Art in 2021 with this watercolor piece as an entry.
I enrolled in Emmanuel Silva’s Masterclass to improve my skills. By the way, Sir Emman is one of the top 5 watercolorists in the 35th Kulay sa Tubig. He also had awards in the past Kulay sa Tubig competitions. Look at his winning piece! Magnificent!

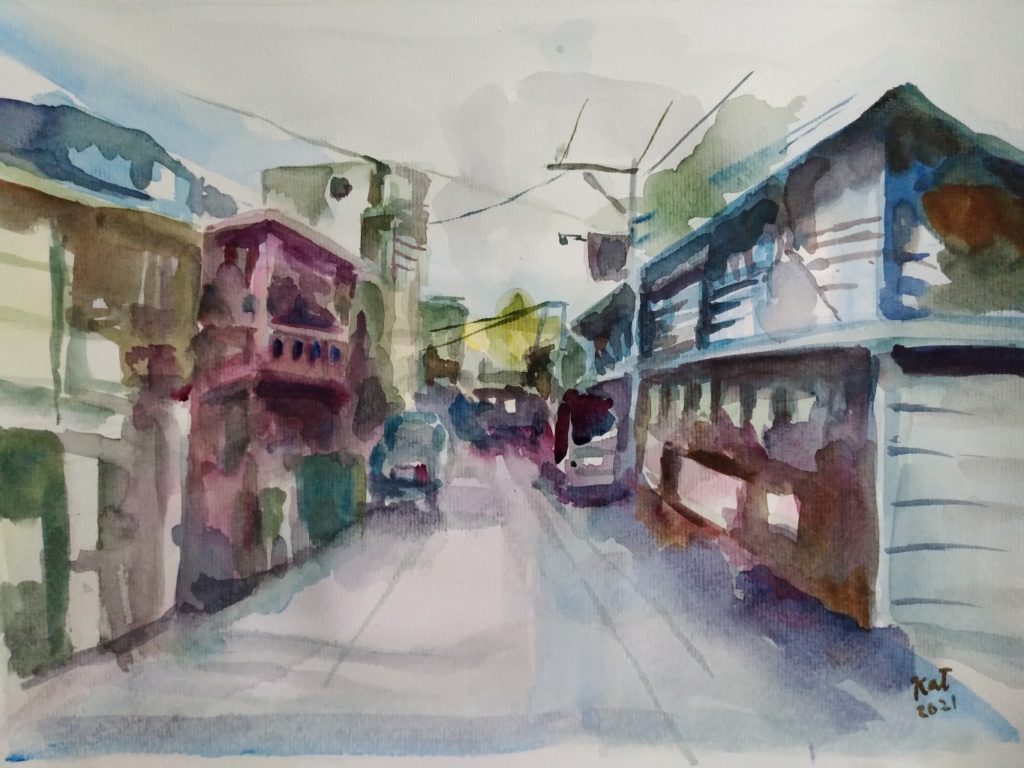
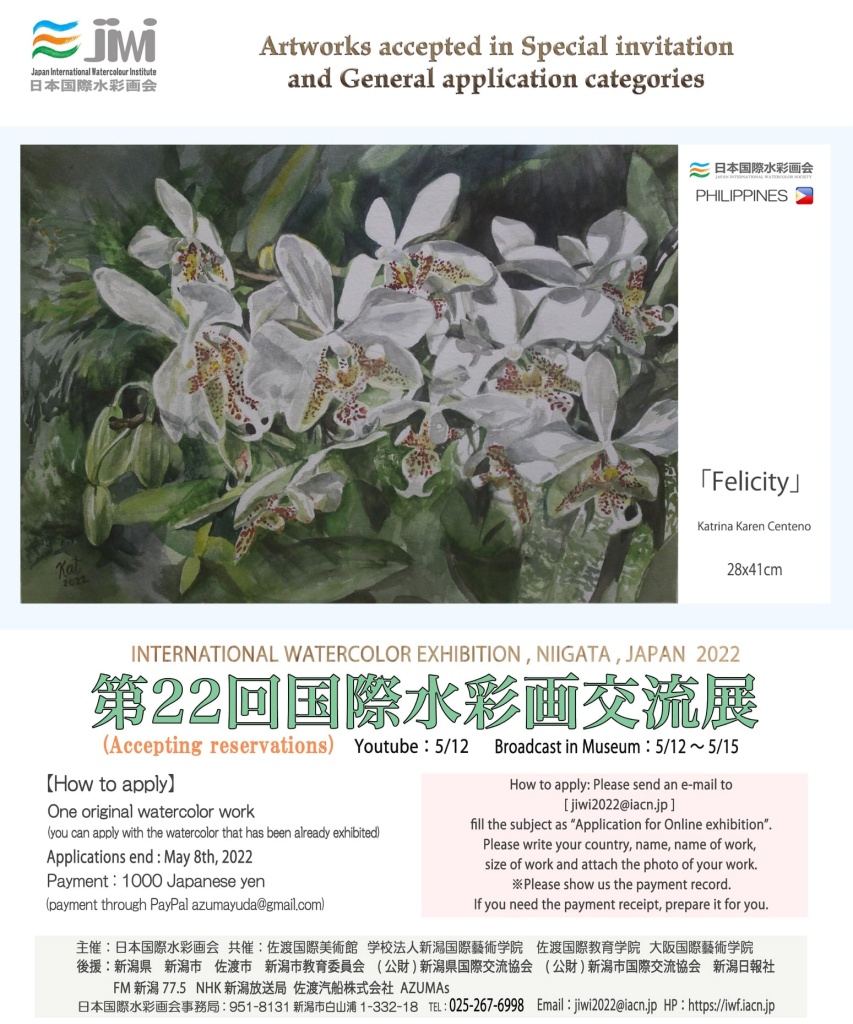
I joined the Japan International Watercolor Institute’s International Watercolor Exhibition 2022 online.
I joined the PGW Pagsibol exhibit in 2022. I got a Vendor’s Choice Award. I got a Daniel Smith Alvaro Castagnet watercolor set as a prize.
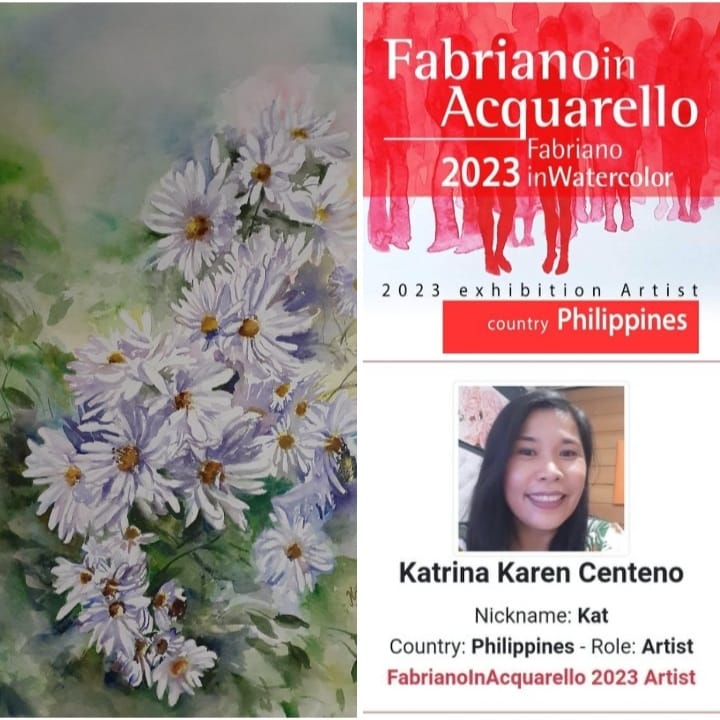
I got accepted to join the Fabriano in Acquarello 2023 International Exhibition in Italy.
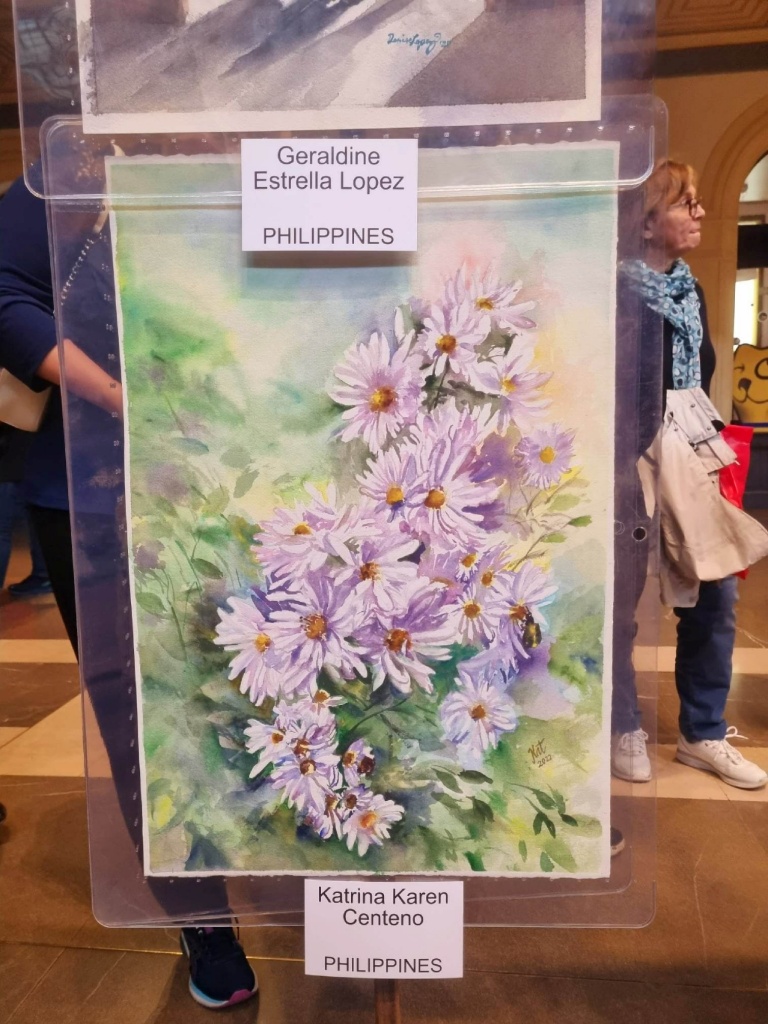
My painting was shipped there together with other artists’ entries. This is the photo of the actual exhibit.
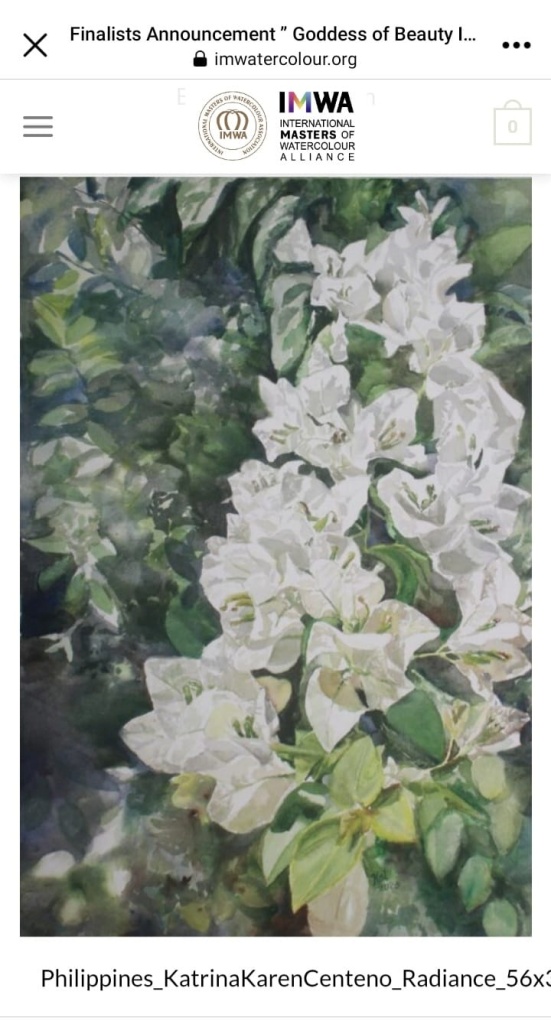
I was thrilled to be selected as 1 of the 8 finalists from the Philippines for the International Masters of Watercolour Alliance’s 2023 Goddess of Beauty International Watercolour Online Exhibition celebrating International Women’s Day.
All these juried exhibits that I joined in gave me confidence to try my luck again in the 35th Kulay sa Tubig screening. I sent my portfolio and other requirements when I learned about the call for pre-screening for first-time artists (those who have not participated in the competition) .
Imagine the thrill I got when I received this email.

I passed the first round of screening! It is a great improvement from two years ago. The second round was an interview process and at the end of the interview, I was asked to submit a piece for approval.
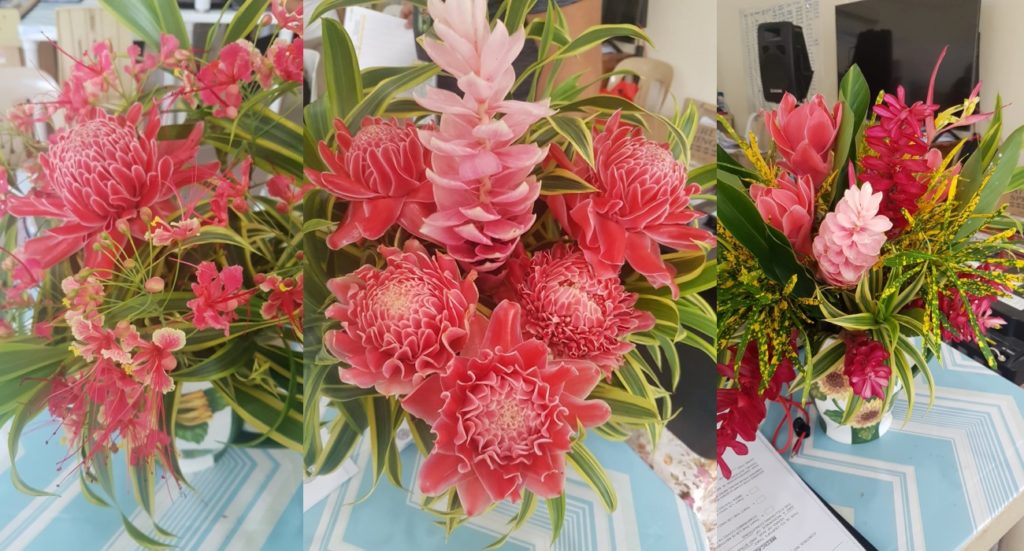
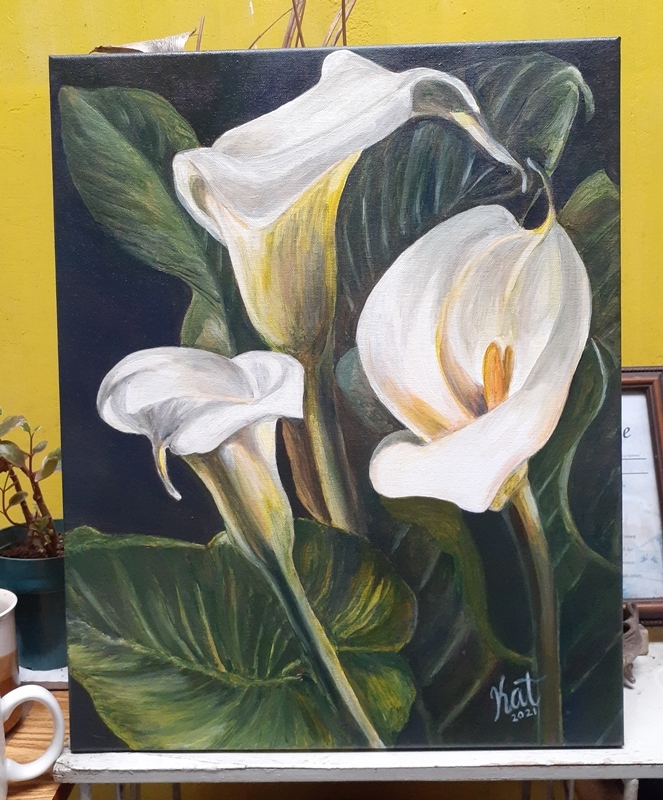
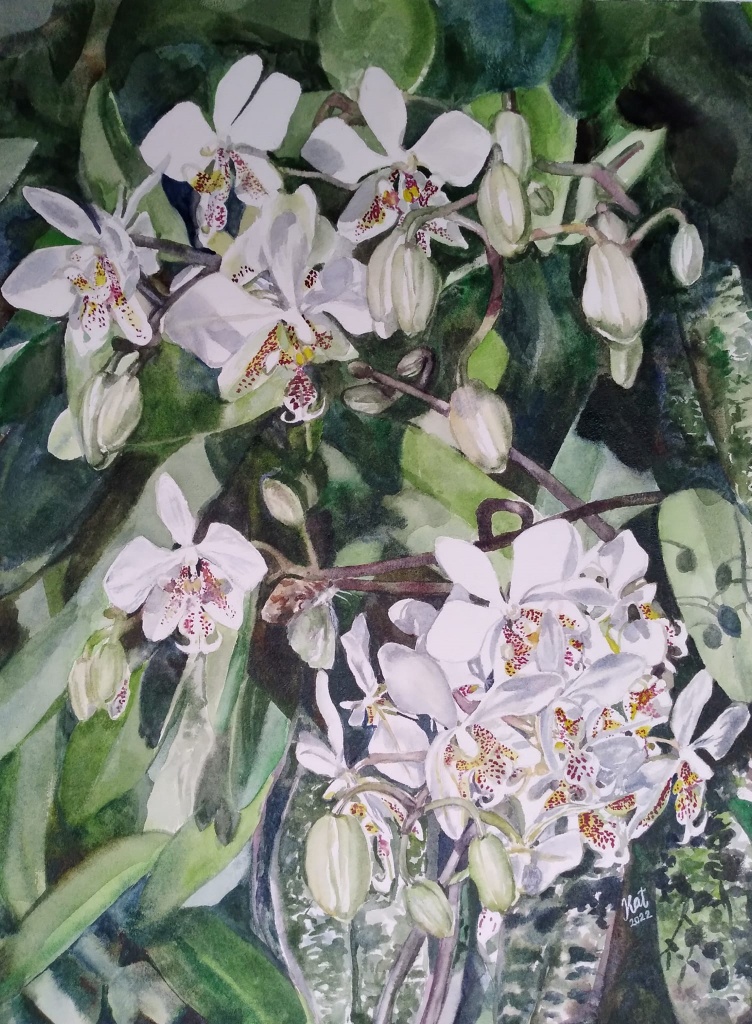
So I reflected hard on what to paint. During the interview, Gallery Genesis President Patrice Salas said that Maam Chichi took notice of my white flowers. I knew I had to paint flowers. I was thinking of sampaguita (jasmine). I had painted a piece before. However, I do not have a new reference photo. Our own sampaguita in the garden has not yet bloomed. I thought of white santan and looked through my photos if I have one. For exhibits like this, I always want to use my own photos or photos take by friends where I can get their permission explicitly. The problem is I do not have a reference photo in my file. I remember going to Butuan National Museum and noticed the santan bushes. One afternoon, I specifically went there to take photos of santan. There were no white santan clusters so I settled for the pink ones. I picked three photos and combined them to come up with a composition I like.
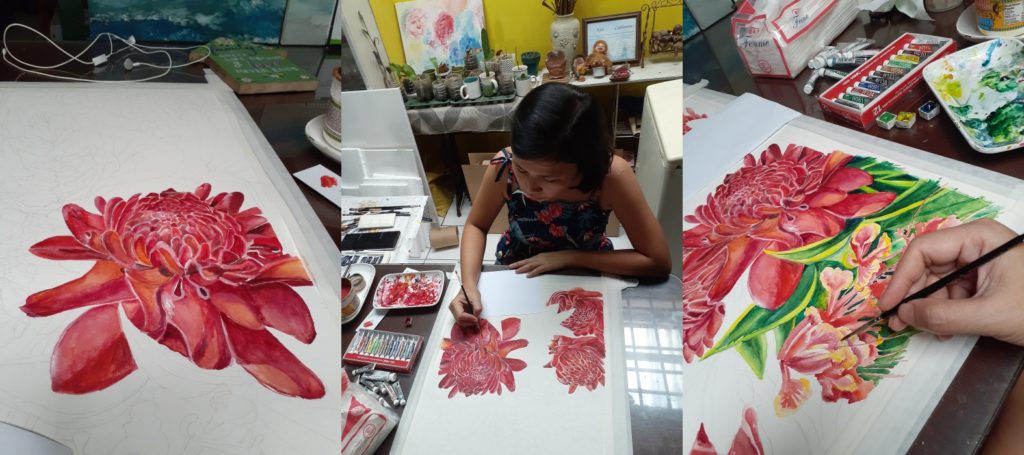
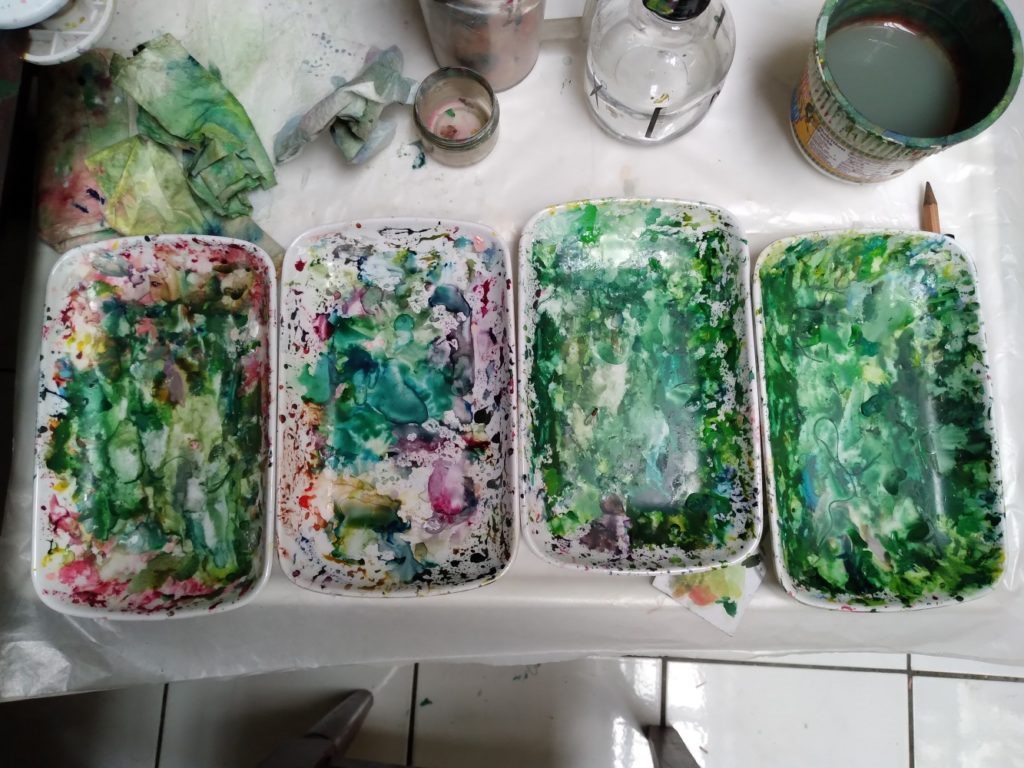
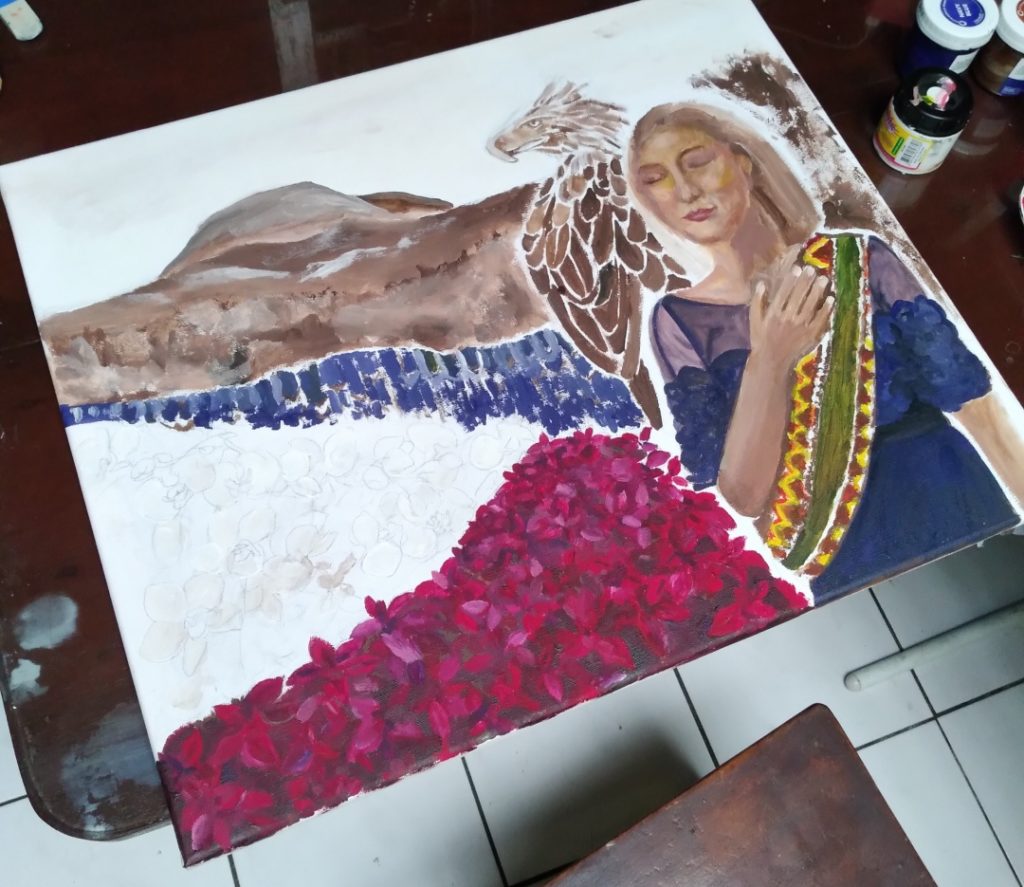
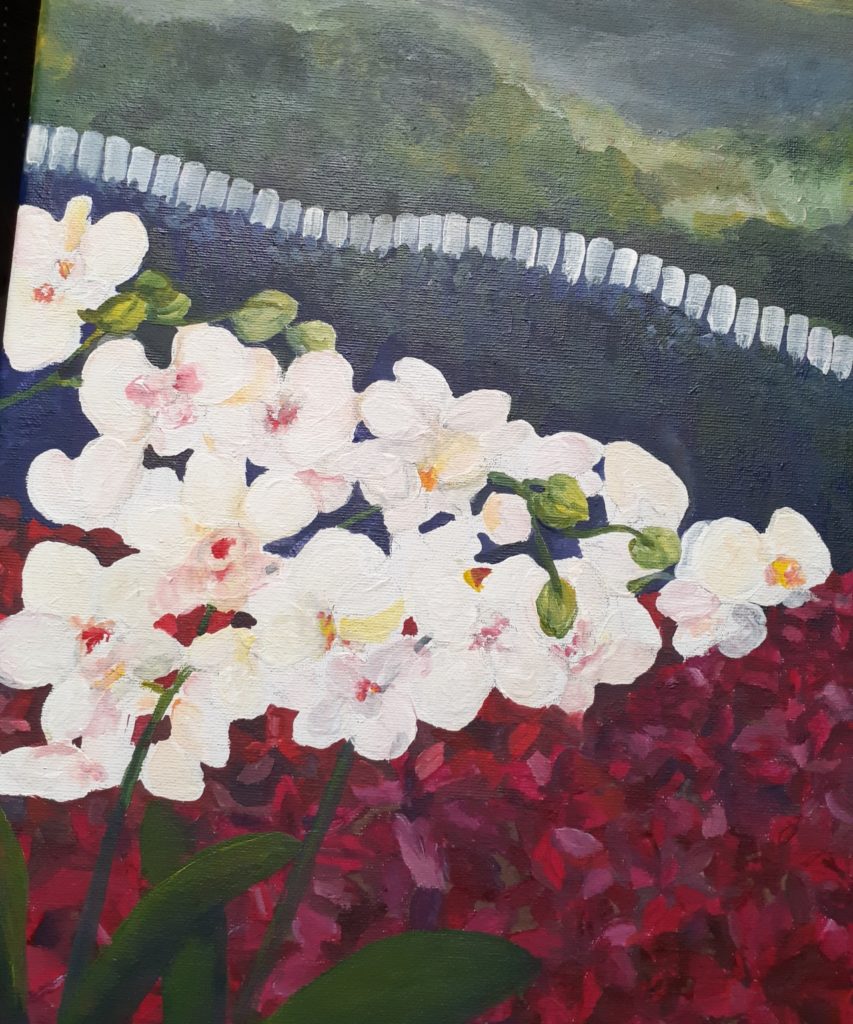
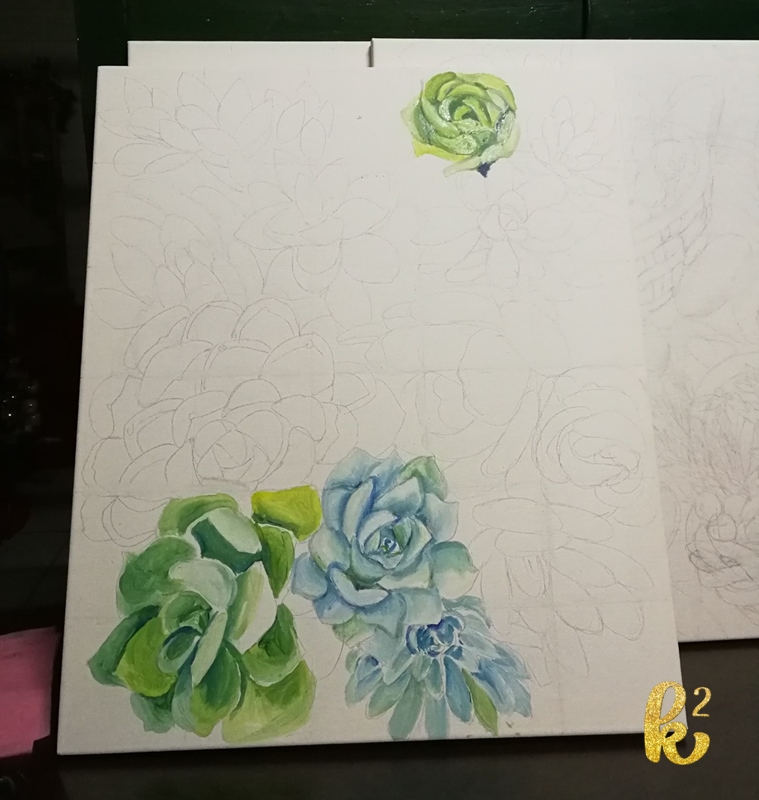
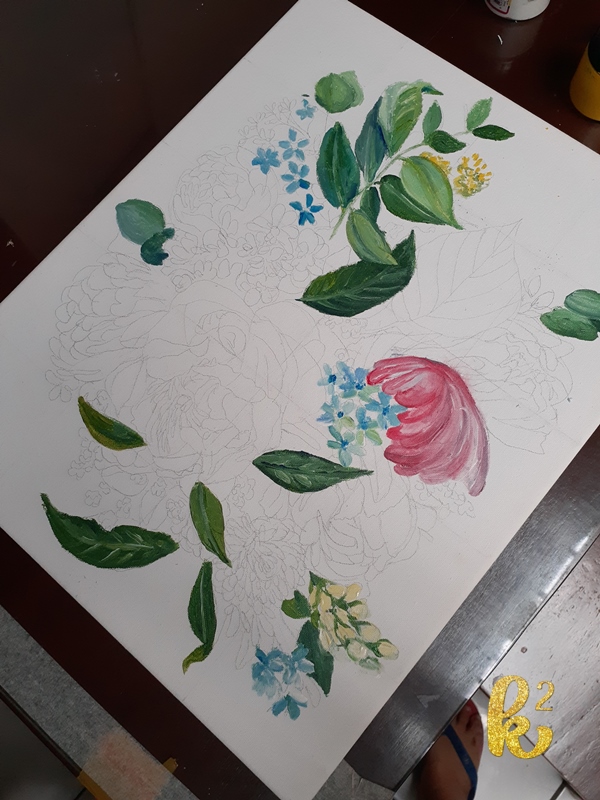
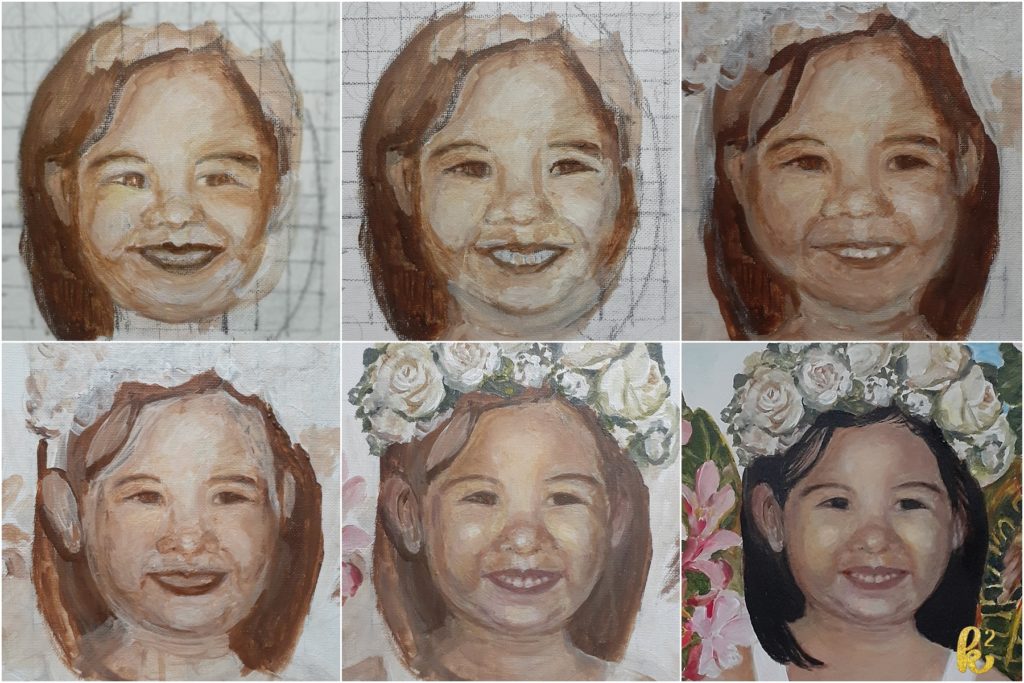
These are my progress photos.
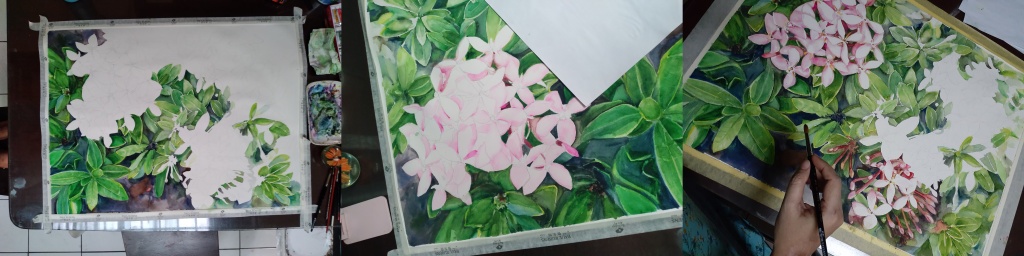
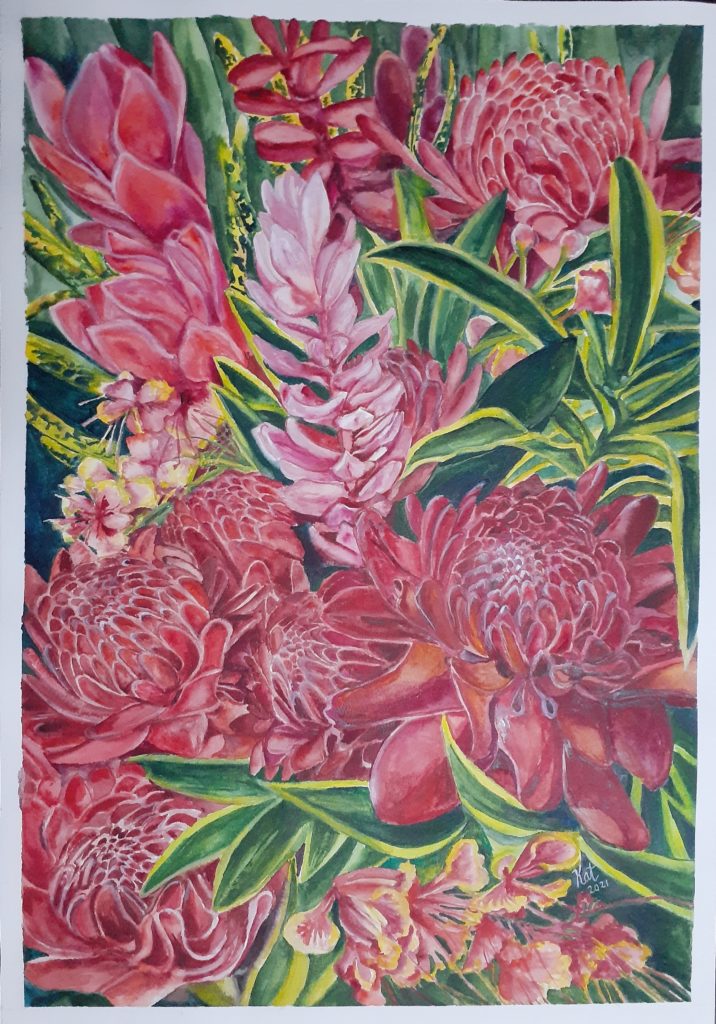
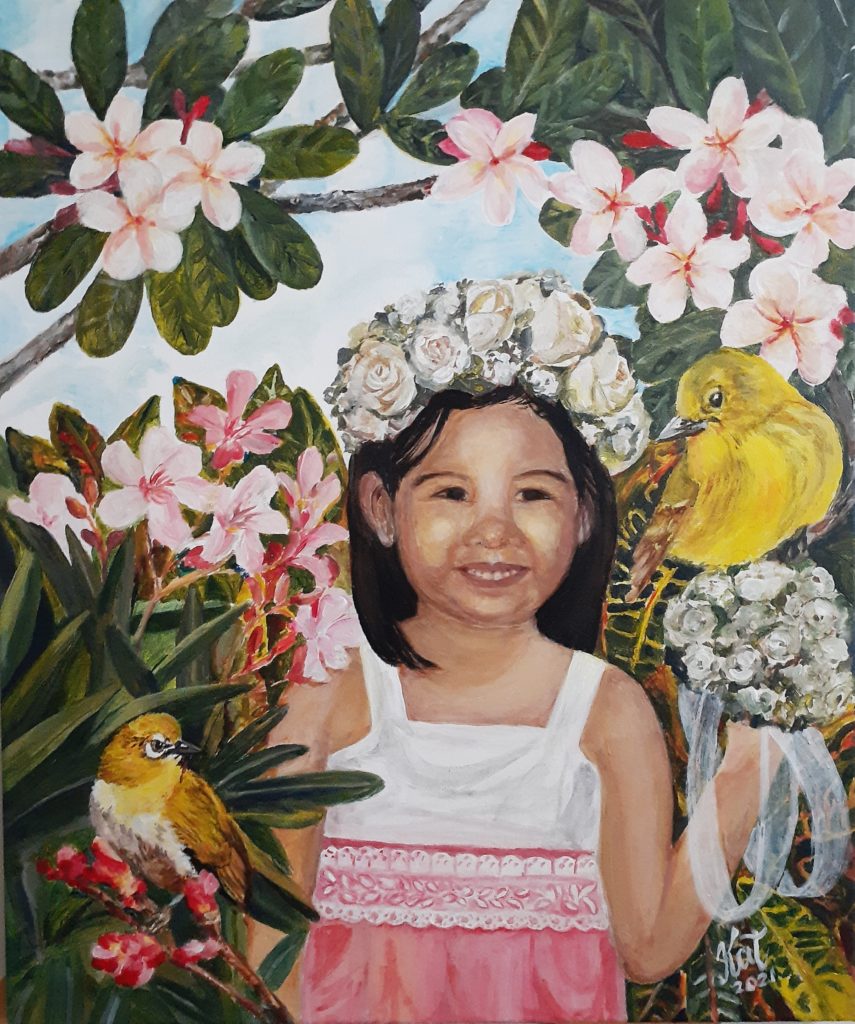
I added ants for fun. I remember last year that I painted santan for a collector and he suggested to put ants as an “easter egg” like in video games (something to look for). A friend also suggested before to put animals to my floral pieces to add interest and movement. So, here is my final work.
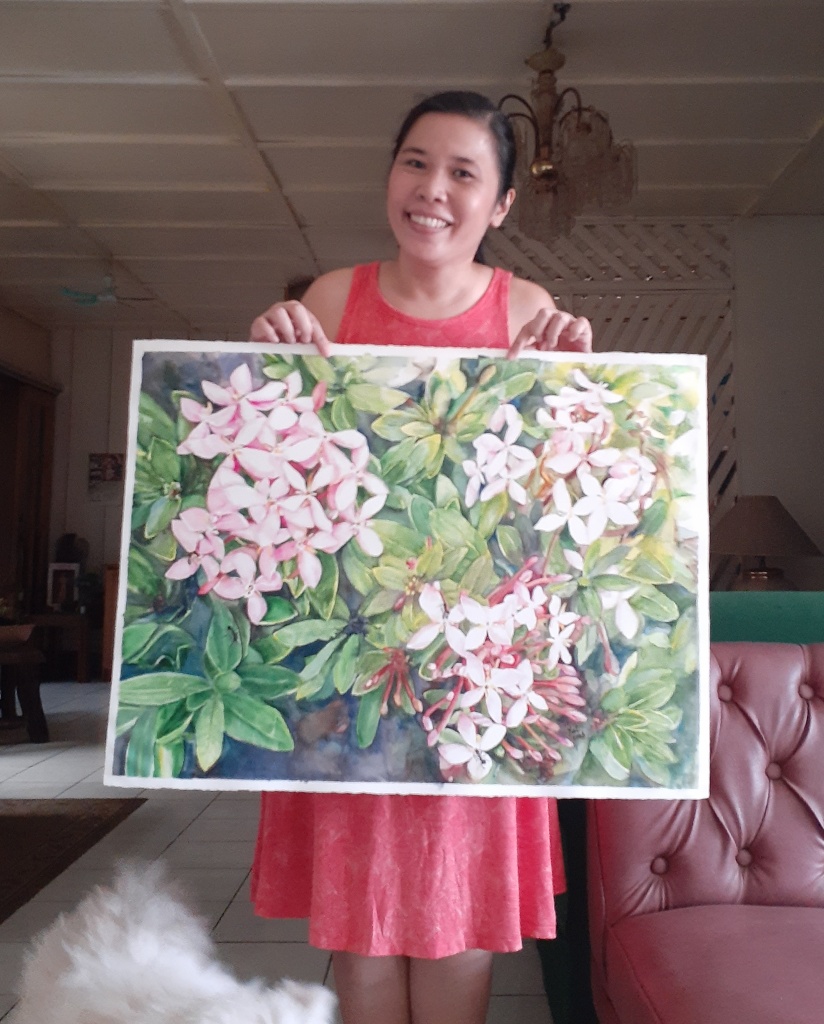
The overthinker in me created another piece so that Gallery Genesis has something to choose from. I also submitted a week before the deadline so that if none of my pieces gets the approval, I still have time to paint another. Yes, that is how I wanted to be part of the Kulay sa Tubig so badly. Good thing, they chose the santan.
The title of my piece is Santan Foragers. Can you spot the ants?
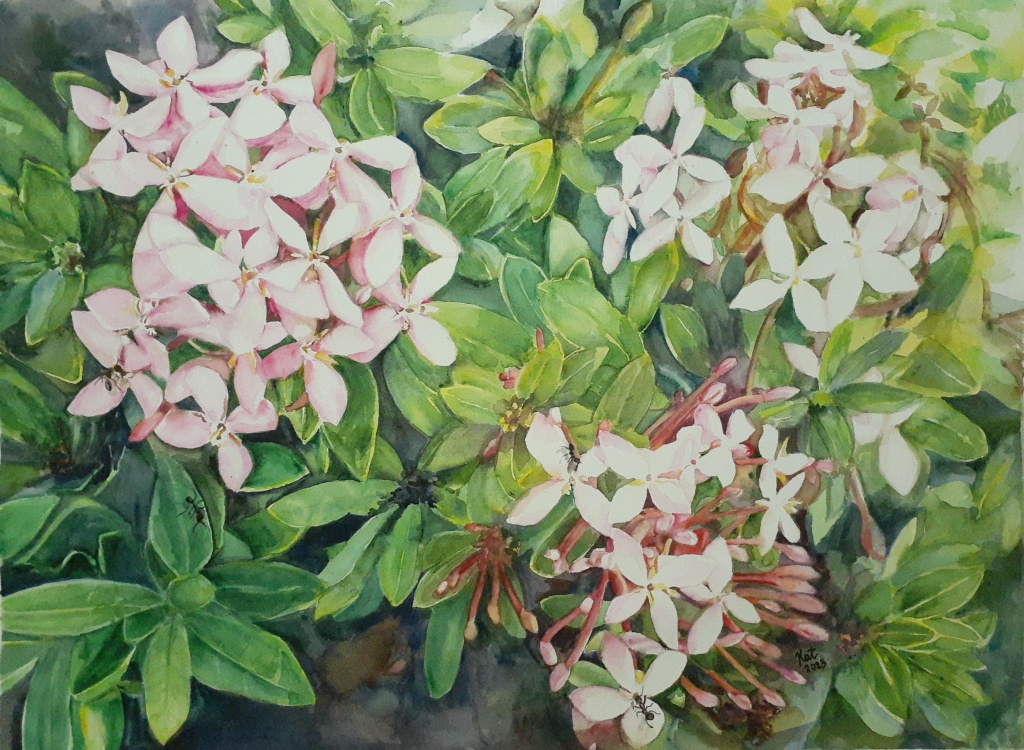
For this piece, I wrote: My art is always a form of storytelling about the world around me. What seems to be a whimsical and nostalgic ode to my childhood memories of sipping the sweet nectar of the santan flower has turned into a reflection of how I find inspiration in nature. These tiny ants may be unnoticeably small but behind their miniscule size lies strength, perseverance, hard work and commitment in achieving a goal. It is something I aspire. It is beautiful how nature has a way of teaching me the calm, quiet grace and veiled astuteness of an ant and the generous character of a santan (by producing multiple clusters of flowers that we can enjoy).
During the interview, Ms. Patrice asked me if I would be attending the opening if I get selected. I said, “Yes!”. I had purchased Cebu Pacific Travel Passes in anticipation of the art activities I wanted to attend in Manila this year. Talk about manifesting!
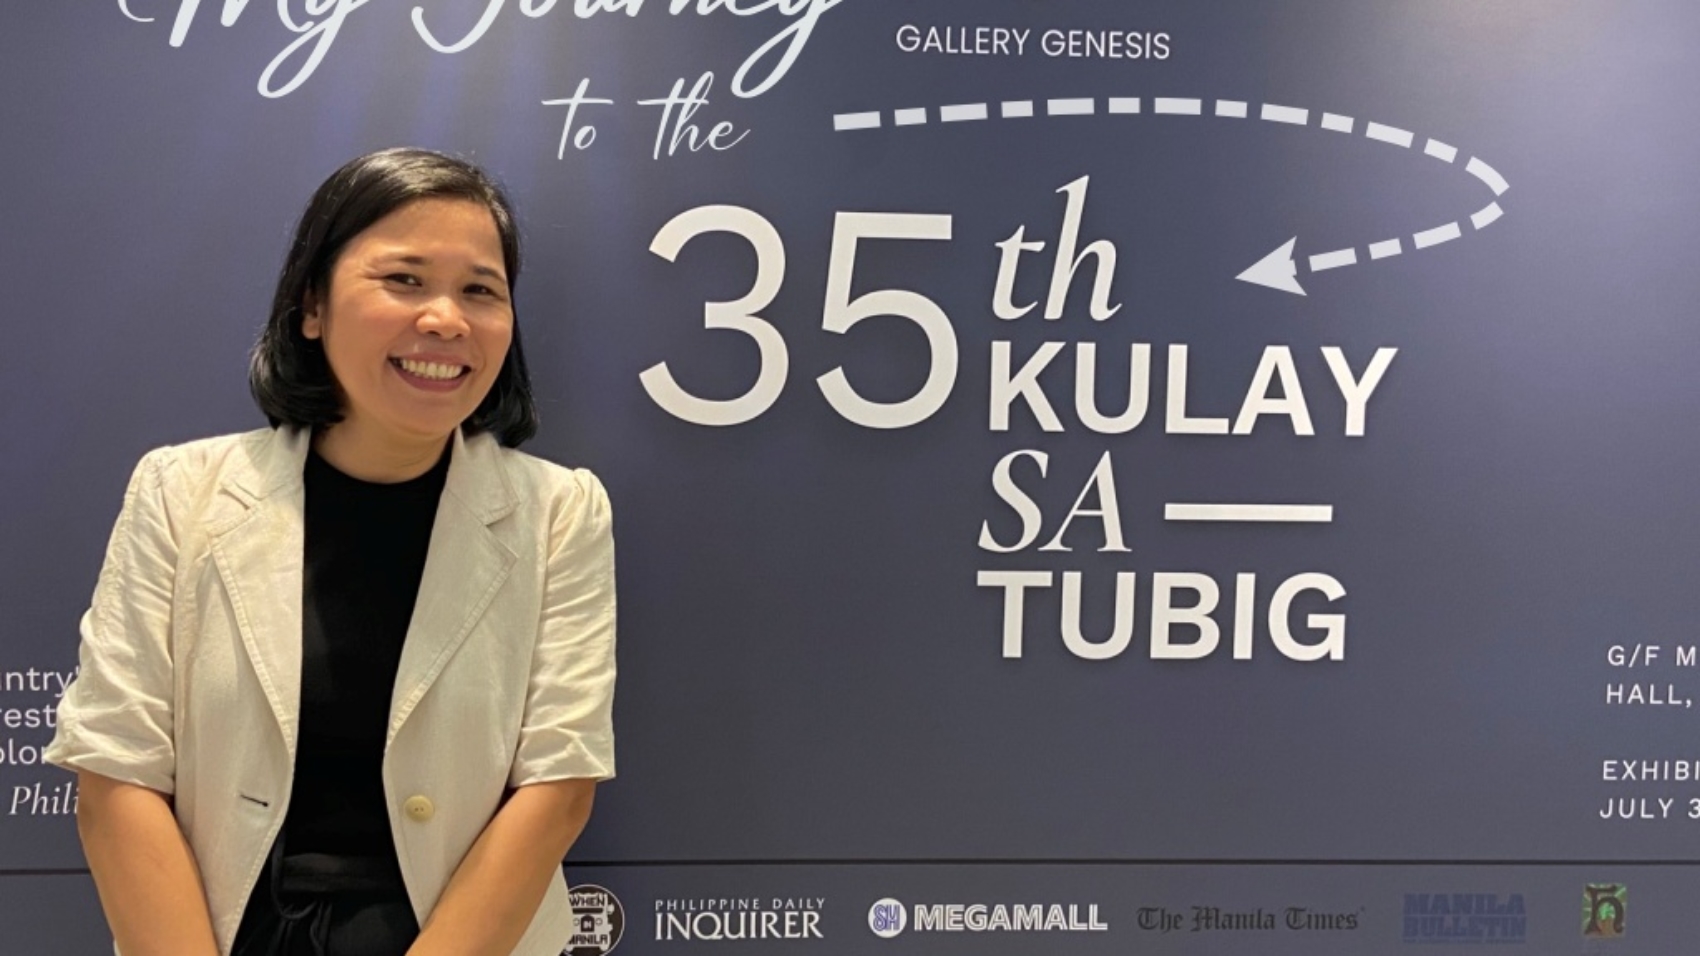
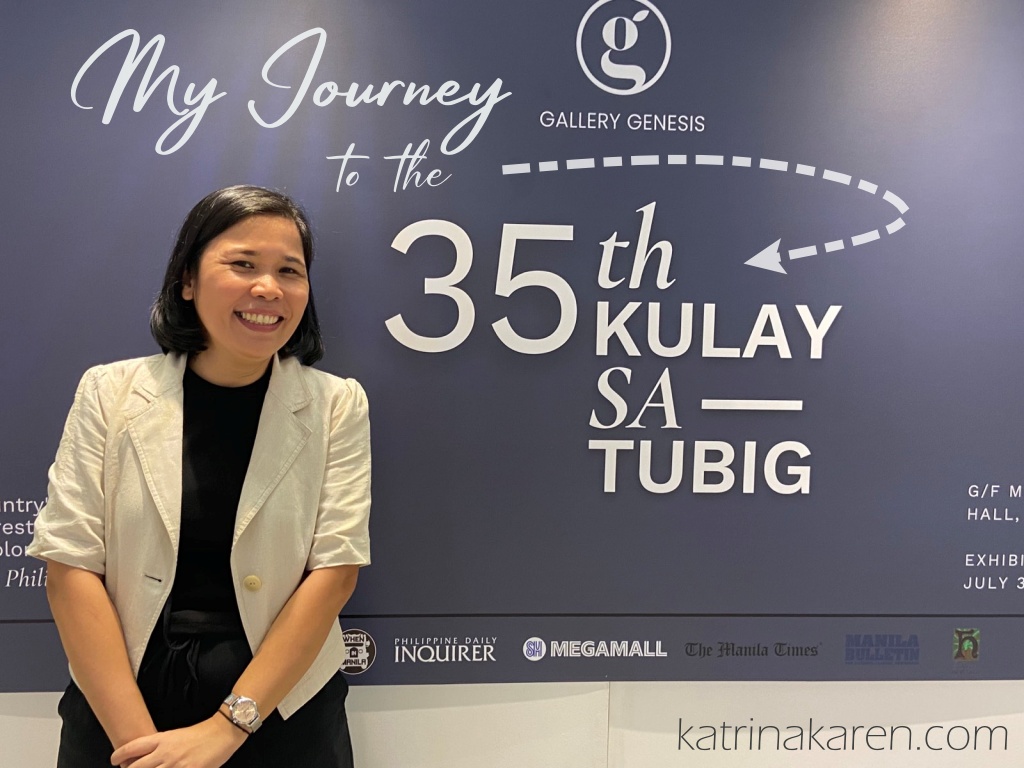
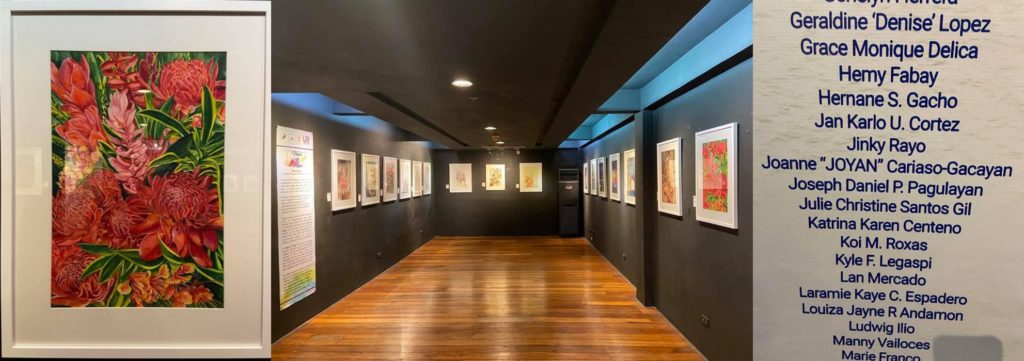
So last July 31, 2023, I was in SM Megamall Fashion Hall for the opening of the competition/ exhibit. I took a photo before the opening. I saw my painting from afar. Kilig!
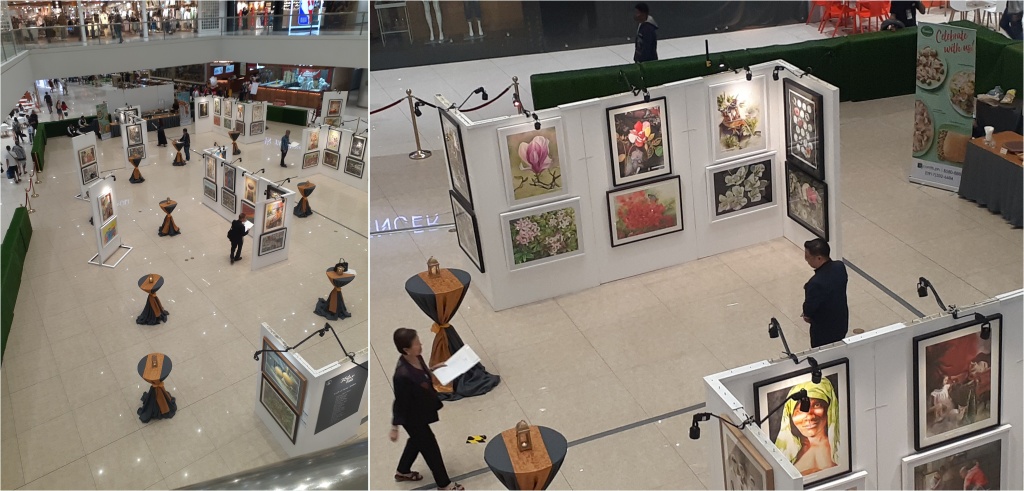
I went before 6 p.m. and immersed myself with all the art. I tried not tear up with the thought that I was accepted to compete with these artists. I really feel honored to be part of this competition. So many awesome art! My heart is happy.
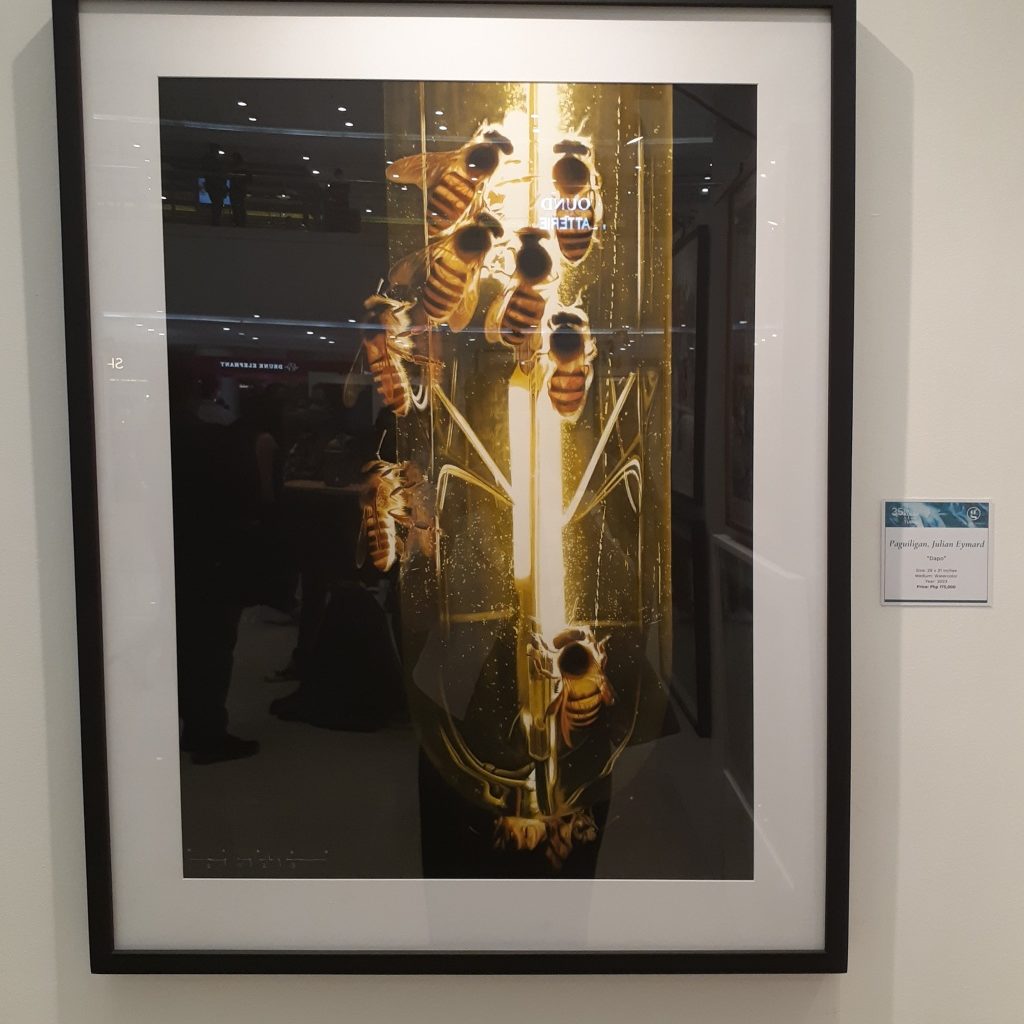
This is my favorite piece and it is one of the Top 5. I am really drawn towards realism and, for this one, I took a closer look. I wanted to learn how to paint light. One day, I am going to try it.
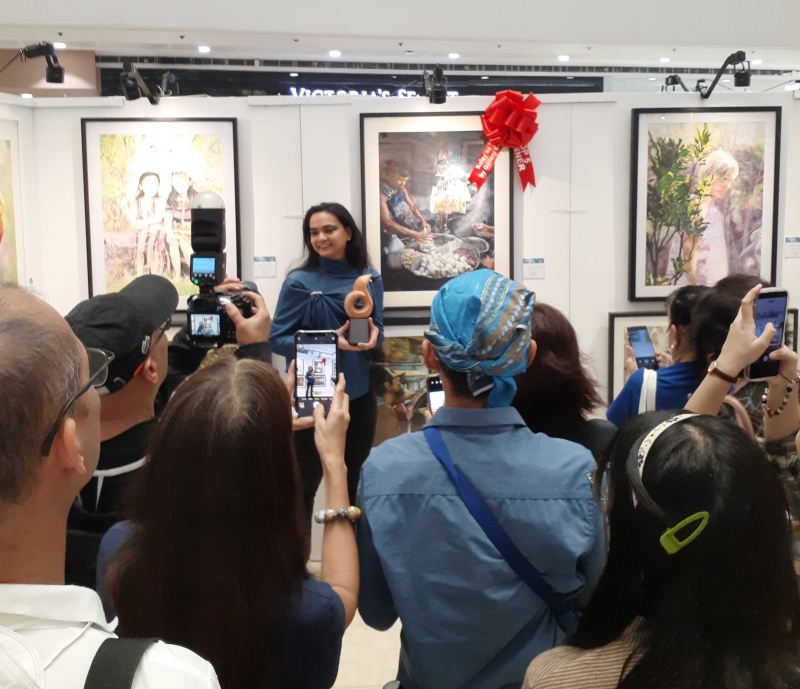
I was there when the Top 5 entries was announced and I was able congratulate Kevin Lacanaria. I was standing two feet behind him when his name was announced last of top 5 watercolorists this year. He really cried when he heard his name. I read his story and something resonated with me. Like me, his first attempt to join was in 2021 and he did not pass the first round. Unlike me, he tried again last year and passed. This year, he really made it his goal to be at least one of the runners up. He got one of the top honors. What an inspiration! He is an example that if you set goals and work hard to reach that goal, eventually, God, the universe or whatever supreme being you believe in will lead you to it. This is also proof that Kulay Sa Tubig levels the playing field for watercolorists. Whether you are a seasoned or a young artist, you are given the same platform and opportunity to showcase your talent and compete. Thank you, Gallery Genesis!
During the opening, I also met PGW members I used to only see online. I was happy to meet Ms. Joanne Gacayan, Ms. Le Sanchez and Mr. Arvino Yanuario.
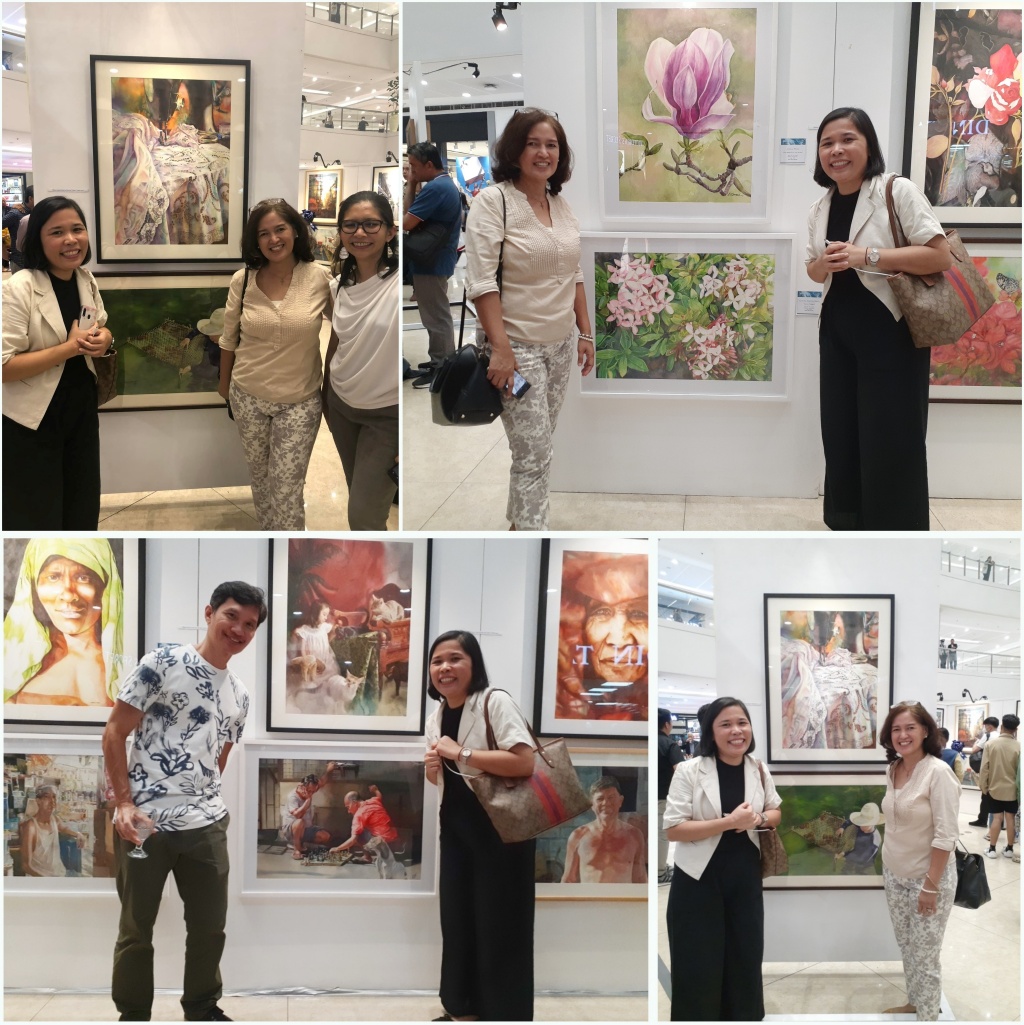
I am thankful for friends who came to visit the exhibit: Sir Fred, Wilbert, Karen, Alan, Hannah and Sir Bogs.
I hope to join again next year. My inspiration cup is overflowing. Thank you, Gallery Genesis!