One Musical, Two Museums, Loads of Dimsum and Overflowing Inspiration 01 (1)

One Musical, Two Museums, Loads of Dimsum and Overflowing Inspiration

Metro Manila is not really a favorite destination of mine. There is so much traffic. It is so crowded. It really drains my energy. Navigating its streets is always a challenge. Nonetheless, there is no other way around it but to just face it. The place is unavoidable for someone like me who loves to travel. Metro Manila is a hub for a lot ot things I love. I just have to learn to survive and find a way to get the most of what it has to offer. And that was just what I did last March.

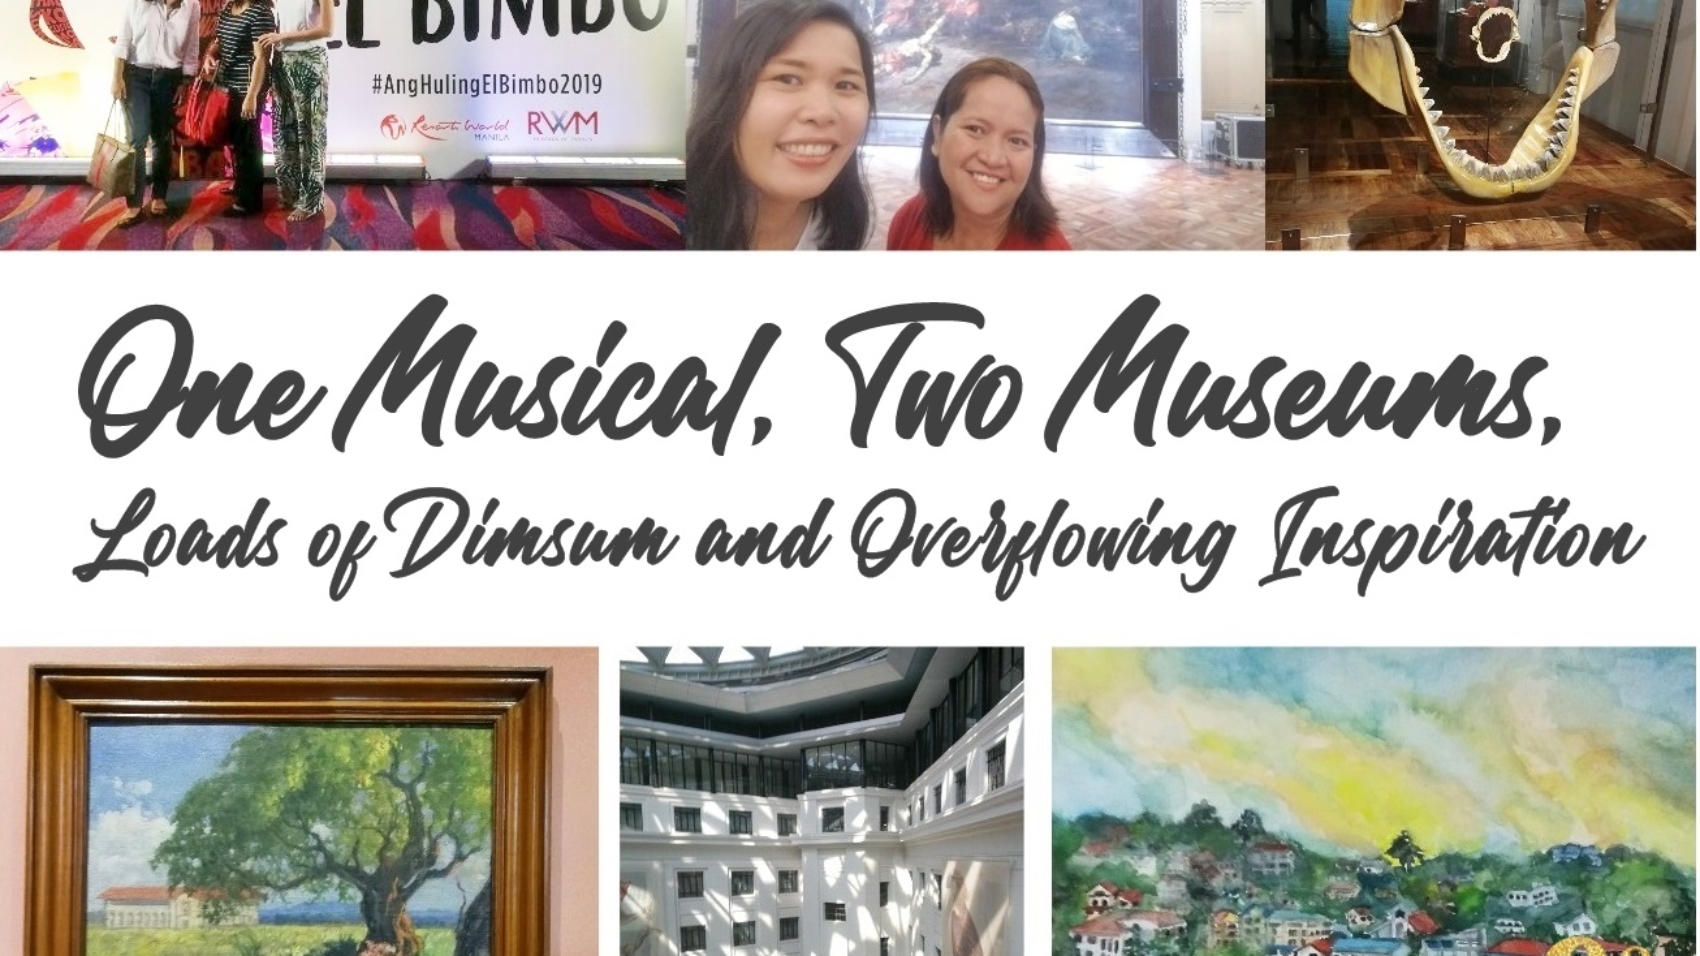
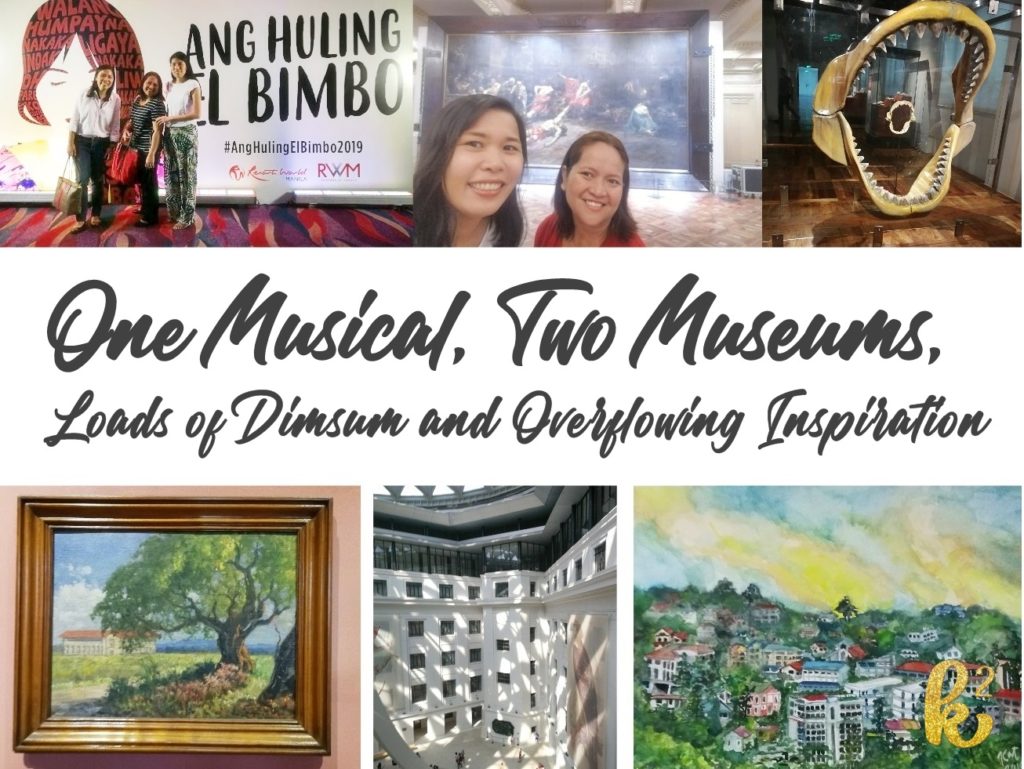
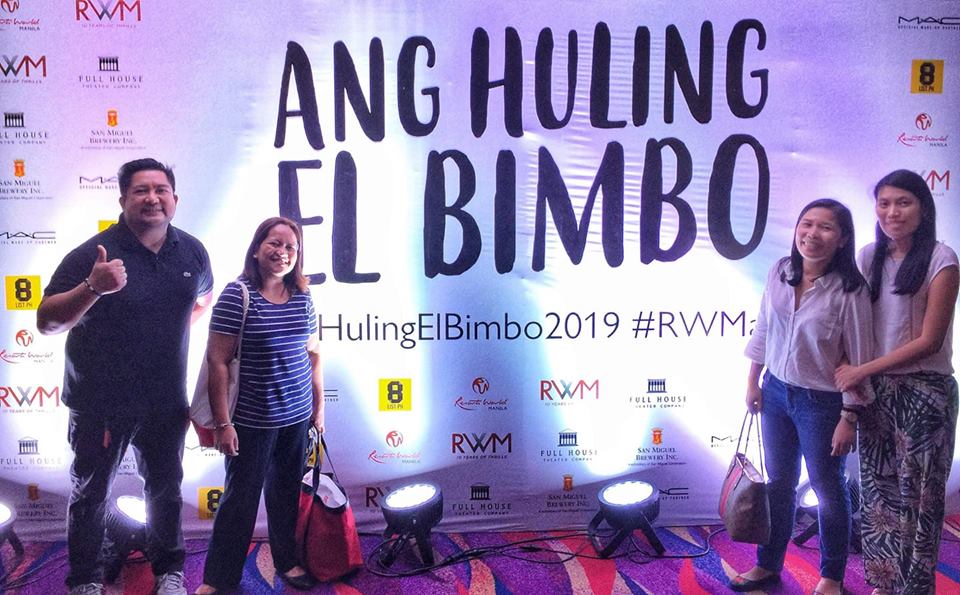
I knew that the musical “Ang Huling El Bimbo” was running in the Resorts World in March and I wanted to watch it. With the trip to Korea coming up, I worked on fixing my schedule to allow me time to watch the musical. “Ang Huling El Bimbo” is a musical featuring Eraserheads songs. The Eraserheads was the band of my generation so it was easy to convince three of my friends to watch “El Bimbo” with me. Incidentally, three of us went to the same university as the band members who rose to popularity while we were still gnawing our way in the dog-eat-dog world of college life. The scenes and some of the drama easily brought us back to our teenage years because the cast and their performances were awesome. I did not mind the possible neck strain of the partially distracted view of the stage because I bought the cheapest tickets. My view shifted every now and then from the stage to the large screen on the left where they projected the video. My friend got a good deal of ribbing from me for crying during some heartbreaking scenes. It was my way of fending off that tear that was trying to break free from my lacrimal glands. I really enjoyed the show. I look forward to watching more Filipino musicals!

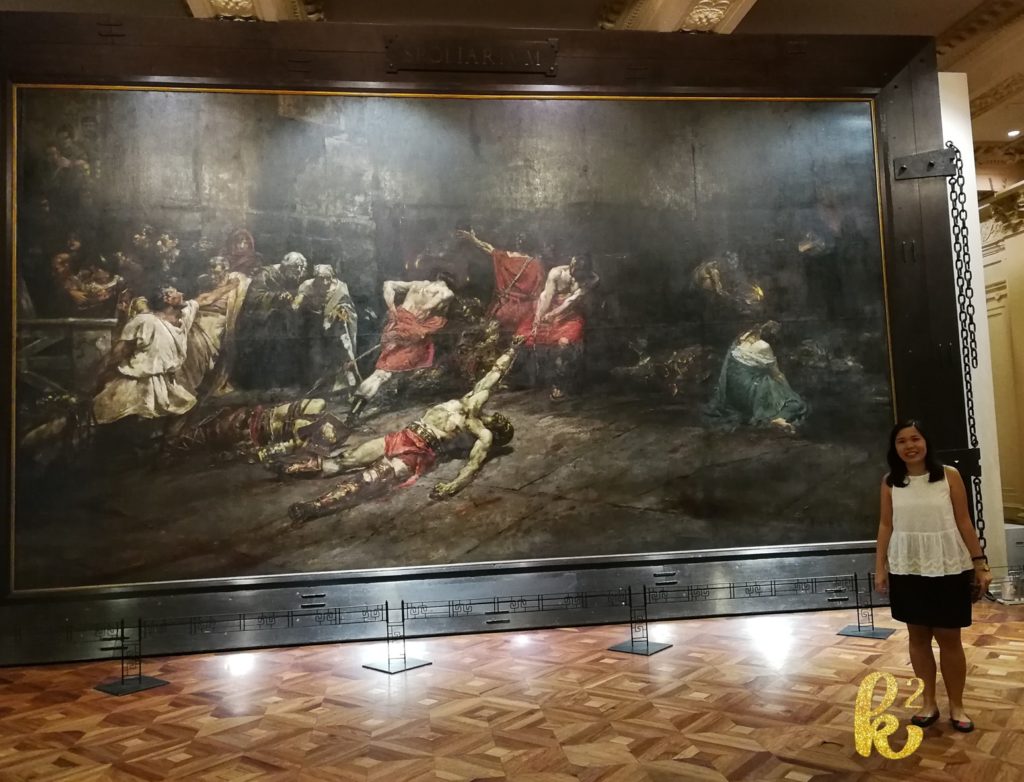
I had a day to spare in Manila so I asked my friend, Shirly, to accompany me to visit the museums. Our first stop was the National Museum of Fine Arts. The museum was heaven for me since I love to paint. Immediately, when one entered the main gallery, Juan Luna’s Spoliarium stood with such jaw-dropping splendor. It covered almost the entire wall of the gallery. Incidentally, Eraserheads had a song of the same title and it was a soundtrack playing in my head while looking at the painting.

Spoliarium is so grand!

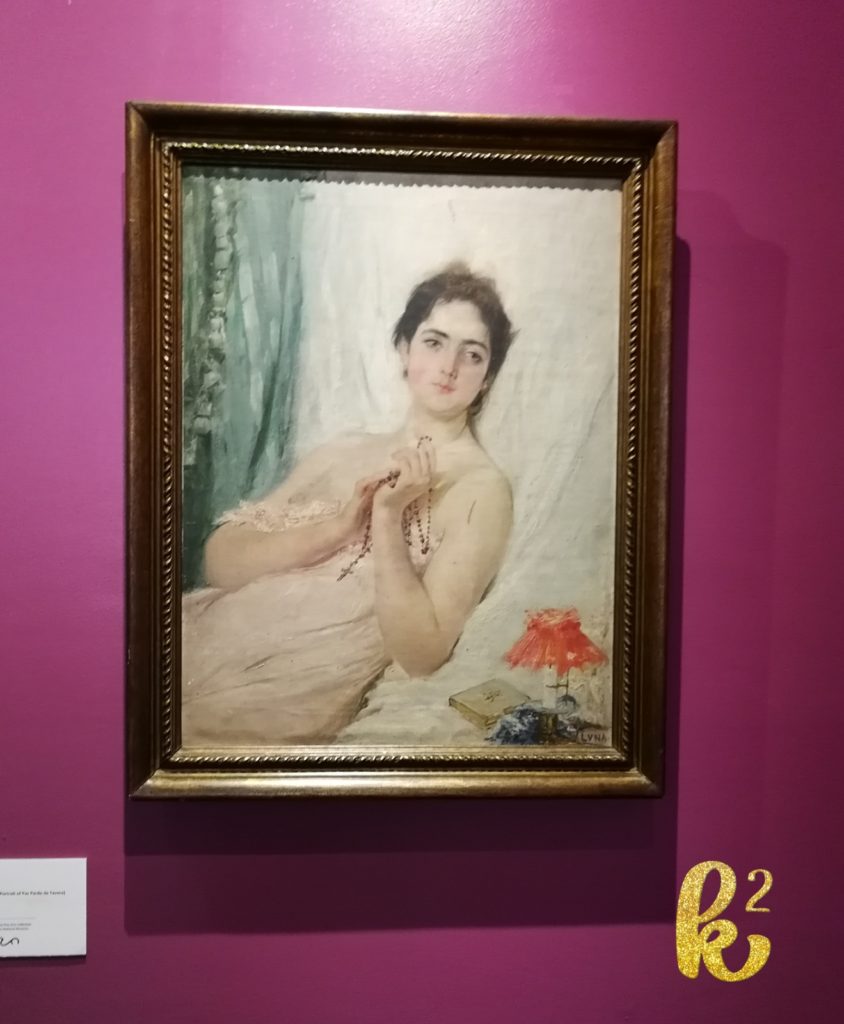
The museum had different galleries featuring different Filipino artists. Many of Juan Luna’s works were displayed. One notable painting is the Portait of a Lady. Esquire published a comprehensive history of the painting and it was a very interesting.

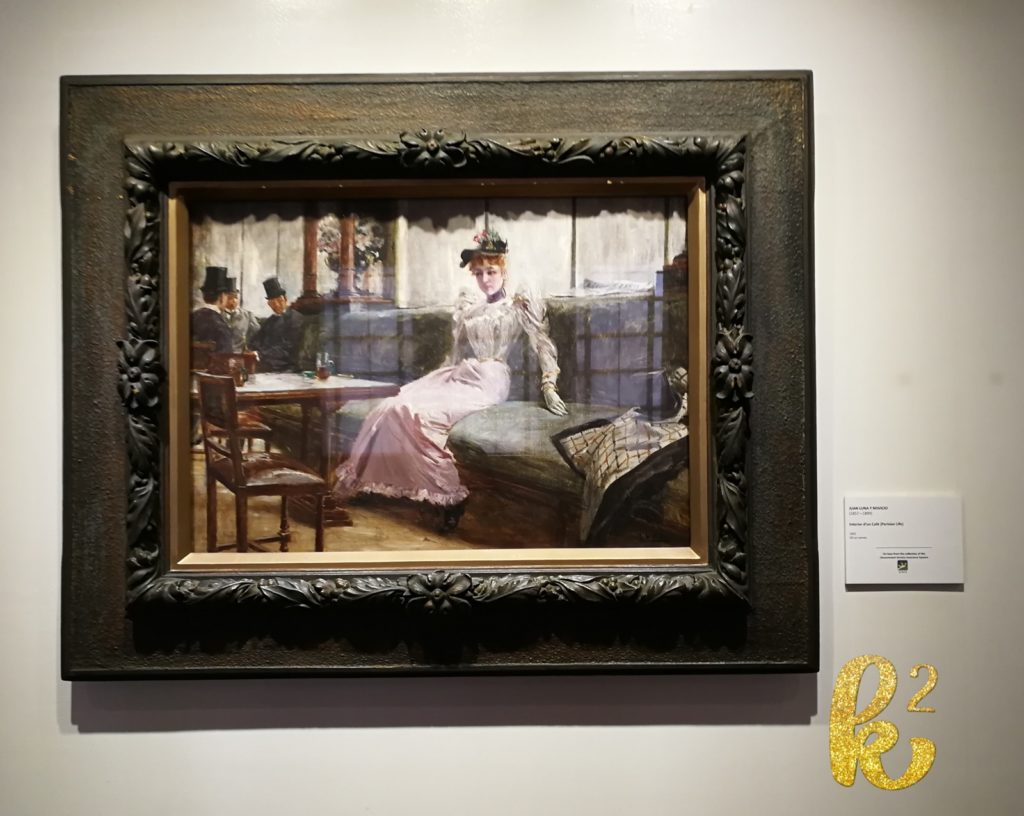
Another Juan Luna painting being displayed was The Parisian Life which was acquired by GSIS for around Php 45 million.

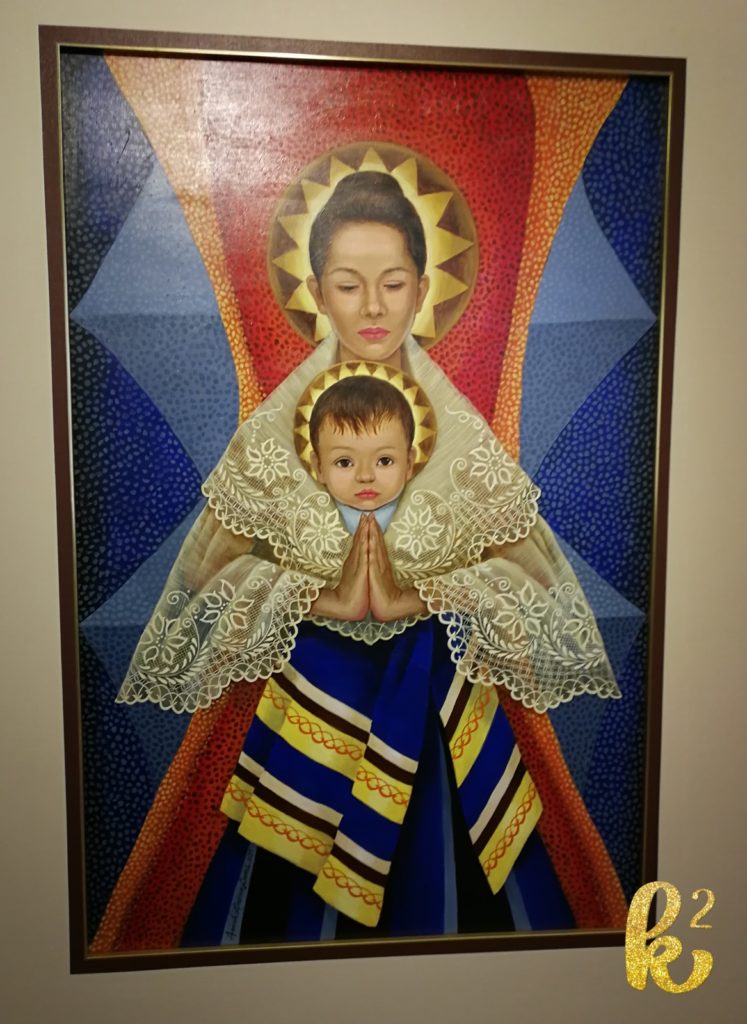
These were the other paintings/displays that caught my eye.

These sketches of Fernando Amorsolo gave a glimpse of the painting process of the national artist known for depicting rural scenes. One could see that there was a lot of planning being done to create a masterpiece.

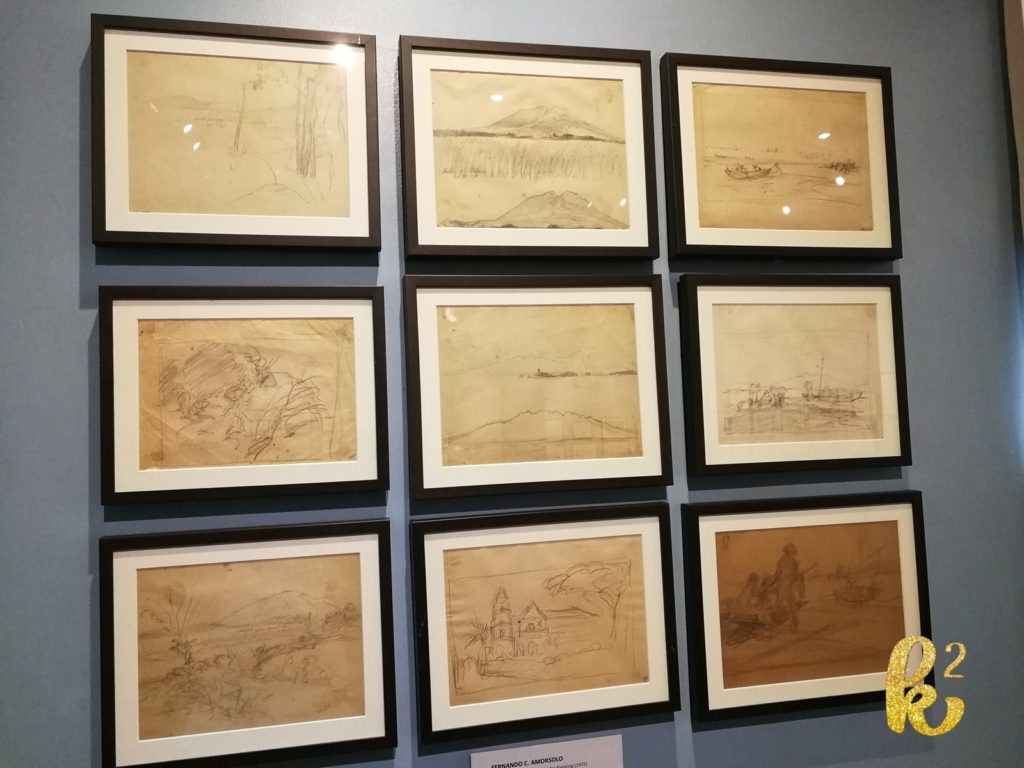
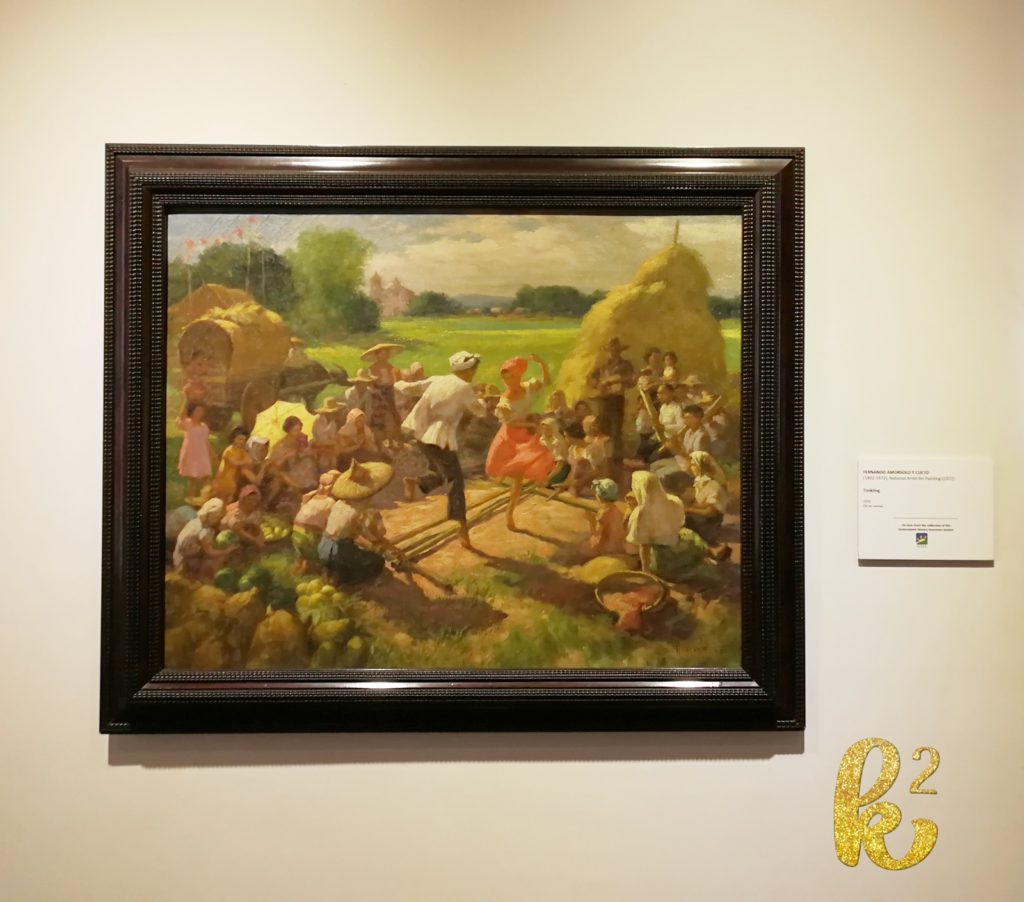
It became easy for me to spot an Amorsolo painting.

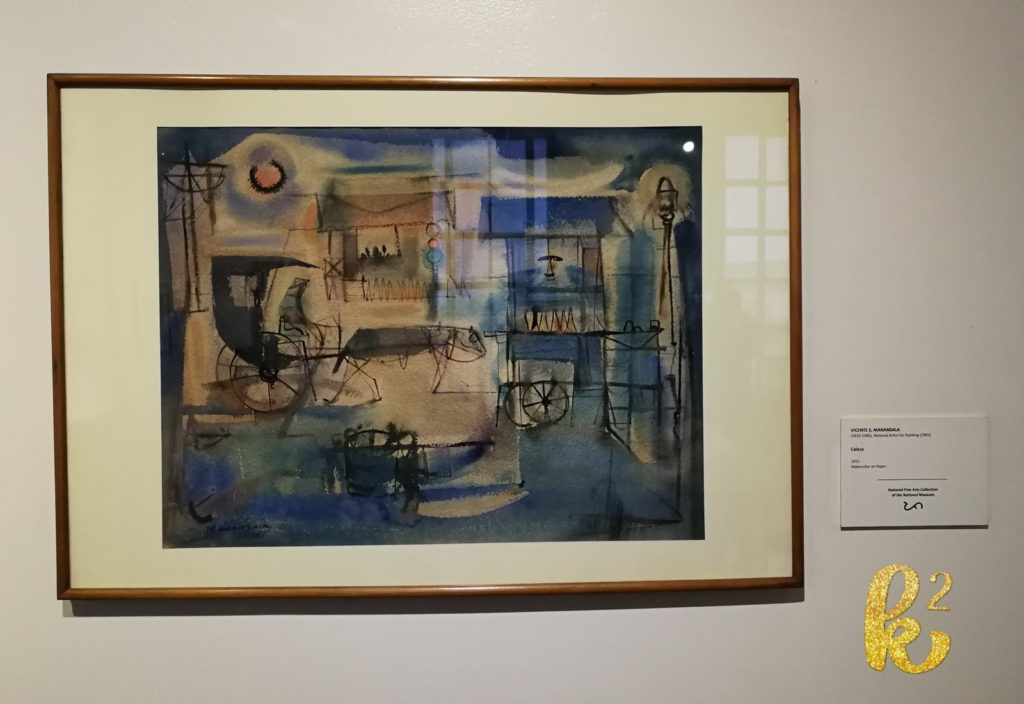
A new favorite of mine is Vicente Manansala. I was drawn to his painting because it was a little modern, colorful and it was done in watercolor, my favorite medium.


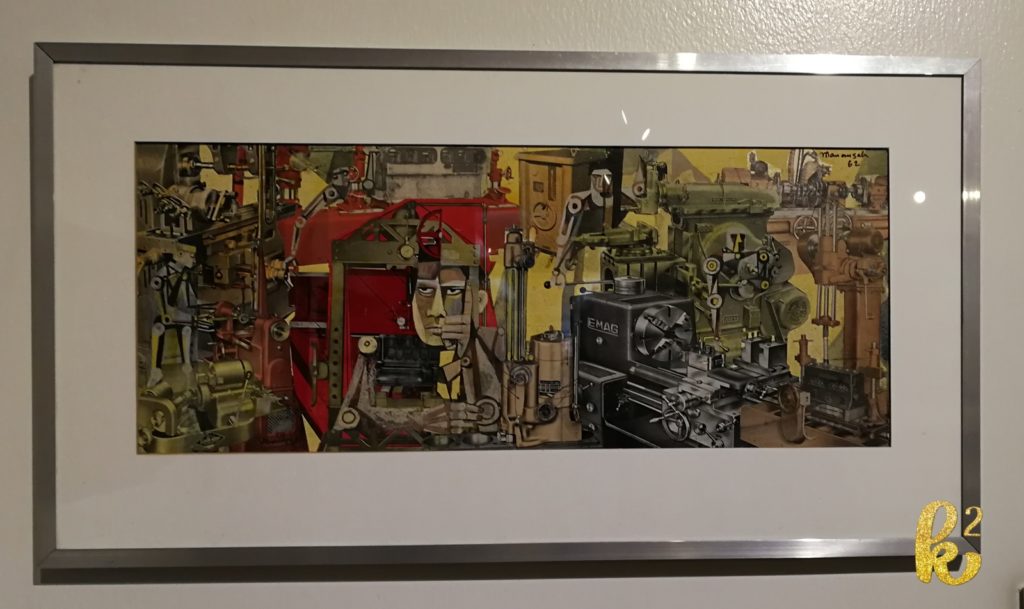
This is another Manansala work.

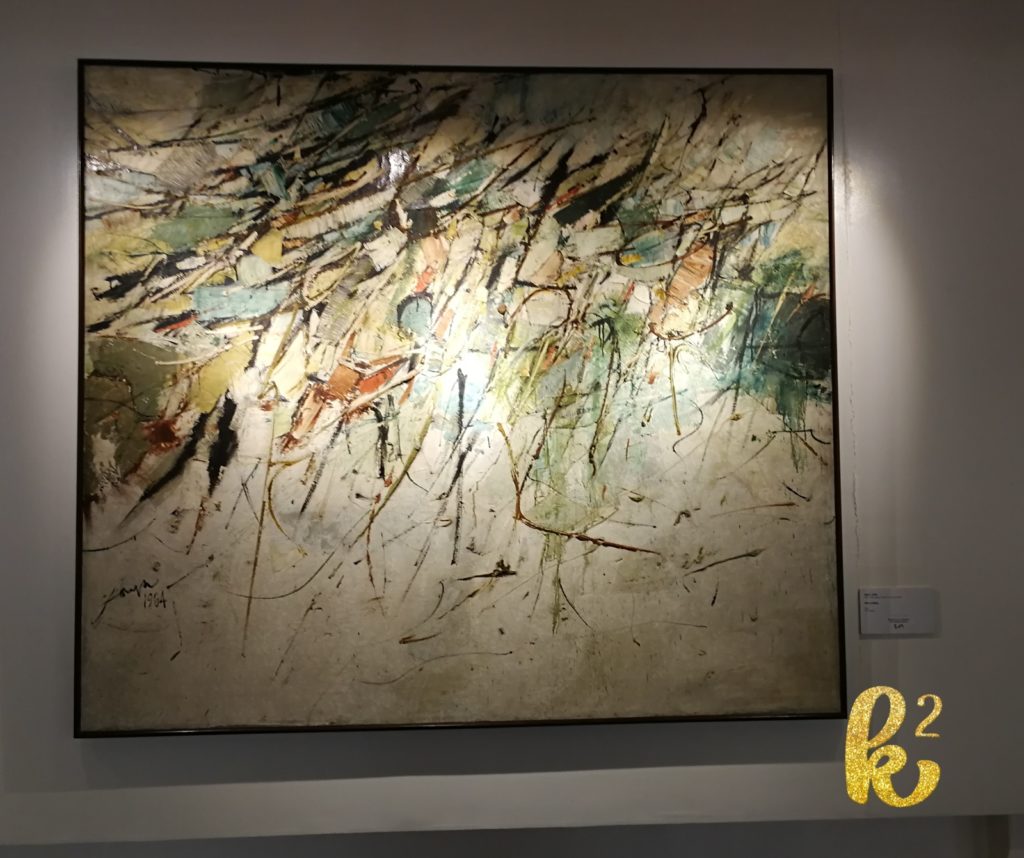
I am not really intro abstract but I like this Jose Joya work. (Yung feeling na parang kaya ko naman ito gawin siguro pero hindi ko maexplain or mainterpret ang painting. hahaha)

And I am a fan of Araceli Dans’ lacework.

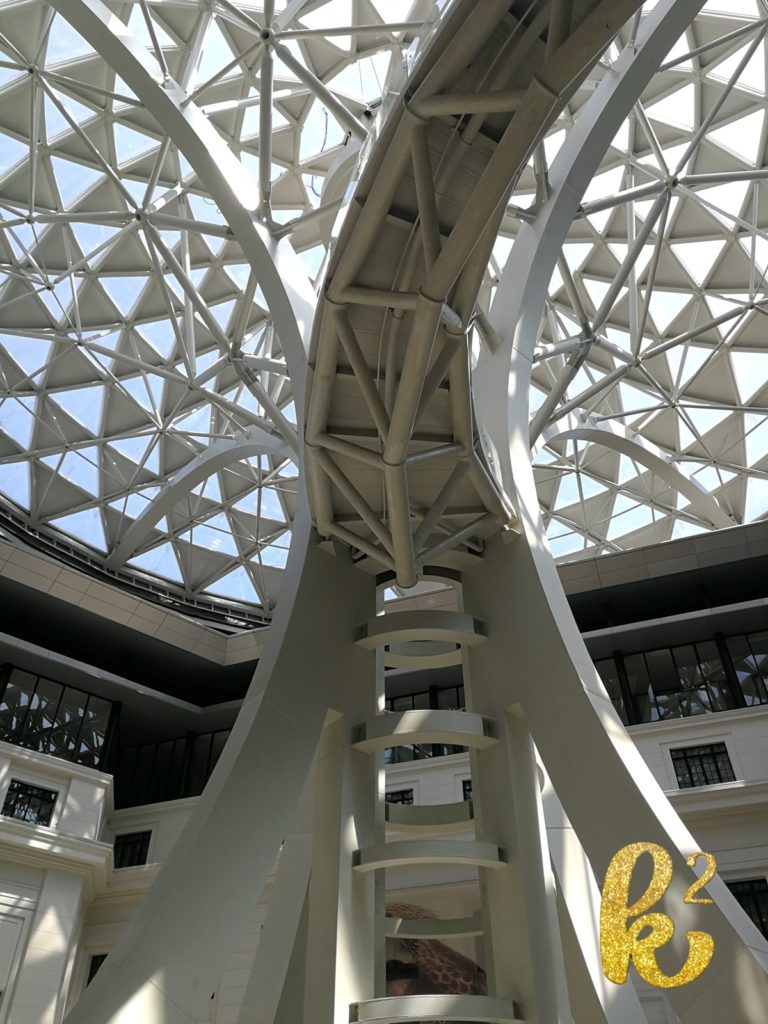
After immersing ourselves with all the artworks, off we went to the National Museum of Natural History. The museum was opened last year and it housed a lot of specimens of Philippine zoology, botany and geology.

There is a atrium in the middle which makes the space bright and airy.

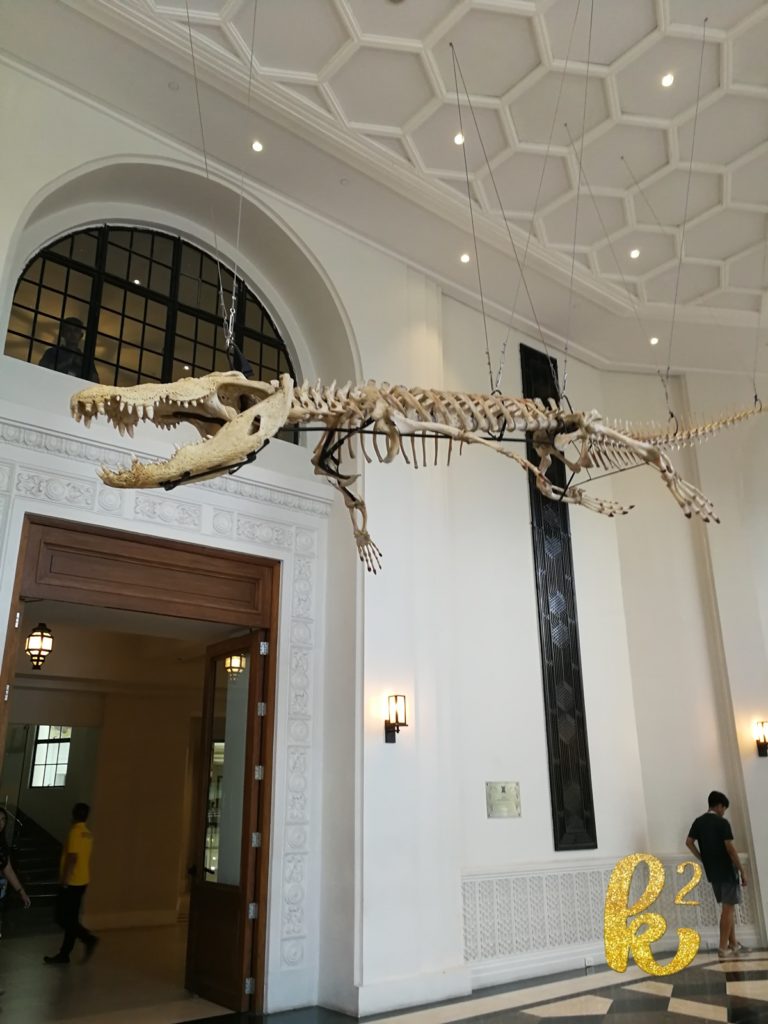
The remains of Lolong, once dubbed as the worlds largest crocodile in captivity, can be found here. The bones are displayed suspended from the ceiling.

The ‘taxidermied’ crocodile can also be found in the one of the displays.

It was funny that I wanted to visit this museum but only to realize later that there was one particular animal that I was (and still am) afraid of and I knew that it would be displayed in one form of another (a photo, drawing, taxidermy or the real one inside a jar of formalin). Before we walked through an exhibit hall, I would ask my friend, Shirly, to see first if there was such a display. And indeed, in some halls, the display of such animal existed. Hah! I looked like this frightened woman in a horror house. I always took a peek first at the surrounding and spot the possible area that might had that kind of display. Yes, I could be crazy and paranoid with my phobia. All in all, it was a pleasant experience.

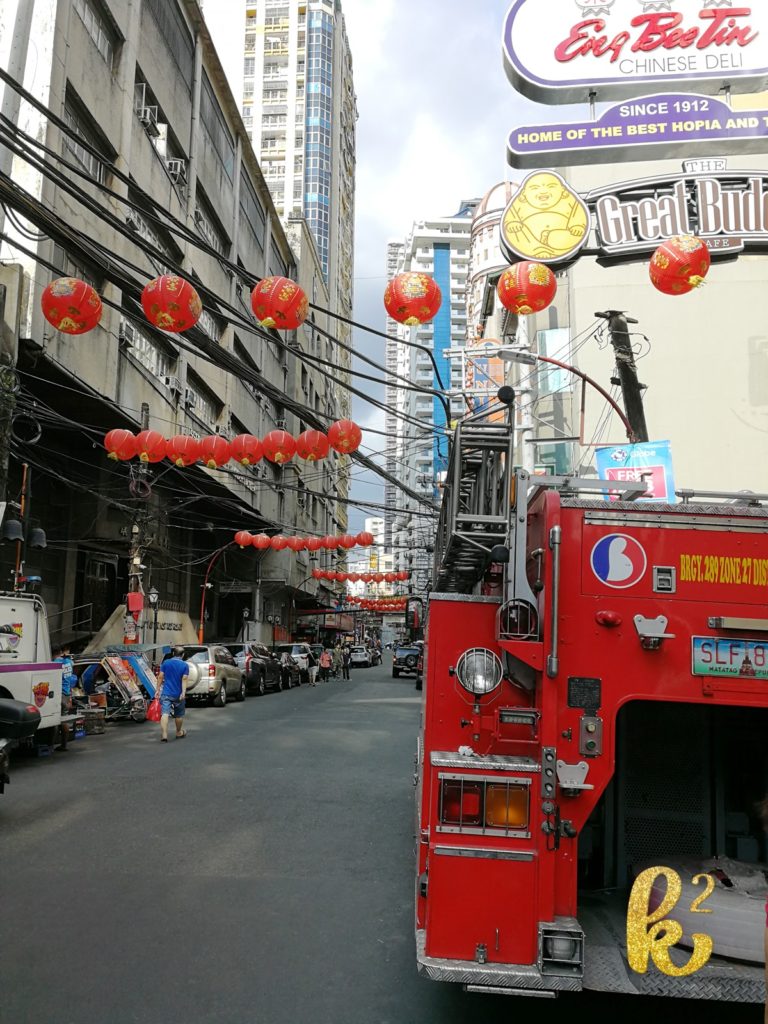
After all the walking around, we were done with the museum-hopping, we decided to go to binondo. I wanted my milk tea , dimsum and milk tea fix. Not counting the trip to the 168 mall years ago, this was my first time to walk around the streets of Manila’s Chinatown. My first order of business was to visit Eng Bee Tin.

This is Shirly and our Milk tea order. Hi, Shirl!

We dropped by this dimsum place. The place was small but teeming with waiting customers and they only sell this type of dimsum. I think the draw was that it was freshly made every time. Oh, I want this one product kind of business.

And off we went to Greenbelt to meet up with friends. Metro Manila is not that bad after all if you plan your day right.

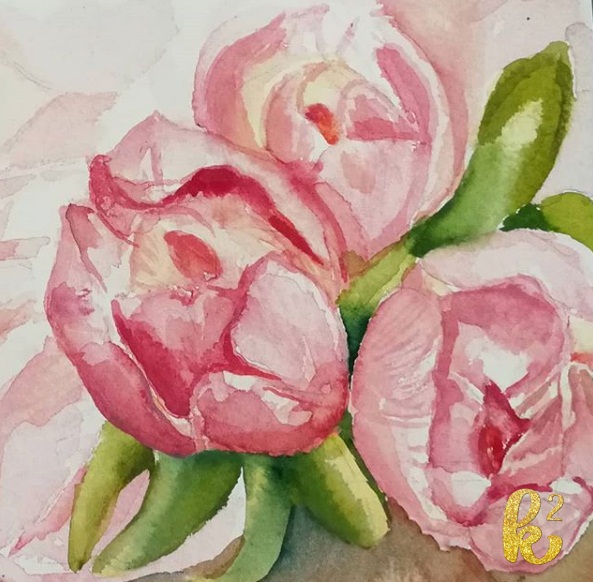
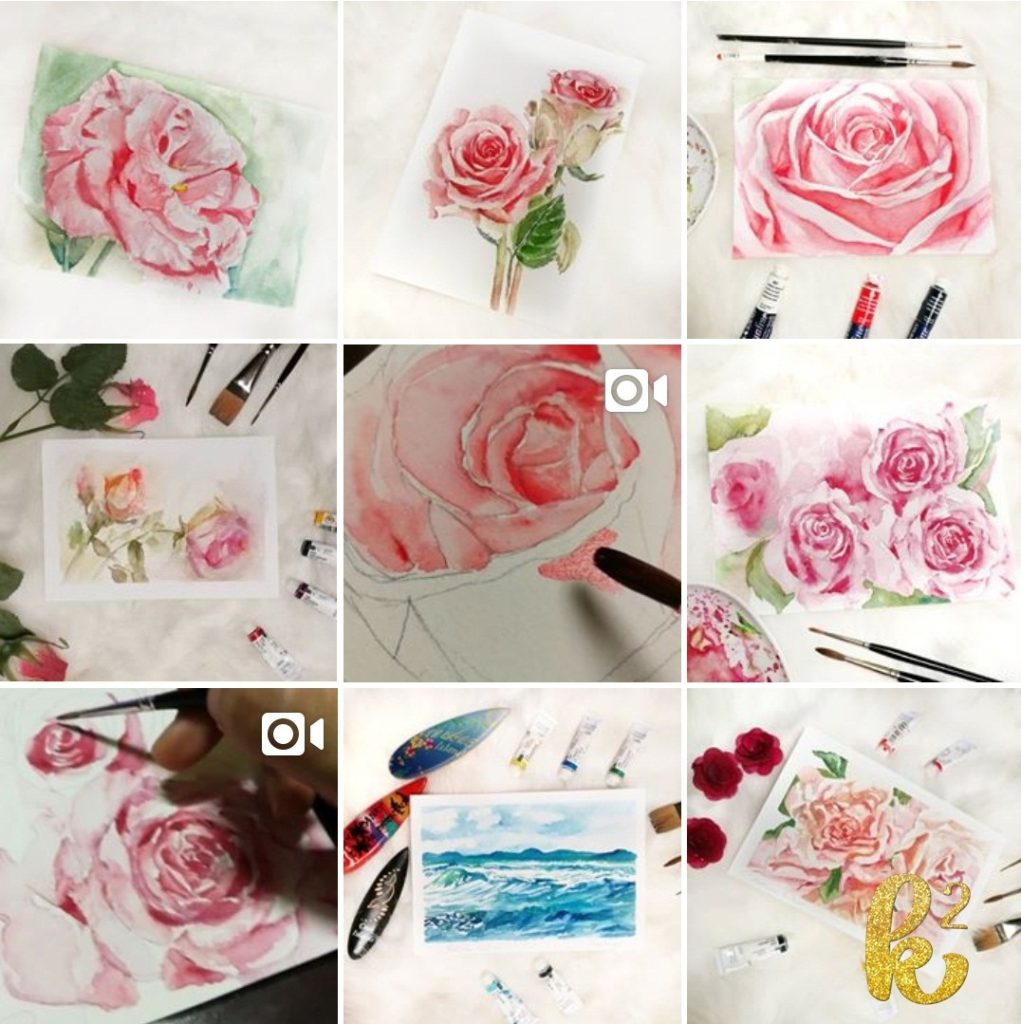
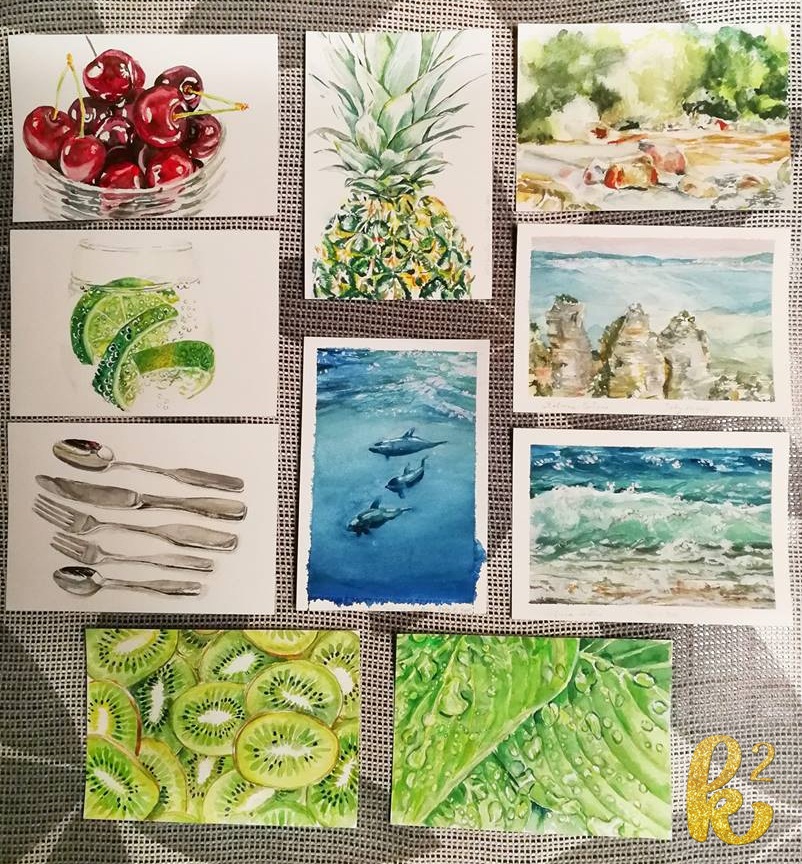
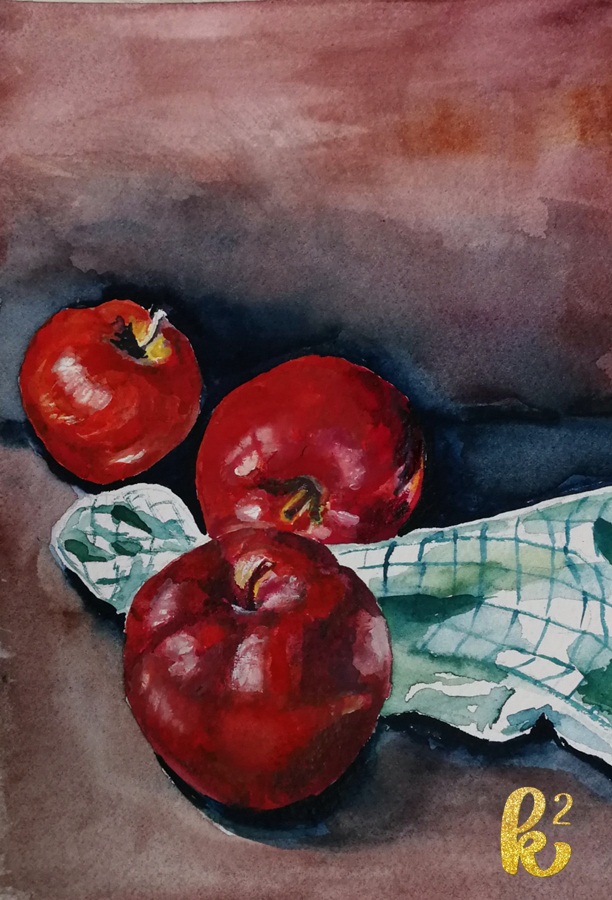
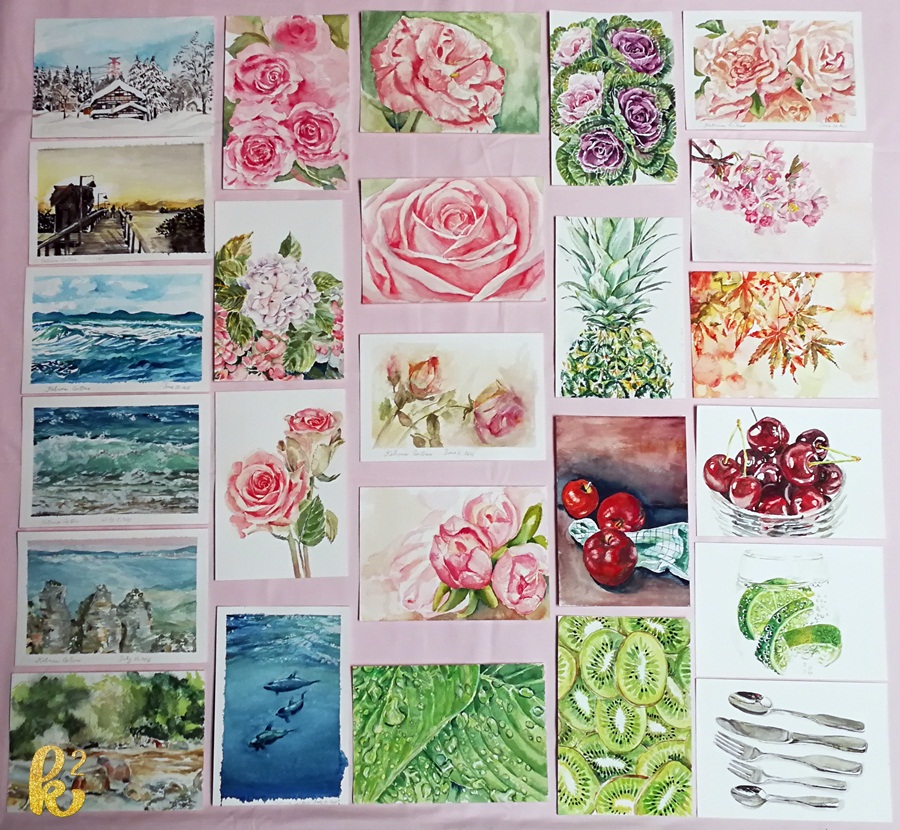
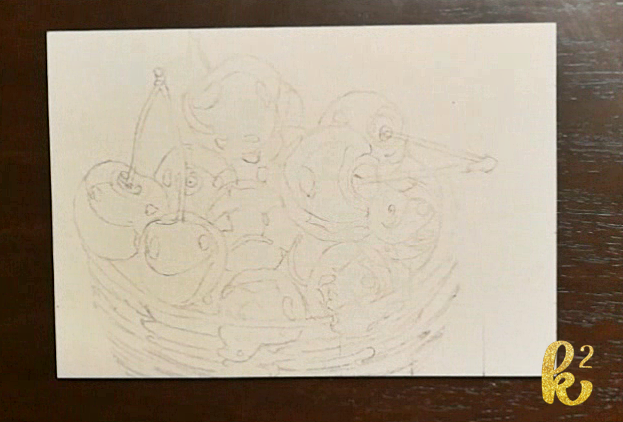
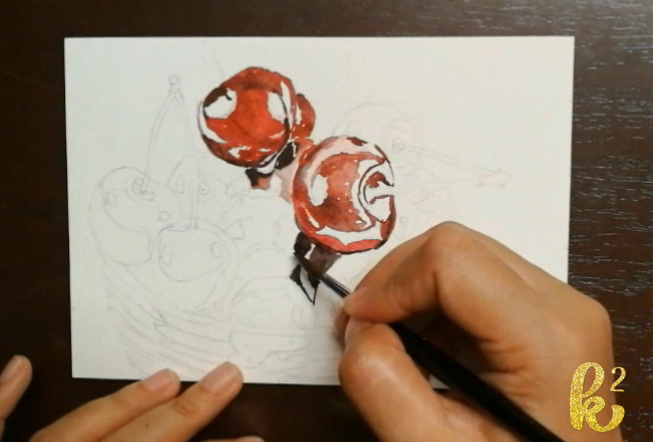
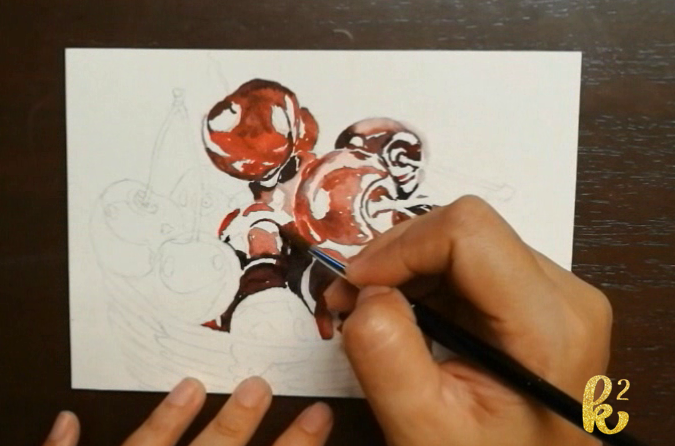
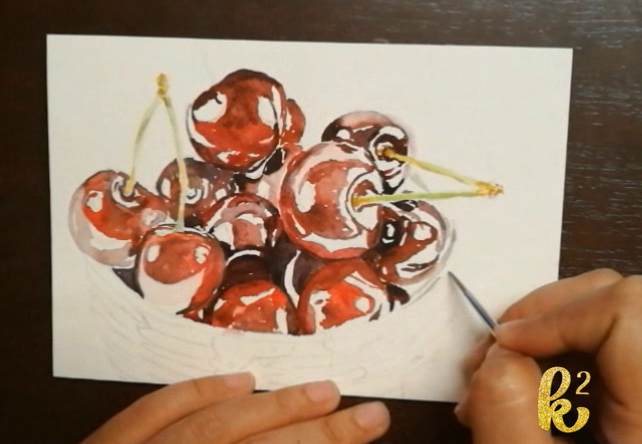
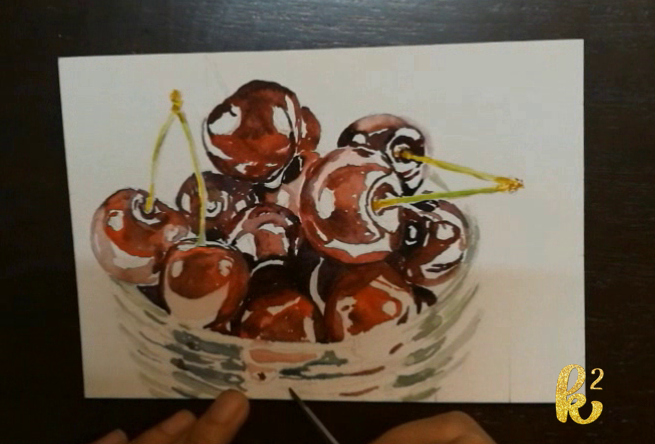
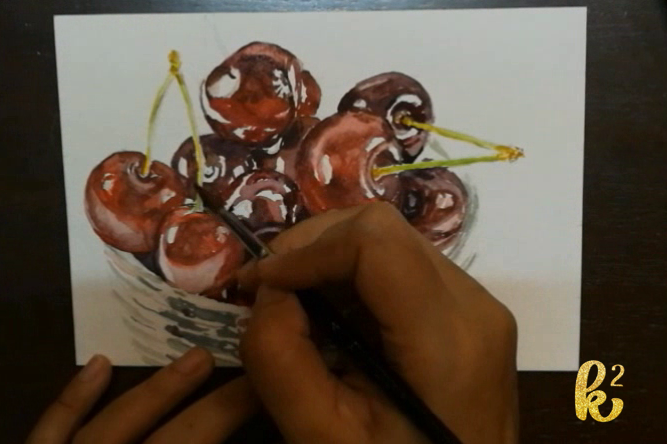
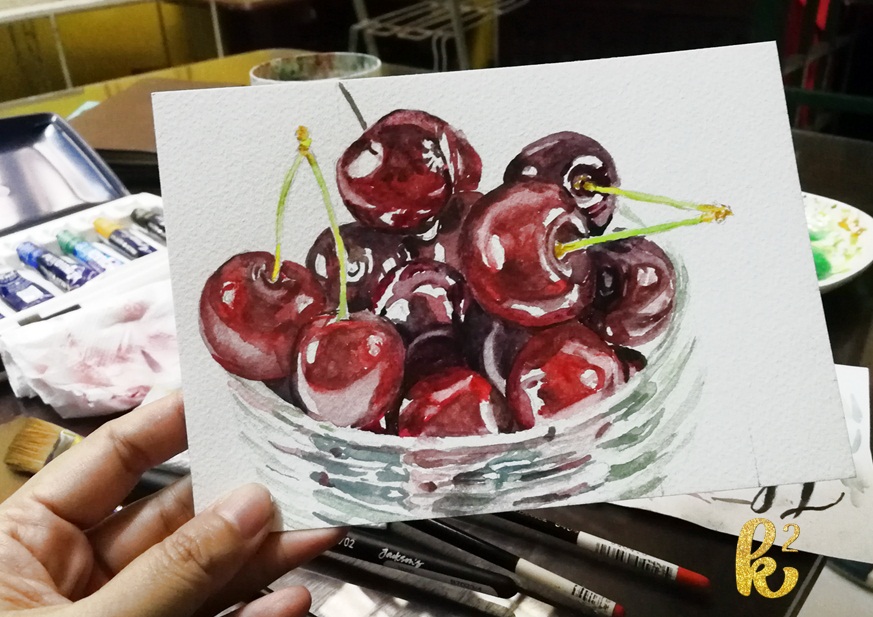
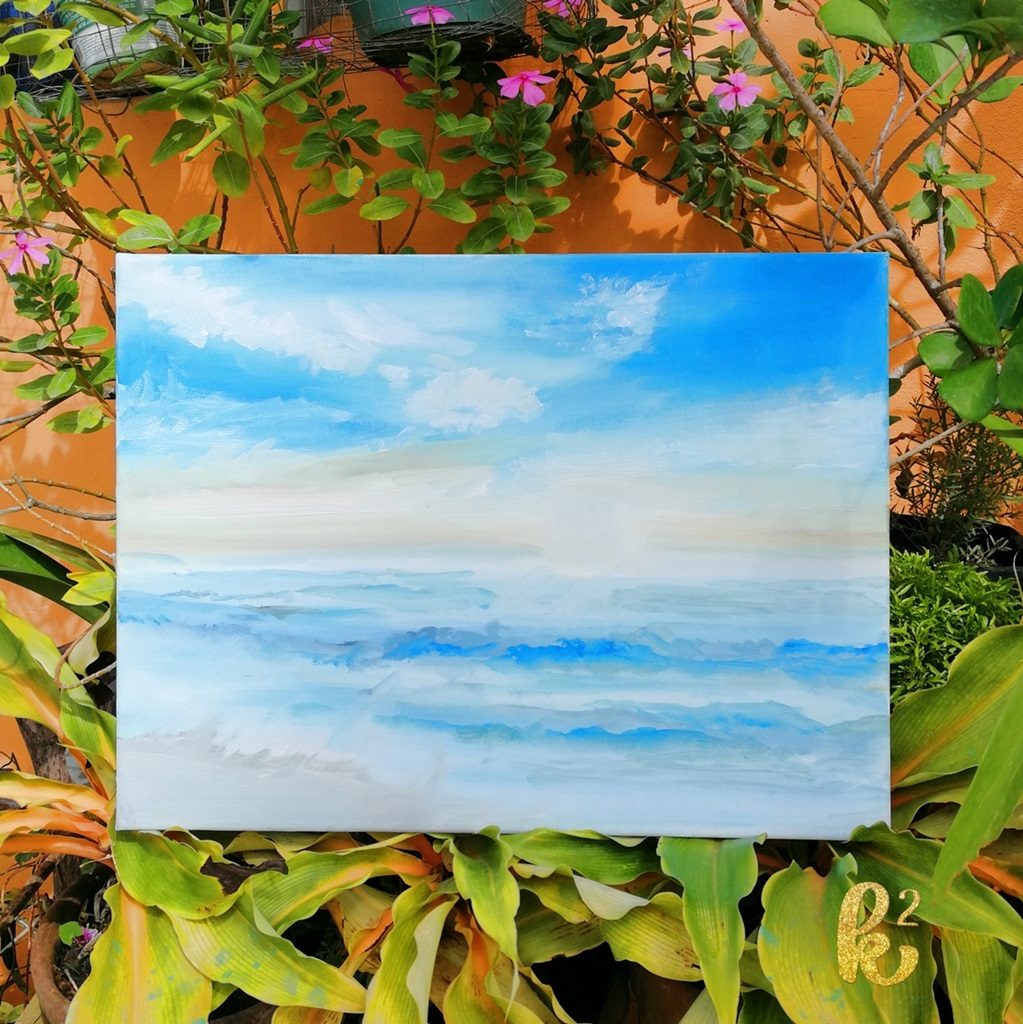
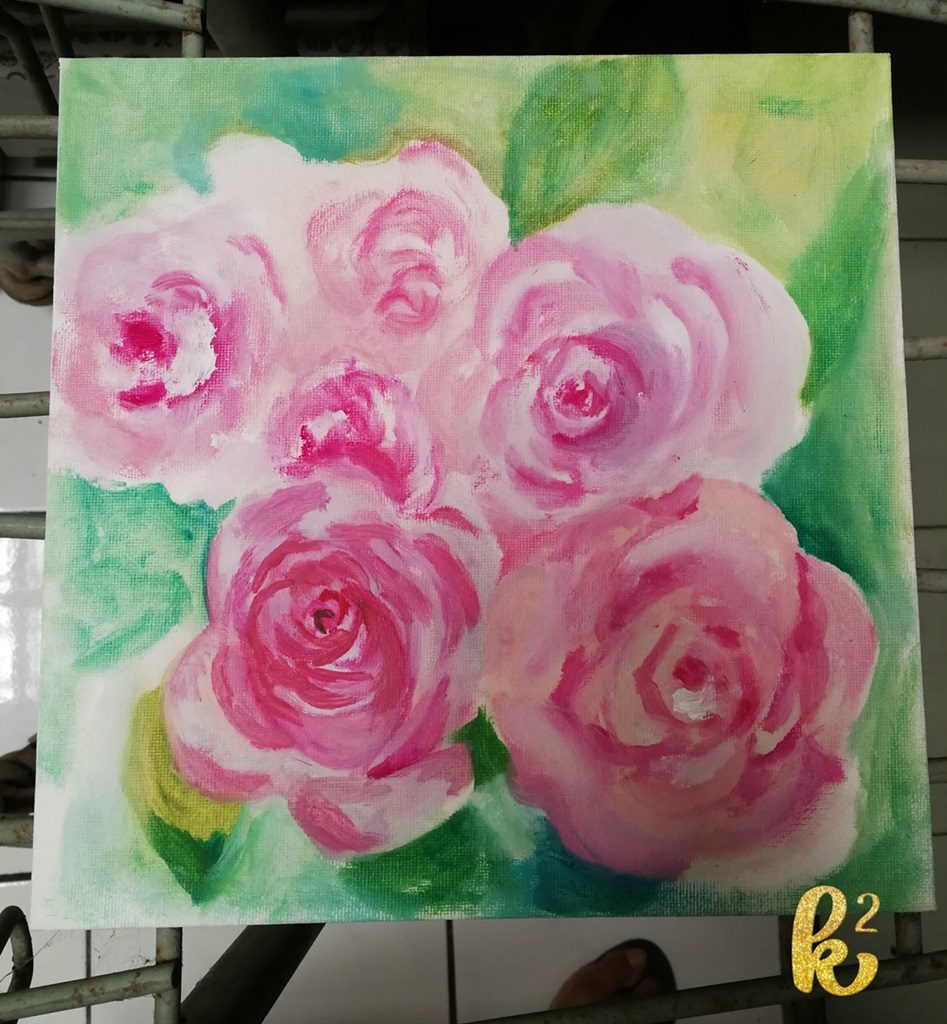
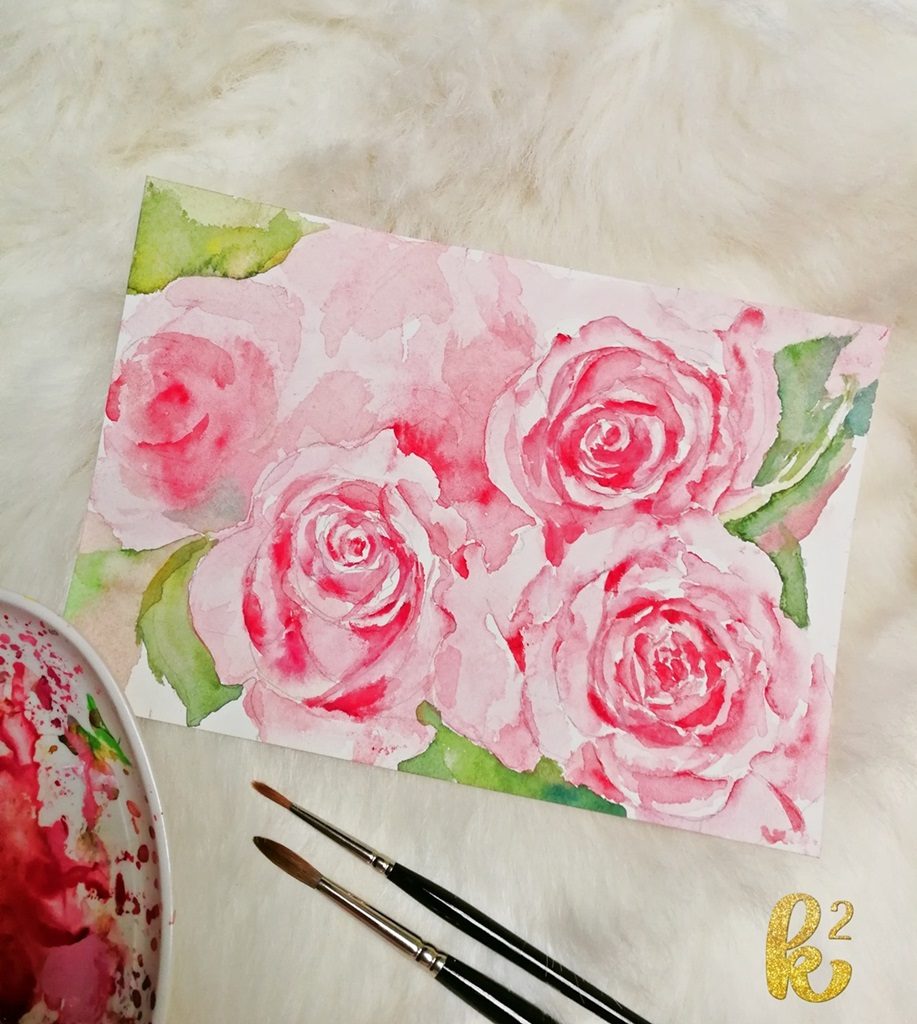
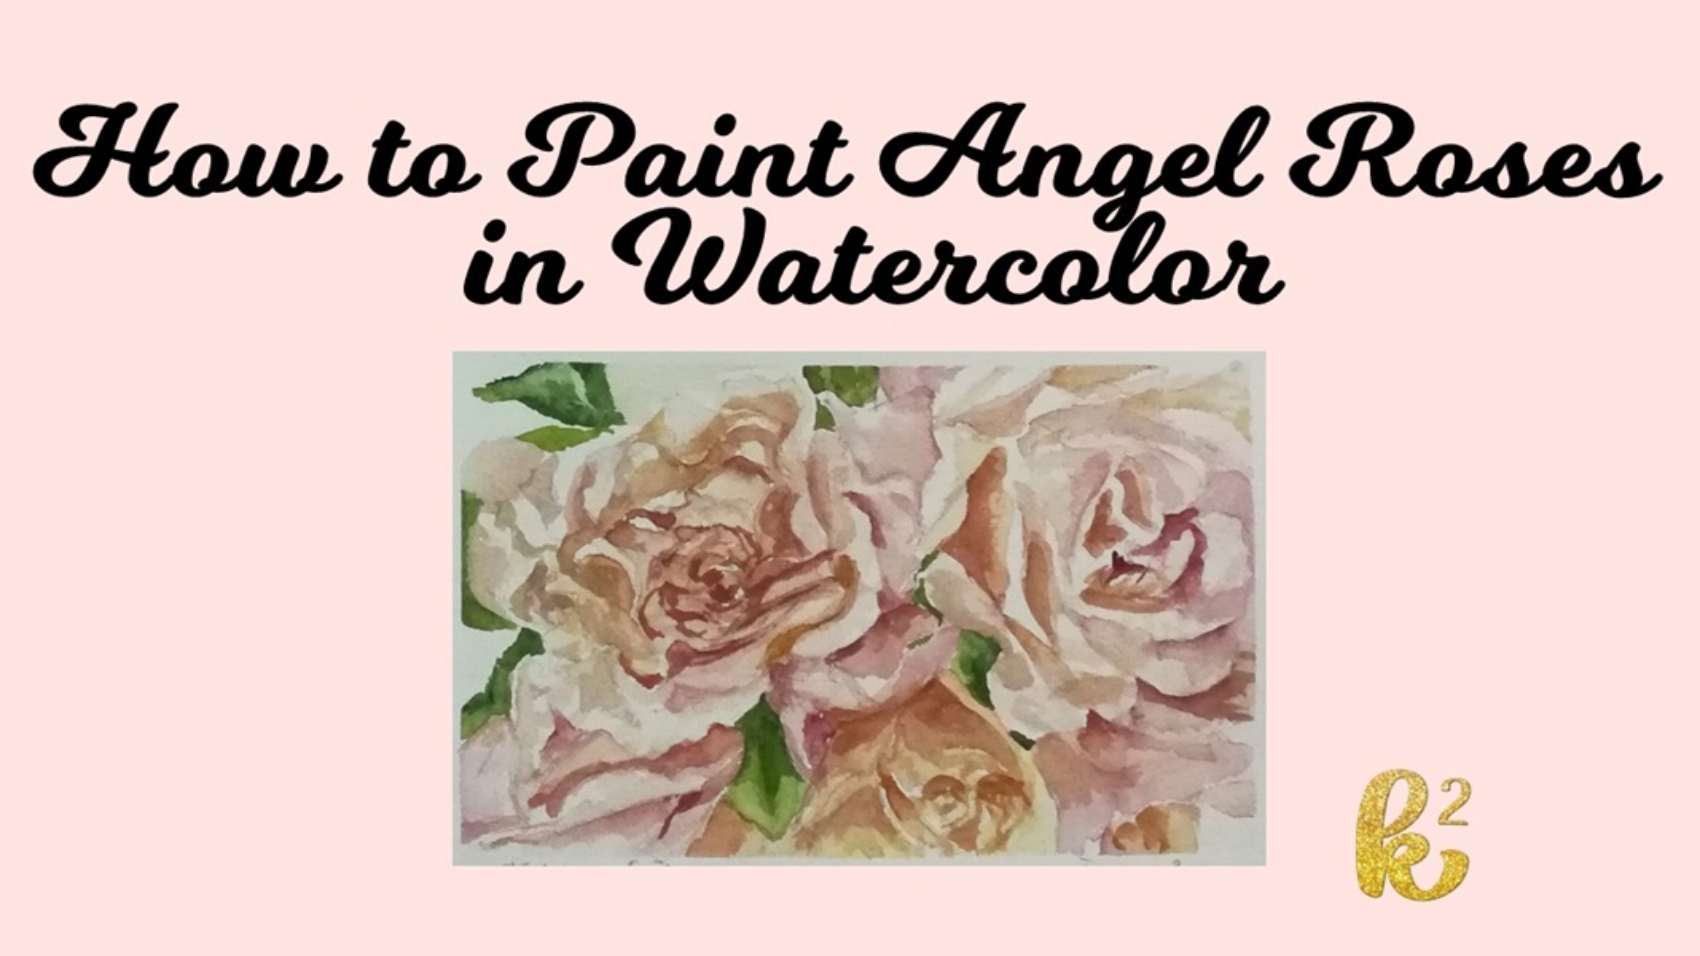
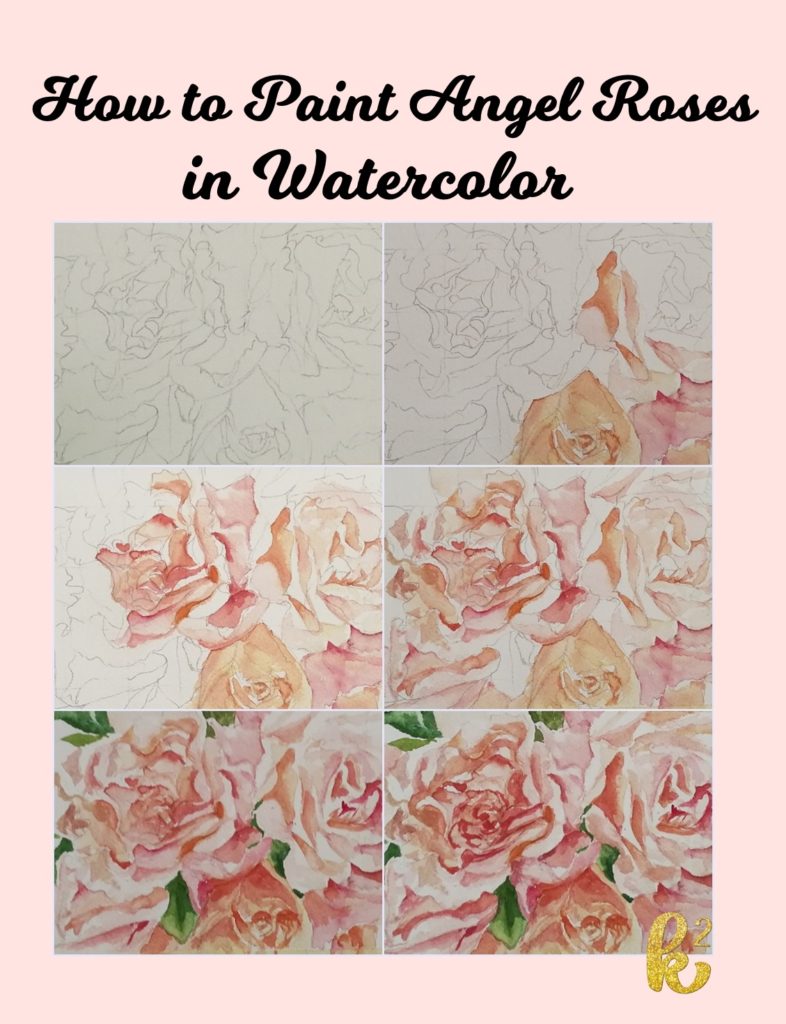
And because I had a lot of art inspirations, I was pretty productive after the trip. I hope to paint more.

Push lang, Kat! 😉

25 watercolor postcards

Show and Tell: 25 Watercolor Postcards

25 watercolor postcards

Early in January, I bought different packs of watercolor pads  from Jackson’s Art. I wanted to try different brands of watercolor paper. One of which was a pack of 25 Fabriano Artistico postcards. I painted on these cards in January only when I felt like painting.

My first postcard was a winter scene from Niigata Prefecture in Japan where my friend Grace lives.

25 watercolor postcards

The next postcard was a sunset scene where I also created a tutorial on how to paint it.

25 watercolor postcards sunset scene

I guess I was busy from February to May because the next postcard I painted was done in June.  I also have painting tutorial on how to paint these tulips.

25 watercolor postcards

I was pretty hard working in June and painted all these.

25 watercolor postcards

In July, I challenged myself to not paint flowers and I was happy with this little accomplishment that I posted this photo on Facebook.

25 watercolor postcards 4

Two of my friends (who happened to be husband and wife) took notice and asked me if they can buy all the postcards.  I knew I had 4 empty postcards left of the 25 so I offered that they might want to wait for the rest of the postcards to be painted so they could chose which postcards they would like to buy. Without hesitation, they offered that they will buy all the 25 postcards.  My jaw dropped. They have not even seen the rest of the 15 postcards! I am grateful that they appreciate my art.  As a little token for their appreciation, I asked what they wanted me to paint on those 4 postcards.  My friend asked for postcards representing the four seasons. She picked what subjects to paint and it was up to me how I was going to paint them. I made these.

4 seasons

And I then I found out I still have an extra postcard so I decided to paint this.

25 watercolor postcards

And these are all the post cards in one photo. I hope my friends like them all.

25 watercolor postcards

Since I will be saying  goodbye to all these postcards, I made a Youtube video!


How to Paint Cherries in Watercolor

How to Paint Realistic Cherries in Watercolor

How to Paint Cherries in Watercolor

I finally got around into writing another art tutorial. It is almost the end of July and it is World Watercolor Month. For this month, I challenged myself to not paint flowers so this tutorial is about painting cherries.  The reference photo for this painting is from Pexels.

I always start with a drawing and I marked all the areas where I put my highlights and shadows.

How to Paint Cherries in Watercolor (1)

I used Raphael kolinsky round brushes (size 2 and 4) and I used Daler-Rowney watercolors. For this painting, I used alizarin crimson, cadmium red, prussian blue, chinese white, viridian and yellow ochre.

To get the colors I wanted that are close to the dark red plump cherries. I play with these three colors: alizarin crimson, cadmium red, prussian blue. I mix alizarin crimson with prussian blue when painting the areas and the shadows. I used the individual colors to match the different tones in the cherry.

How to Paint Cherries in Watercolor (2)

Whenever I start painting, I always have this fear that I would be wasting my time trying to paint and end up with unsatisfactory painting. I like to scare myself that way. (Praning-praningan. hehehe) When I started, the first cherry did not look like a cherry at all. Honestly, I was not sure if I am going to successfully paint it but I continued painting. It took me almost two hours to complete the painting.

As you can see there were areas that I avoided painting, those are the areas for highlighting. Cherries have shiny skin. To show that shine, you need to leave areas unpainted because it is easier to add color to these areas later than to remove the pigment. For me, the markings on the drawing where to put the highlights and shadows are helpful in the painting process. I have not yet developed the skill of painting from memory. I still need planning on how to tackle a certain painting. I always look at the reference photo as a whole and try to understand where the light source is and how the light casts shadows on the surface. I also try to identify the different colors on the object so even if we see that the cherry is dark red, there are different shades of red you can see and these shades depend on how the light illuminates the surface. This is how I study the subject so that it would closely resemble the real thing.

In every painting I work on, I always have a tissue near my palette to easily blot the excess water on the brush. I also have another paper on the side where I test if I mixed the right color.

My usual painting technique when using watercolor is to apply my strokes using a dry and more saturated color on the dark areas and I gradually spread the color using a wet brush. I use this technique when my subject is either a flower, fruit or animal. It may look like I am very certain and precise about my strokes and colors.  In reality, I am really looking at the reference photo every now and then and I paint the different shades on the different areas as I see fit.

At this point, the painting is slowly taking shape. Attention to details is important in realistic paintings. Each little highlight and fine stroke contribute to the painting a whole. This is one of the benefits in learning how to paint; you tend to be very observant of your surroundings.

How to Paint Cherries in Watercolor (4)

All these colors used in painting cherries are the different colors that are produced from mixing alizarin crimson, cadmium red and prussian blue. These are the specific pigments I used. You can also try different shades of red available in you palette. Try to experiment one bright red pigment, one medium red and one dark blue or any combination of red and blue. Cherries have stages of ripeness and different varieties so different combinations of reds and blues could still result to a realistic painting.

Painting a glass jar can look challenging. It is easier to paint it by studying the jar. Understand that this jar is a clear object. It does not have color. The reflection of the cherries on the surface tells us that this is a glass jar. Also try to observe the way the light hits the surface. For the rim and grooves on jar, I see shades of light gray to gray on the surface of the glass. I used the existing colors on my palette . I mixed everything which made the mixture close to black and when I mix black with white, I get grey. The different shades of gray is dependent on the amount of white mixed in. In that way, I did not have use tube of black paint. I get save on paint by the the colors I already have in my palette.

How to Paint Cherries in Watercolor (5)

In painting a jar, you do not have to paint the entire shape. You just paint the reflection and shadows and when finished, you can already see the shape of the container. When looking at the reference photo, I really try to identify the very dark areas and try to replicate it in the painting. The contrast between light and dark adds depth and makes the painting look real.

For the finishing touches, I went over the painting and started blending the colors until I was satisfied with the outcome.

This is the completed painting.

How to Paint Cherries in Watercolor (7)

This is the Youtube video of the process.

Until the next tutorial!

painting vlog 1: the oil painting newbie

Painting Vlog 1: The Oil Painting Newbie

I am an oil painting newbie.  My friends gave me this Daler-Rowney set when I did commissions for them. (Such generous friends! Thank you, Maea and Randy!)   It took me 8 months to try oil painting. I got the set last October and I got the  brushes from Jackson’s Art in January.

oil painting, brushes

But I was only able to buy linseed oil last week.

My friend,  Jeanne, who asked me to teach her how to paint flowers in acrylic, has done several oil paintings already.  She is so artistic! (And a fast learner!) So I asked her where she was able to buy linseed oil.  She referred me to a local bookstore. When I was able to finally buy linseed oil, I tried to learn how to paint with oils. I also watched the Youtube videos of Lena Danya and Andrew Tischler.

This was something new that I was going to try so I documented my learning journey though a vlog!  This was also the first time that I was in front of the camera talking about my art. LOL.  I was very awkward. Hahaha Twenty years from now, I hope I would be able to look at this video and see my younger self with much fondness even with the grammar mistakes I made. ( Bisaya is my default language.) Here’s my video:

I shared my thoughts and realizations in the middle of the video and at the end of the video.  Oil painting is difficult!  Perhaps I will write another blog post about that.

These are my oil painting outputs.

oil painting landscape

the oil painting newbie

I also painted botanicals with oils.

botanical oil painting

Comparing my output with my watercolor painting,  I have better result with watercolors. I think I should focus on watercolors for now.  Hahaha!

botanical watercolor

Till next vlog or blog! (Whichever comes first)